LED (Light Emitting Diode) lights are far more efficient than incandescent lights and halogen lights. I think most everyone is aware of this already. The trick, it seems, is replacing your existing lights with LED’s without spending all of your potential savings on the initial purchase. The goal after all is to save money, not spend a lot now and less over the coming months. This may not make sense if you have not priced LED light “bulbs” available at the box stores recently – they are expensive! Like ten to twenty dollars per bulb. Another little snippet of info is that most of these LED light strips do not use LED’s – they are actually SMD lights. SMD stands for Surface Mount LED. Instead of the round bulb-ish looking things that you normally think of when talking about LED’s, an SMD is tiny little box looking thing.
[adsense format=”2″]Here is an example of one way to save. Our kitchen has a single track-style light fixture that uses five of the GU10 style 50 Watt halogen bulbs. It lights the kitchen up pretty well but I suspect it was costing quite a bit as well. Halogen’s are not as inefficient as incandescent bulbs but they are not a tremendous amount better either (or at least that’s what my research has uncovered).
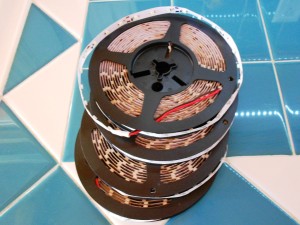
Since our kitchen lights are on a lot of the time, coming up with a more efficient approach is bound to save us some money. LED light strips can be a pretty interesting option here. These strips come on a reel and are generally sold by the meter (a meter is about three feet) – usually 1, 3, and 5 meter lengths. If you shop eBay, you can get these LED light strips for nearly free! Ok, not quiet free – I spent about $4 each but in the world of LED lights – that is pretty close to free!
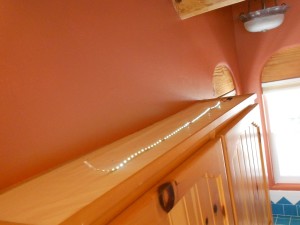
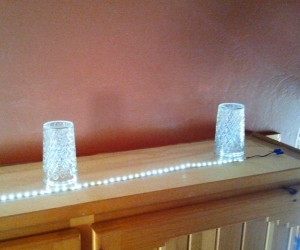
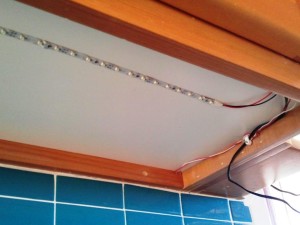
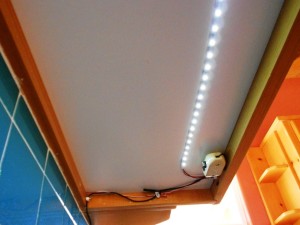
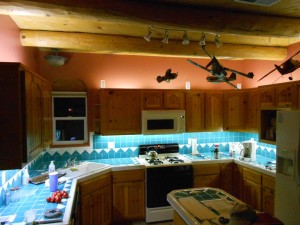
The first thing to do is consider how you may lay out a strip of lights. Our kitchen cabinets are divided into two “sets” – one set on each side of the sink. The short set is straight and about three feet “wide”. The second set goes around a corner and is about 15′ “wide”. In this case, purchasing two – 1 meter strips will work nicely on the first set of cabinets and two – 5 meter strips on the second. You are probably asking “why two of each length?” Well, we are going to install a strip of LED’s on the top and bottom of each set of cabinets. This gives us light on the counter as well as on the ceiling. Another neat little thing about these strips is that they are backed with sticky tape. Yes, we are going to use that tape to stick them to the bottom of our cabinets! The strips on the top of the cabinets are just laid down but not stuck down – they certainly can be stuck down if you prefer. Cleaning will be easier if they are movable. Another tip, lay some wax paper or lining paper on the top of your cabinets. That area seems to gather cooking grease, dirt, and slime and simply replacing this liner is far easier than scrubbing the slime and grease.
It works very nicely to have the two LED strips on each cabinet set working from a single switch. To do this you will probably need to drill a couple of holes in the top and bottom of the cabinets to run a very small two-strand wire from the top to bottom. You will then wire the two light strips together, to a switch, and then to a 110 Volt to 12 Volt wall wart type of transformer. Go to your junk drawer, garage, etc… were you keep all your junk and dig around for a transformer. Most of us have dozens of these things laying around. Most of the LED strips require 12 volt DC power. The switch being used can be nearly anything since very little power will be running thru it. I picked a $3 rocker type switch from the local hardware store. This switch is mounted underneath the cabinets with Velcro. Each set of light strips are then independent and are easy to turn on/off.
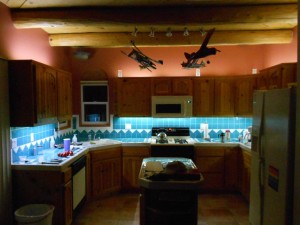
How did it work in my kitchen? I think it is great! It is not super bright – probably not enough light to read very well but the look is fantastic and the savings is superb!
Using some items from my junk drawer, the total cost of the project was about $23.00. 1M LED strip: $3.50 each 5M LED strip:$4.00 each Switch: $3.00 each Wire: $2.00 Transformers: Junk drawer
I’ll probably never know the actual benefit/payback as I don’t have a way to easily measure the amount of electricity that the halogen lights were using. However; I do know that 5 X 50 watts is 250 watts when the lights were on. Using a Kill A Watt, the LED light strips are consuming just under 10 watts. That is a significant reduction of electricity usage! I’ve allowed my Kill A Watt to monitor the two 5 meter strips for nearly a month. It is reporting power consumption at 14 cents a month or $1.75 a year. That is fantastic!!


Leave a Reply