youtu.be/yx0DSQhRUXY
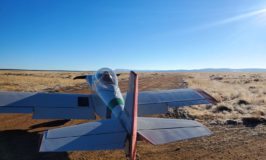
Yeah… I know… I can’t seem to sit still for very long. 🤔 I’ve got a new project and it is a big one! It’s a property right on top of the continental divide in south-central New Mexico. I don’t have a name for it yet but working on that – and accepting suggestions. It… [Read More]