Continuing with this change from a Lycoming O-320 engine to a Lycoming O-360 on my RV-4…
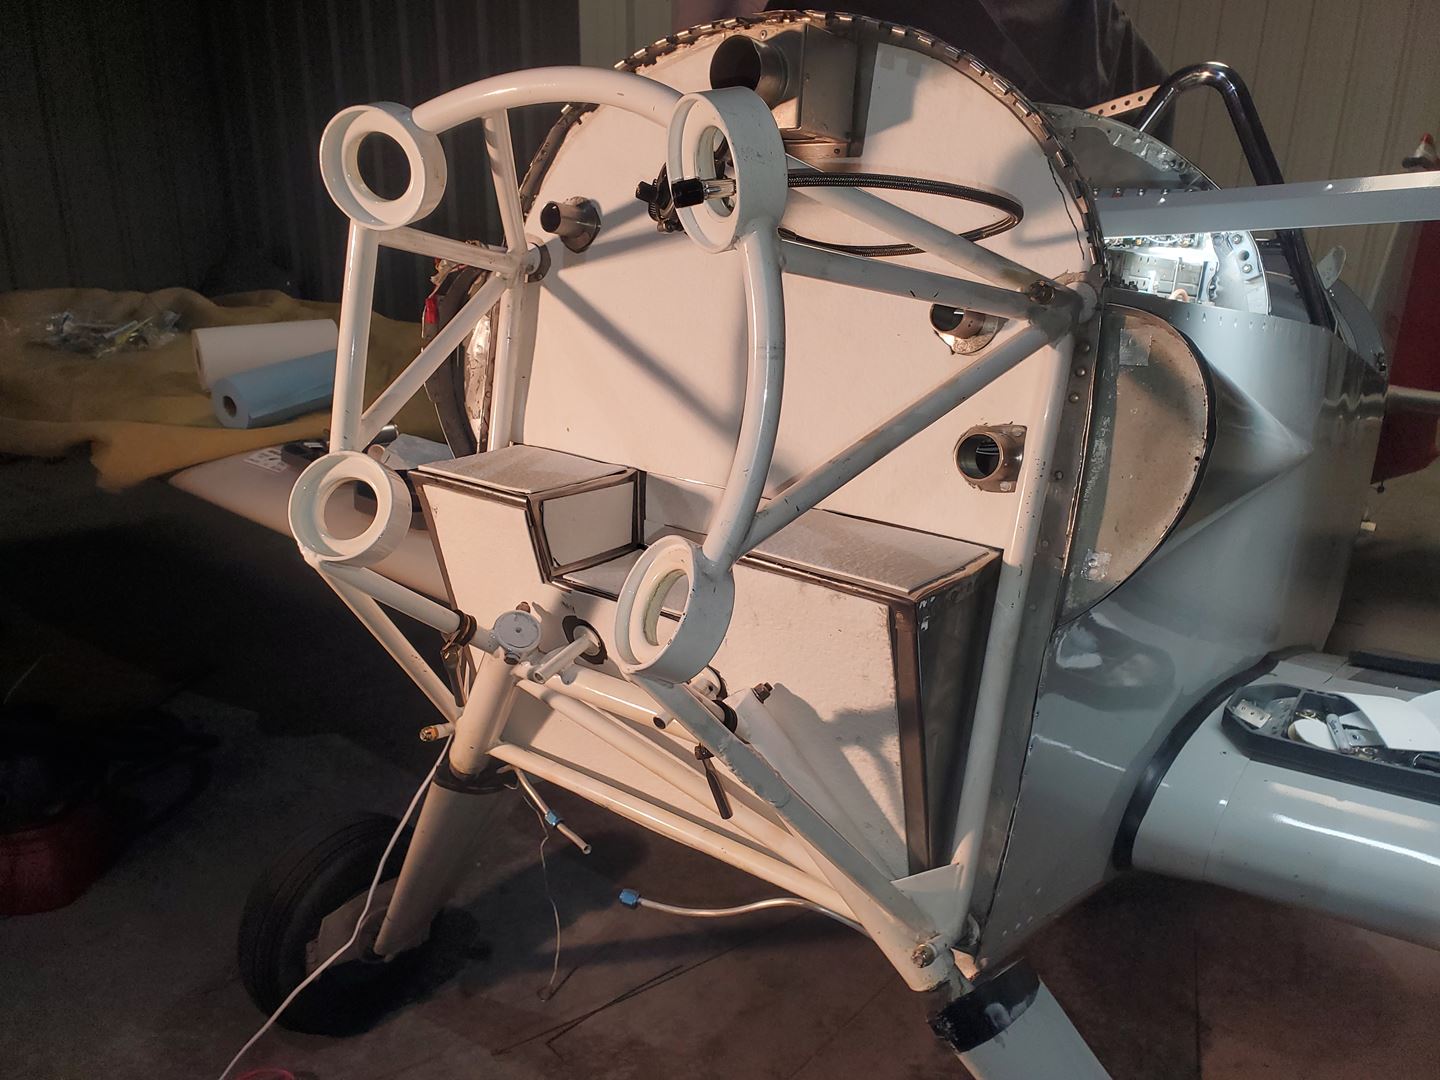
As previously discussed, the firewall had to be modified to make room for a rear mounted propellor governor. Not that I would likely install a constant speed prop right away, but I wanted to be able to do so easily… when the time came! 😉
A new sheet of stainless steel was cut and fit.
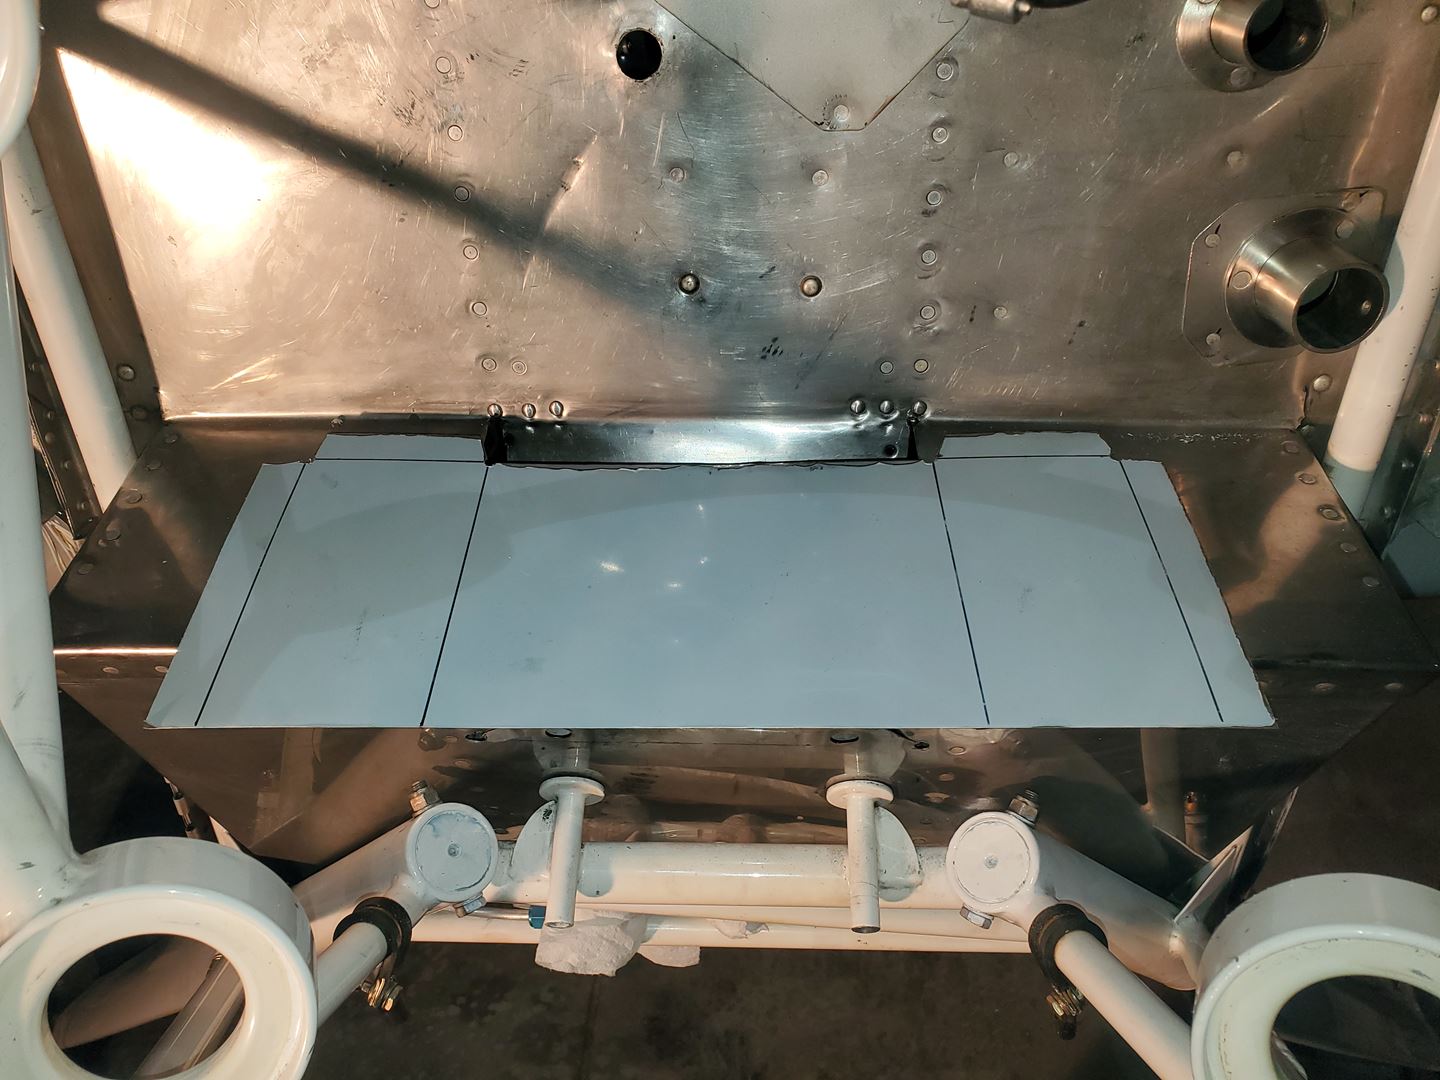
And riveted into place. Pretty difficult to get the rivet gun into several of those spots. I should have used more pulled rivets. Btw, those pulled rivets are stainless steel.
A major task in this process was making a firewall that works. That means a firewall that is capable of stopping, or at least slowing, an engine fire from getting into the cockpit. This is an incredibly rare event but is a concern since just pulling over and getting out isn’t quite so simple.
Us humans seem to prefer to ignore concerns like this and pass it off as a ‘that’ll never happen to me’ sorta thing. I’m no different and that’s been my attitude up until now. However; while performing this engine change and with everything out of the way, I have a great opportunity to significantly improve the firewall. Not that it was ‘bad’ before, just not as good as I would like.
We have no way to predict where the fire may occur, how intense it might be, or how it will behave with all that air flowing thru the cowling (in flight). So, we make the firewall out of a sheet of stainless steel. Then we drill some holes in it because various things need to get from the cockpit to the engine – like throttle and mixture control cables, starter cables, a bunch of wires, fuel line, and with the RV-4, the brake lines. The problem here is that we often don’t make these pass thru’s capable of resisting fire – a big hole with a rubber grommet is not going to last very long. Commonly used sealant doesn’t stand a chance either. It is also common to put “things” on the cockpit side of the firewall. Some of this stuff is ok – like bolted on metal parts. The items that are problematic are items that will burn, smoke, or off gas nasty fumes. Things like foam insulation, sound deadening blanket, and carpet.
With all that in mind, imagine a fire that is blasting at the firewall and heating it to a cherry red 2,000 degrees. The cheap sealant and rubber gaskets are not going to last and all that stuff attached to the backside is going to create all sorts of fumes and smoke. Worse, it may actually TRANSFER the fire inside the cockpit.
Obviously, the goal is to prevent or delay that for as long as possible.
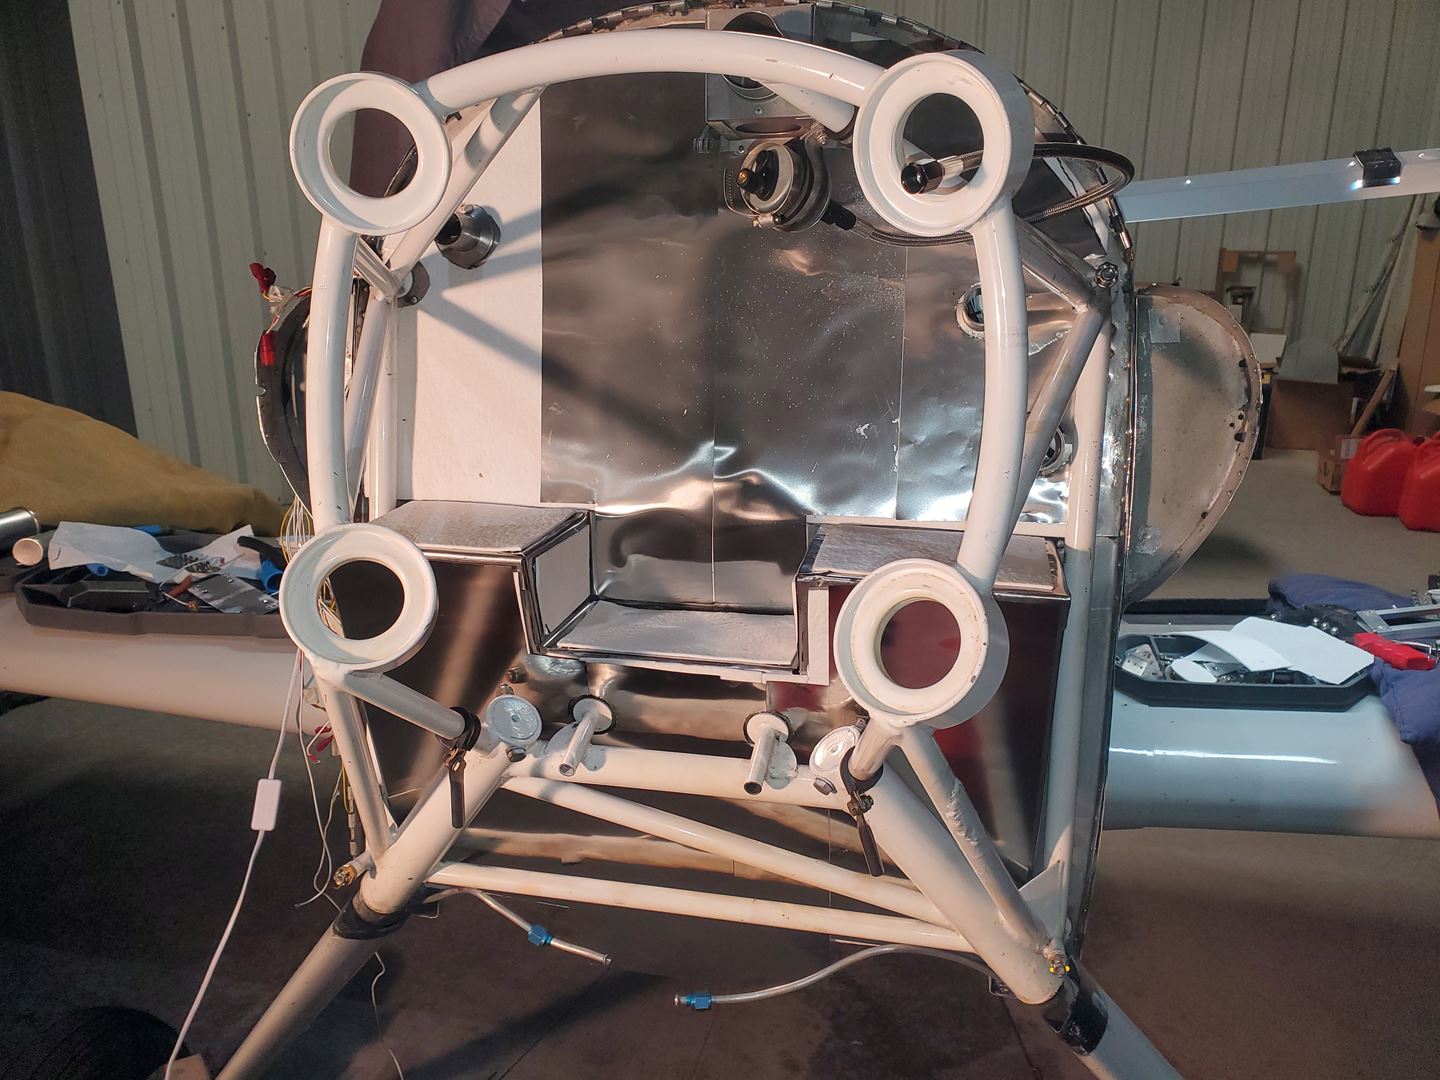
The best approach that the Van’s RV community has found is the stainless firewall sheet with a layer of Fiberfrax (a cermic insulator) and a layer of stainless foil over that. We end up with a sandwich on the engine side of the firewall – where the heat would be. A very high temperature sealant is used where necessary to seal up very small gaps (like around all those wires/cables).
Additionally, all the items that pass thru the firewall need to be fire resistant. That means no aluminum. Aluminum AN hose fittings are out – that’s what we commonly use for fuel and brake lines. Stainless steel tubing heavily insulated with firesleeve and high temperature sealant is used for assorted other things such as wires and controls.
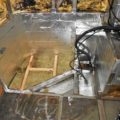
Ceramic insulation being installed.
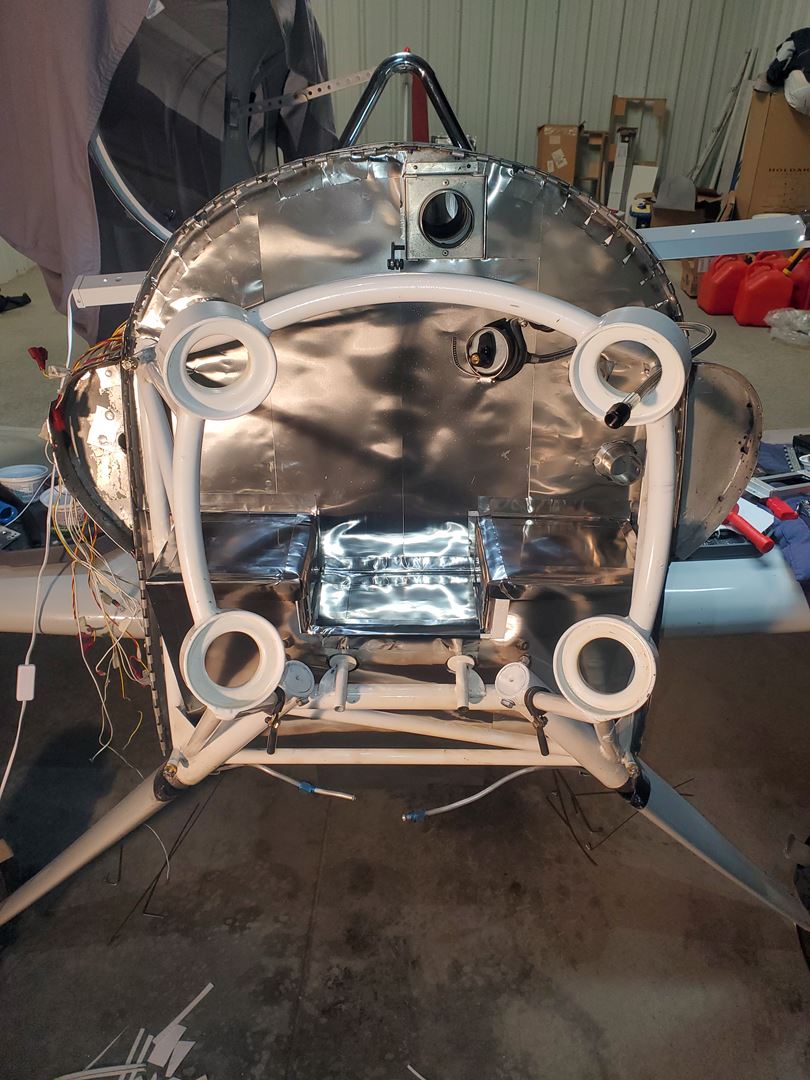
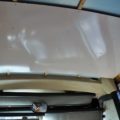
Stainless seteel foil going over the ceramic insulation. The stainless foil is .002″ thick and is like handling large razor blades. I nearly suffered ‘death by a thousand cuts’ but managed to get thru it!
Stainless steel tape and high temp sealant used to seal up the whole thing.
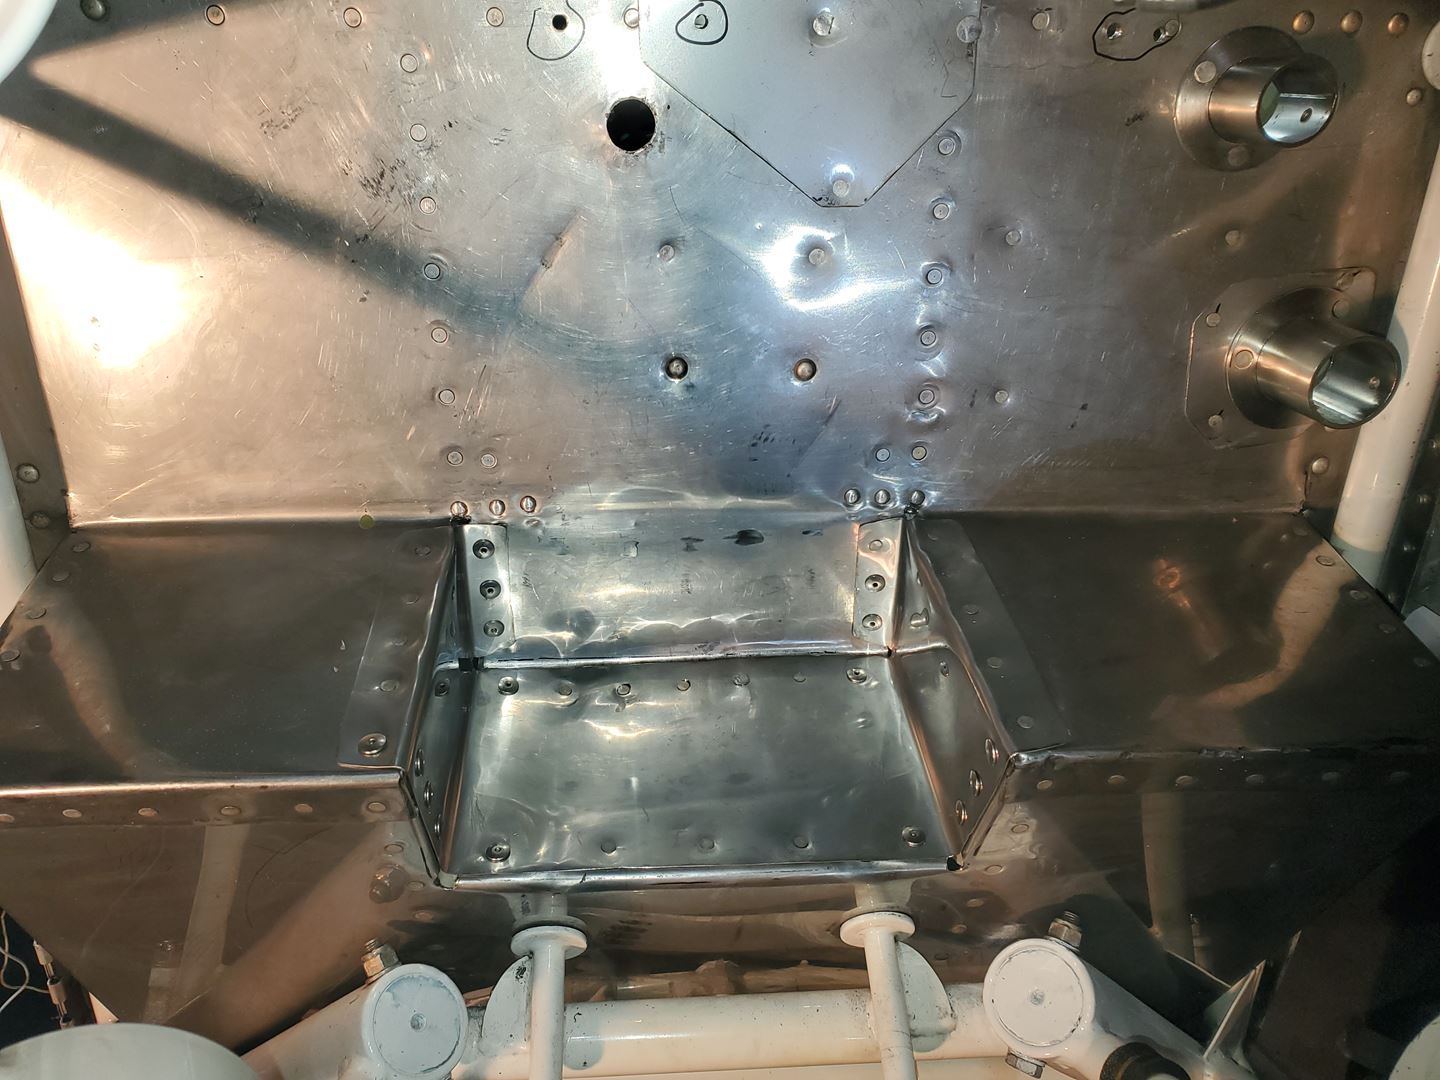
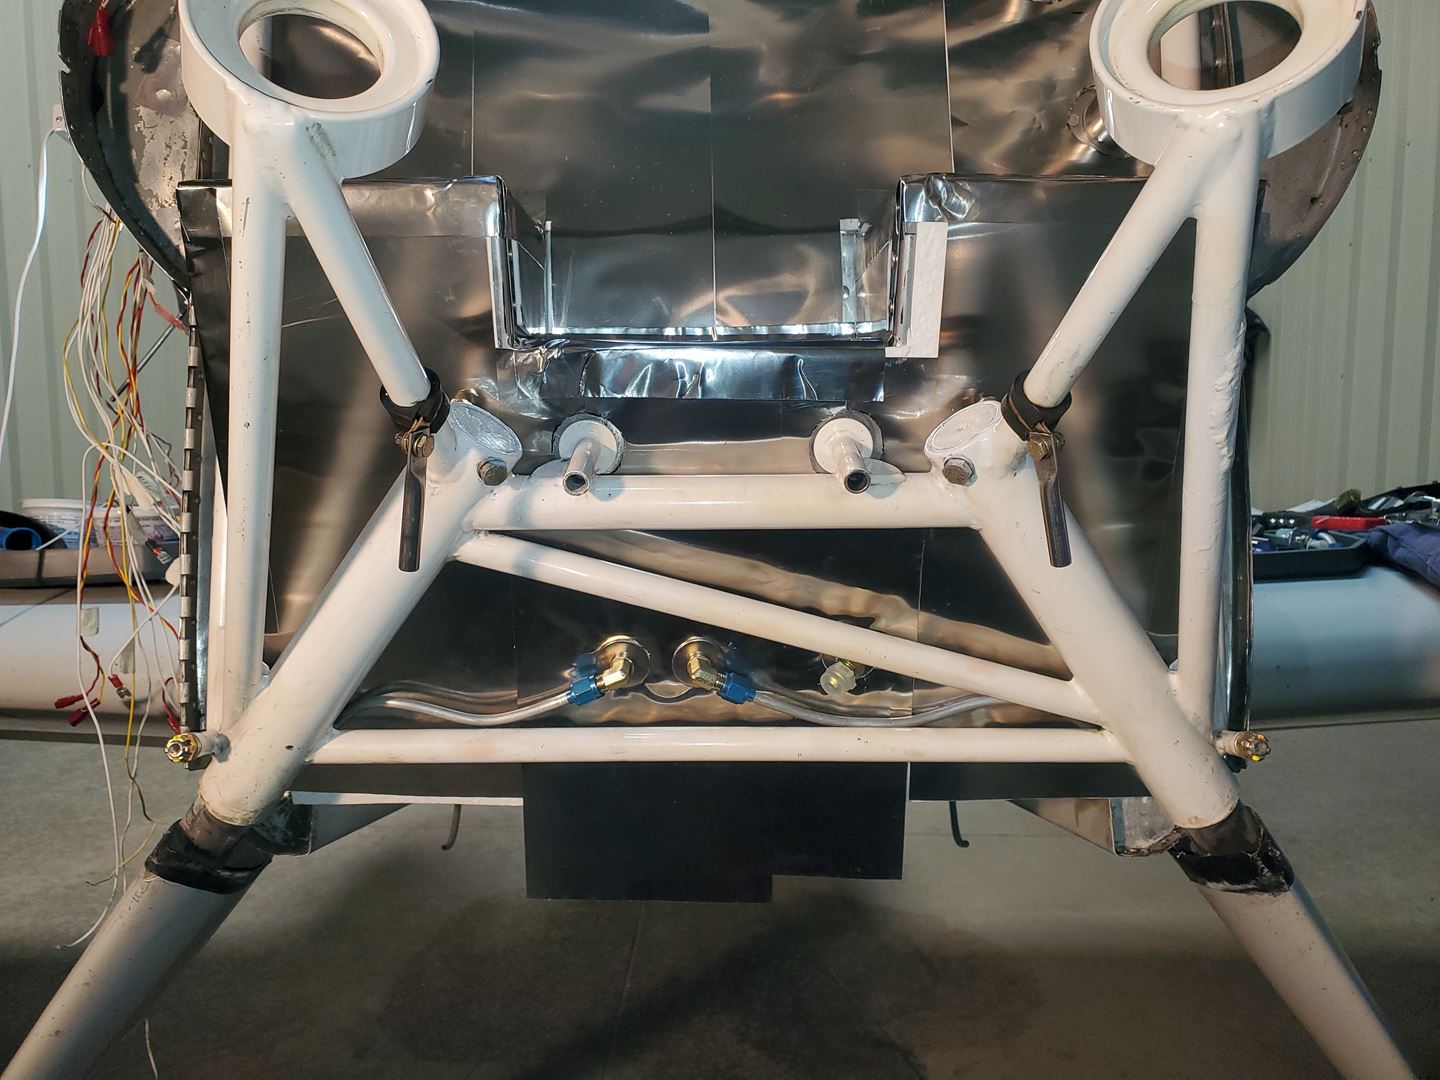
New steel bulkhead fittings installed for the brake lines (down near the bottom).
I must be getting old because all of that work took an incredibly long amount of time!! It’s a little discouraging to describe it in just a few words. Nonetheless; I’m pleased with the results!
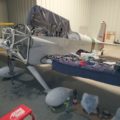

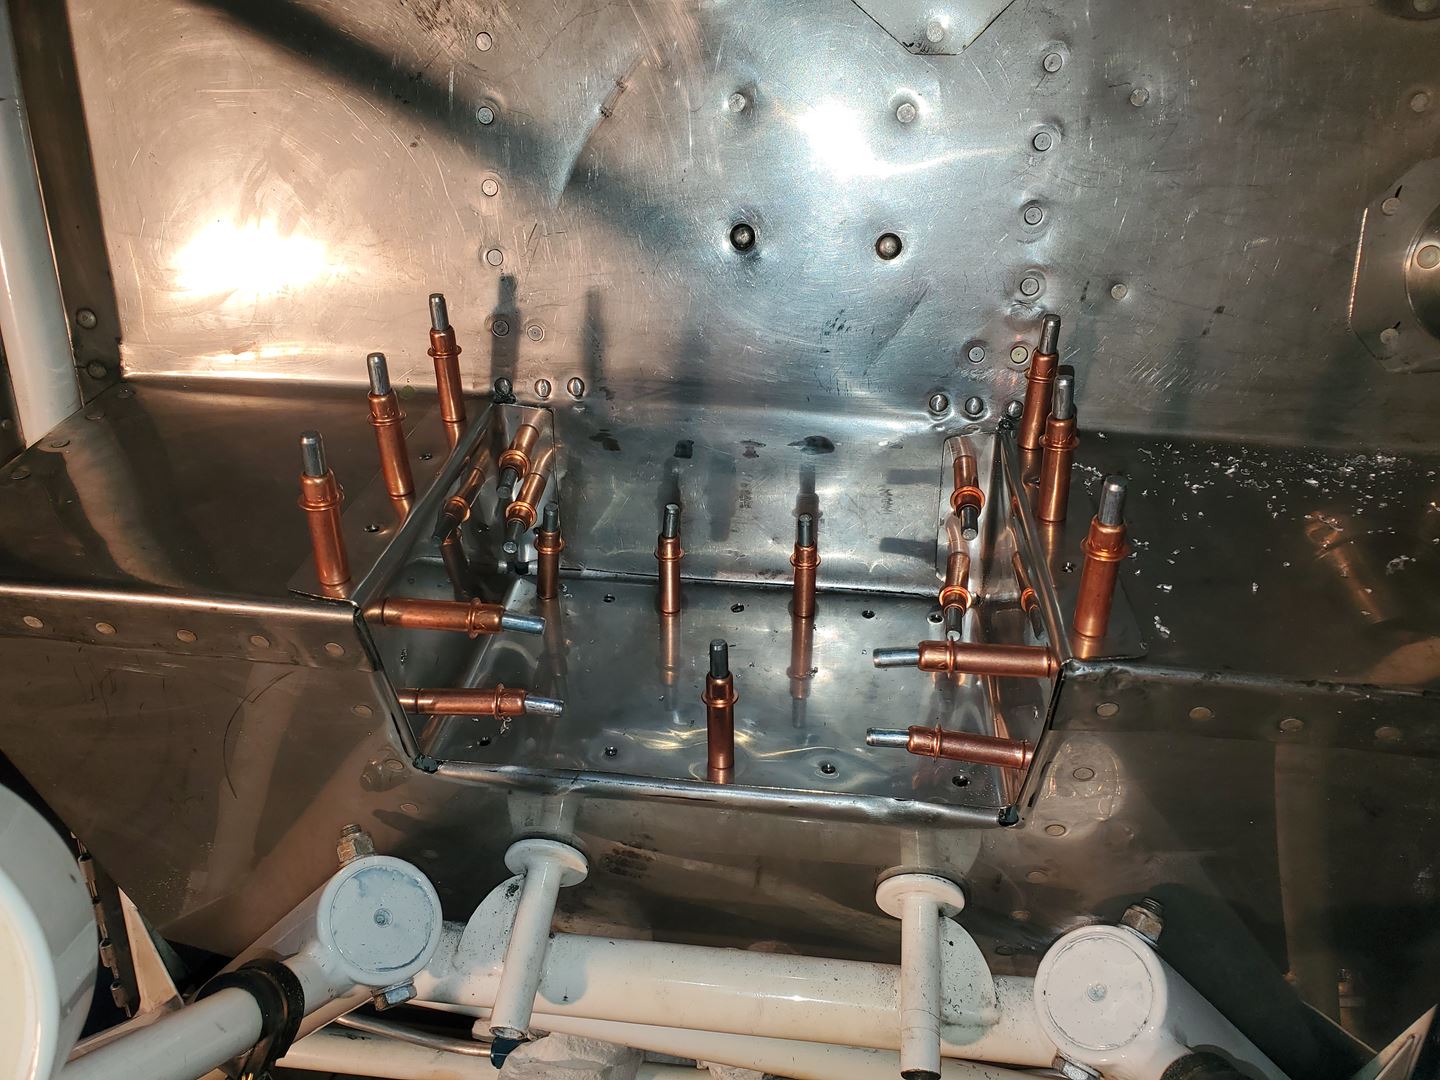
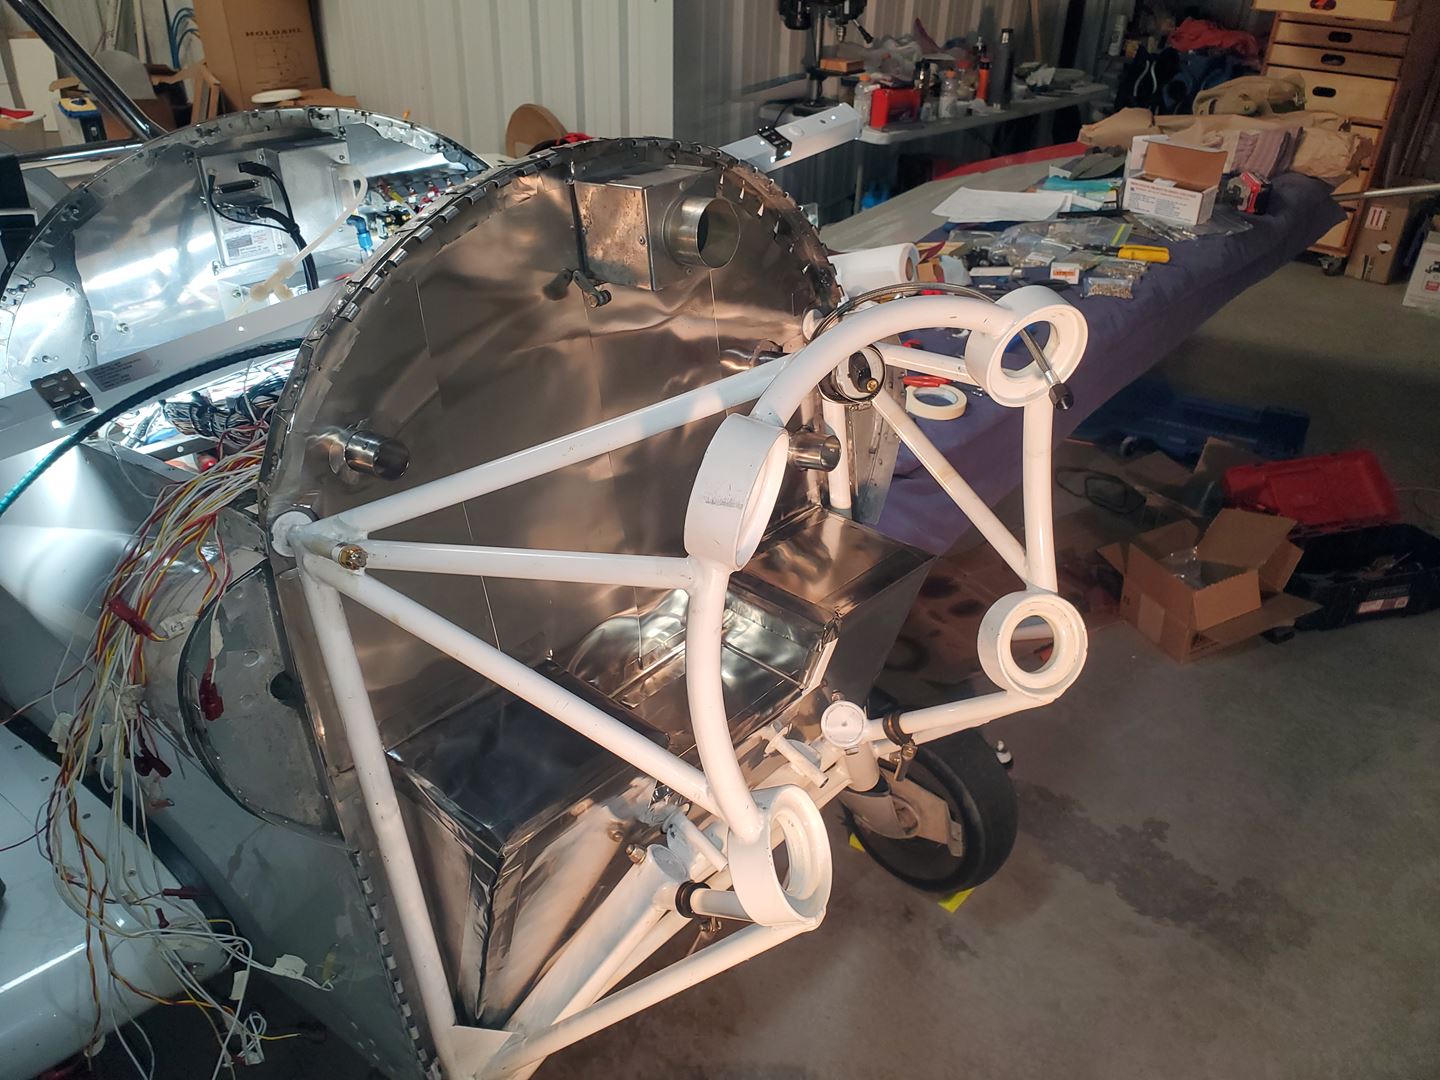
What are all of those things sticking up in the second picture?
I wish I could see this in person. It really does seem like a ton of work. And not ditch digging work. Pretty finicky, persnickety work. You are very patient and good at that stuff!
Do you have to have a machine shop cut and bent the stainless steel?
Hey Pete! C’mon over!! 😉
The things sticking up are cleco’s. They are used to hold two or more pieces of sheet metal together and in alignment thru rivet holes (before the rivets are added). A special pliers is used to ‘extend’ them so they can be inserted thru the hole and when released, they expand and pull everything tight. Invaluable for sheet metal work.
The stainless is bent the old fashioned way – grab it with your teeth and start pulling with your hands! 😮 Actually… it’s 26 gauge so about .018″ which isn’t too bad to bend by hand. I used a couple different hand tools (kind of like 6″ wide pliers (??) and workbench with clamps. For the part already attached to the airplane, I had to get a bit creative! Basically ended up with a straight edge, clamps, and a few different types of pliers and vice grips – whatever would fit the space. Getting a straight bend with an appropriate radius is the trick.