I’m a pretty slow dude. The plastic bags that you get when shopping have annoyed me for years but I never did anything about it (except complain). I just keep hauling all those plastic sacks back to the Walmart plastic recycle box (which I always feared was just dumped into the trash bin). Possibly worth noting, I once tried a couple of those cheap cloth-ish sack but they very quickly fell apart because I overloaded them so badly.
This past week I was looking for a sewing project to get some practice with my new Sailrite sewing machine. It struck me that I could solve both problems by making some tote bags!!
Not being a particularly smart fellow, I wasn’t sure how to make a tote bag but I had some ideas. I wanted some space in the bags so a single seam beach bag type thing was not for me. I wanted a flat bottom bag into which I could load a bunch of groceries. I also wanted to use boat line (rope) for the handles because I really like that look. However; I couldn’t come up with an easy way to do this when making a single layer tote, so I skipped that complexity this time around.
Some Internet searching revealed a number of interesting ideas and patterns. However; I could not envious how the pattern was sewn to provide what I was after. So, off to YouTube. I was a little surprised to find a whole bunch of sewing videos that displayed exactly what I was having a hard time with – the bottom of the bag.
I had a roll of 4 oz. Dacron sailcloth as well as a big roll of one inch webbing (strap). I wasn’t after a designer bag, rather a bag that would not get soaking wet and might even be a bit water resistant (for those times that it is sat in the bottom of the dinghy for the ride out to the boat – ahh yes… boat living is still at play!!). The 4 ounce sailcloth would be perfect for this and is plenty strong for this purpose.
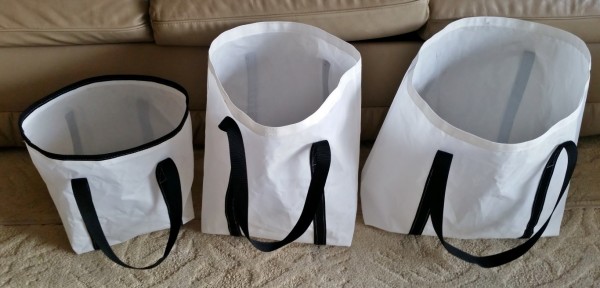
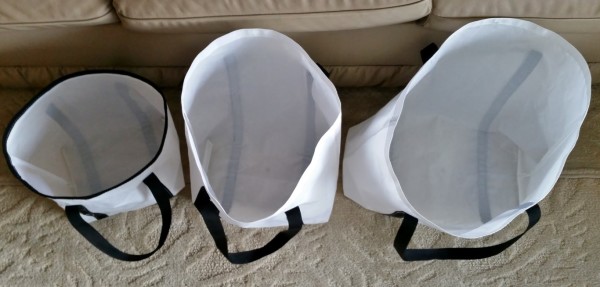
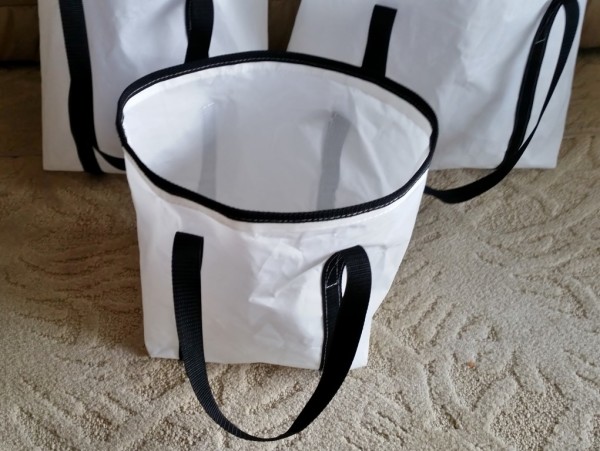
I randomly picked a size that I guessed would be useful and went to work. I won’t bore you with the sewing details since there are so many of them on the Internet already. In very short form, I cut a large rectangular piece of fabric and sewed the straps to the outside. The edges were then sewed to form an envelope with one open end. The corners were cut out of the bottom of the bag (2″x2″), folded flat, and sewn together. This forms the flat bottom for the bag. The bag was then folded right side out, the top folded down, and a seem sewn on.
Very simple!
I learned a number of tricks during the construction of the first toe bag so decided to make a second tote. Of course, I learned more from the second bag so I decided to make a third!
I decided the third toe would be a bit smaller than the others but with a wider bottom and a bit heavier duty for canned goods. For practice sake, I even added binding to the top of the bag.
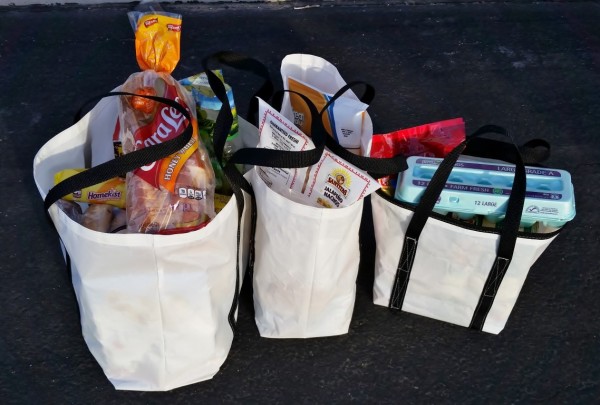
I was very pleased with the final product – the three bags almost looked like a matching set!
However; they hadn’t yet accomplished anything. So, it was time to go to the grocery store.
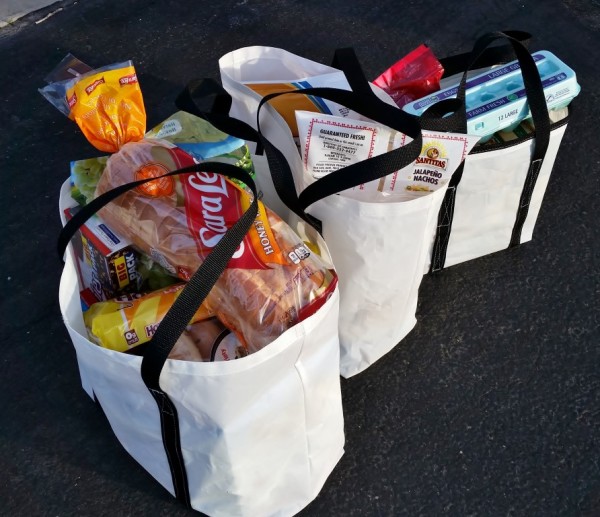
The following photos tell the tale! SUCCESS!! The tote bags worked flawlessly – even filled to the brim. The best part?? I do not have a huge pile of plastic bags to haul back to the store!
Note from JD: After using these sacks for the last 5 months or so, I have noticed something interesting. Whenever I take these tote bags into a store, the clerk always make an attempt to pack them as tight and full as possible. I REALLY appreciate this effort and I tell them so.


Leave a Reply