I previously mentioned (here) purchasing material to construct my own windshield sun cover. In review, I purchased black Phifertex material, described as:
“It is a Similar to PhiferTex® but has a tighter weave, which gives it a 95% shade factor. These fabrics are specially designed and engineered for a wide variety of applications that demand extra strength and/or dimensional stability. Woven from PVC-coated polyester, PhiferTex® Plus is highly durable, mildew resistant, stain resistant, fade resistant and easy to clean.”
Several weeks ago I did some experimenting with these materials and constructed a driver side window cover – start small and all that. This cover turned out reasonably well but I learned that the magnets I had purchased did not have nearly enough holding power for the windshield sun cover due to its size and weight.
So, I purchased some additional magnets. I learned that the N52 rated magnets are much stronger than the lower numbers (N40, N45, N50, etc..). This time around, I purchased twelve 1.5″ x 3/4″ x 1/4″ thick N52 Neodymium magnets. These puppies have SERIOUS power – I am told some 60 lbs of pull force. They will hurt you and will break if you let them smash together (because they have so much force when they hit). Be careful. Once two of them are together, they are very difficult to get apart.
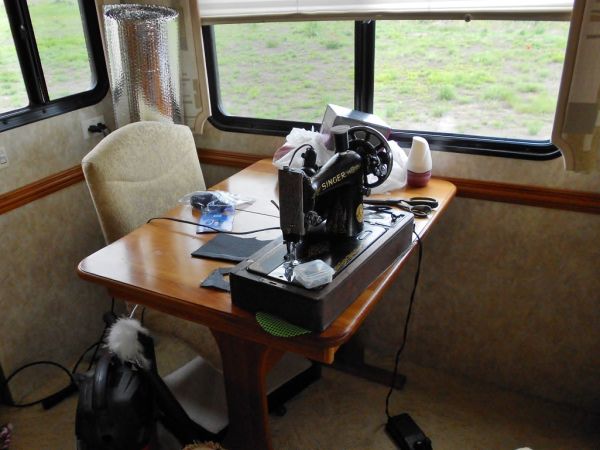
Here’s a shot of my little workshop! My 1938 Singer sewing machine and the dining room table. 🙂
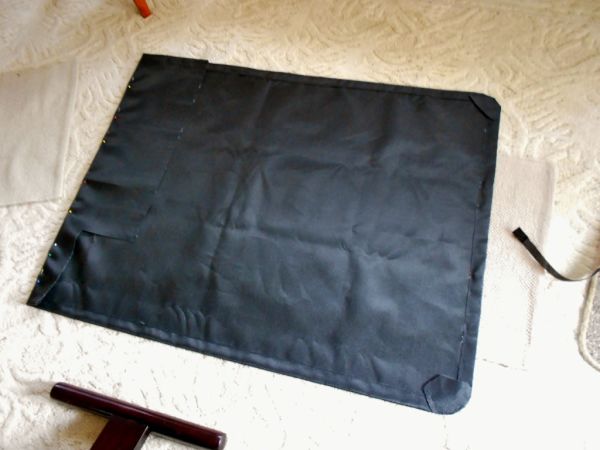
I started at the top of the windshield by sewing a seam into the material. I made this seam large enough that I could insert the above magnets. I then worked down one edge, then the other, and finally the bottom. This took a LOT of time as I had to keep putting the material on the windshield, getting it held in place, and then marking the material. Since I was doing this by myself, you can imagine the number of times I had to run in and out of the coach and up and down the ladder. Suffice to say, I got a workout!! 🙂
I placed a set of magnets in each of the four corners and in two places along the top edge. Once the matching magnets are placed inside the glass, a total of twelve were used. 3M VHB double sided tape was used to mount the magnets to the glass. I have order a few additional as it seems that another set at the midpoint of each side is needed. This means that a significant portion of the cost of this project is in the magnets – they are not cheap. Another difficulty is sewing around the magnets to hold them in position in/on the material – they want to stick to the sewing machine!
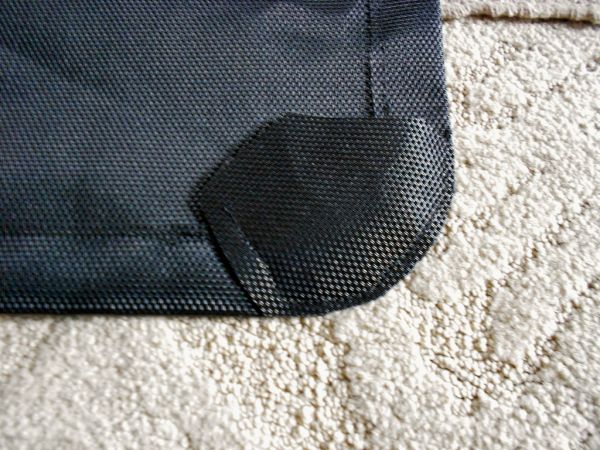
Getting a nice round corner that matched the windshield contour was not easy – of course, I’m not seamstress either. In the end, I don’t think it turned out too bad.
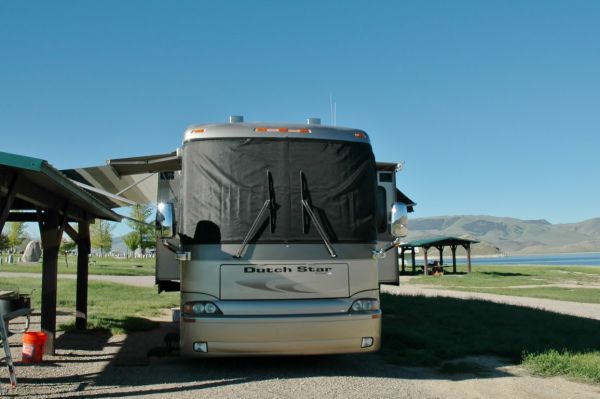
The windshield sun cover does an excellent job of keeping the heating effect of the sun on the windshield down. It’s actually a bit surprising how well it works. During the day, from the inside, you can see reasonably well thru the cover so you don’t feel like you’re stuck in a dark box.
It’s not perfect but I’m not ashamed of it so I’ll call that a success! Total investment was about $225.00.



Hi,
I’ve been researching windshield shades for the 2011 Dutch Star that we bought a couple months ago. My wife and I have been full-timing for about 9 years but before our hobby was sport aviation. We loved it but had to give it up when we hit the road. Saw that you’re a builder too. The RV’s a great airplane.
I was wondering how your windshield shade was working out. My wife is VERY handy on the sewing machine so we are interested in making one ourselves. Are the magnets working out? We had a MagnaShade on our previous coach.
I appreciate any info that you can help with.
Will Tatham
Hi Will! Yes indeed, the RV’s are most excellent – I really miss my RV-3! What aircraft did you have?
The sun covers are working wonderfully. Except for a couple of quick overnights, I’ve used them nearly every day this summer. The magnets do a super job – they are also a bit of a nuisance. When attempting to roll/fold the cover, they like to attach to one another and when put in the storage bin, they like to cling to whatever metal they can find. I have a hard time faulting them for doing such a great job at what they were asked to do. 🙂
I think anyone handy on the sewing machine is capable of making a set. The hardest part of the project is not having a pattern but some trial and error seems to overcome that reasonably well.
Thanks for the response and the information. We stayed on the lower end of the performance curve with our aircraft building mostly Kolb 2-place homebults. We did restore a ’46 Aeronca Chief but a 65 hp Continental isn’t much of a head-turner. It was ALL fun, though.
if your interested, I put a synopsis of our 25 years in sport av out on youtube. Here is the link:
https://www.youtube.com/watch?v=r0kSwK60o0o
Again, thanks for the info.
Will
That is a great video Will! Thank you for sharing! It is amazing to me how much video you captured all those years ago. I was attempting to get what I could in the 90’s but most of it has disappeared over the years.
Thank you for posting this. It has great information especially about the magnets.
We full time and I don’t have a sowing machine.
I have done a few prototypes projects using some scrap regular screen and hand stitching which is very slow and hot glue which seems to be strong but bulky and not very aesthetic.
To avoid all the sewing I was thinking I would not hem the edges and just make pockets or go even simpler and epoxy the magnets to the screen.
Any feed back would be appreciated.
Hi Ed – Thanks! The material gets very hot in the direct sun so I would worry that hot glue would melt. The epoxy idea is probably worth a shot though!