• RV
    • Missy – My Home
    • JBAM – Newmar Dutch Star
    • Shaneeda
    • Buying a Used RV
    • Gas vs Diesel RVs
    • Ideal Motorhome
    • Choosing the Ideal RV
  • Cycling
  • Jeep
  • About
  • Flying
    • Vans RV-4
    • Daisy – RV-3B
  • Resources
  • Subscribe

JdFinley.com

Fulltime RV Living Adventures

  • Is Solar For You?
  • Gas vs Diesel RVs
  • Buying a Used RV
  • Choosing the Ideal RV
  • Ideal Motorhome

Kayak Part Line

November 22, 2022

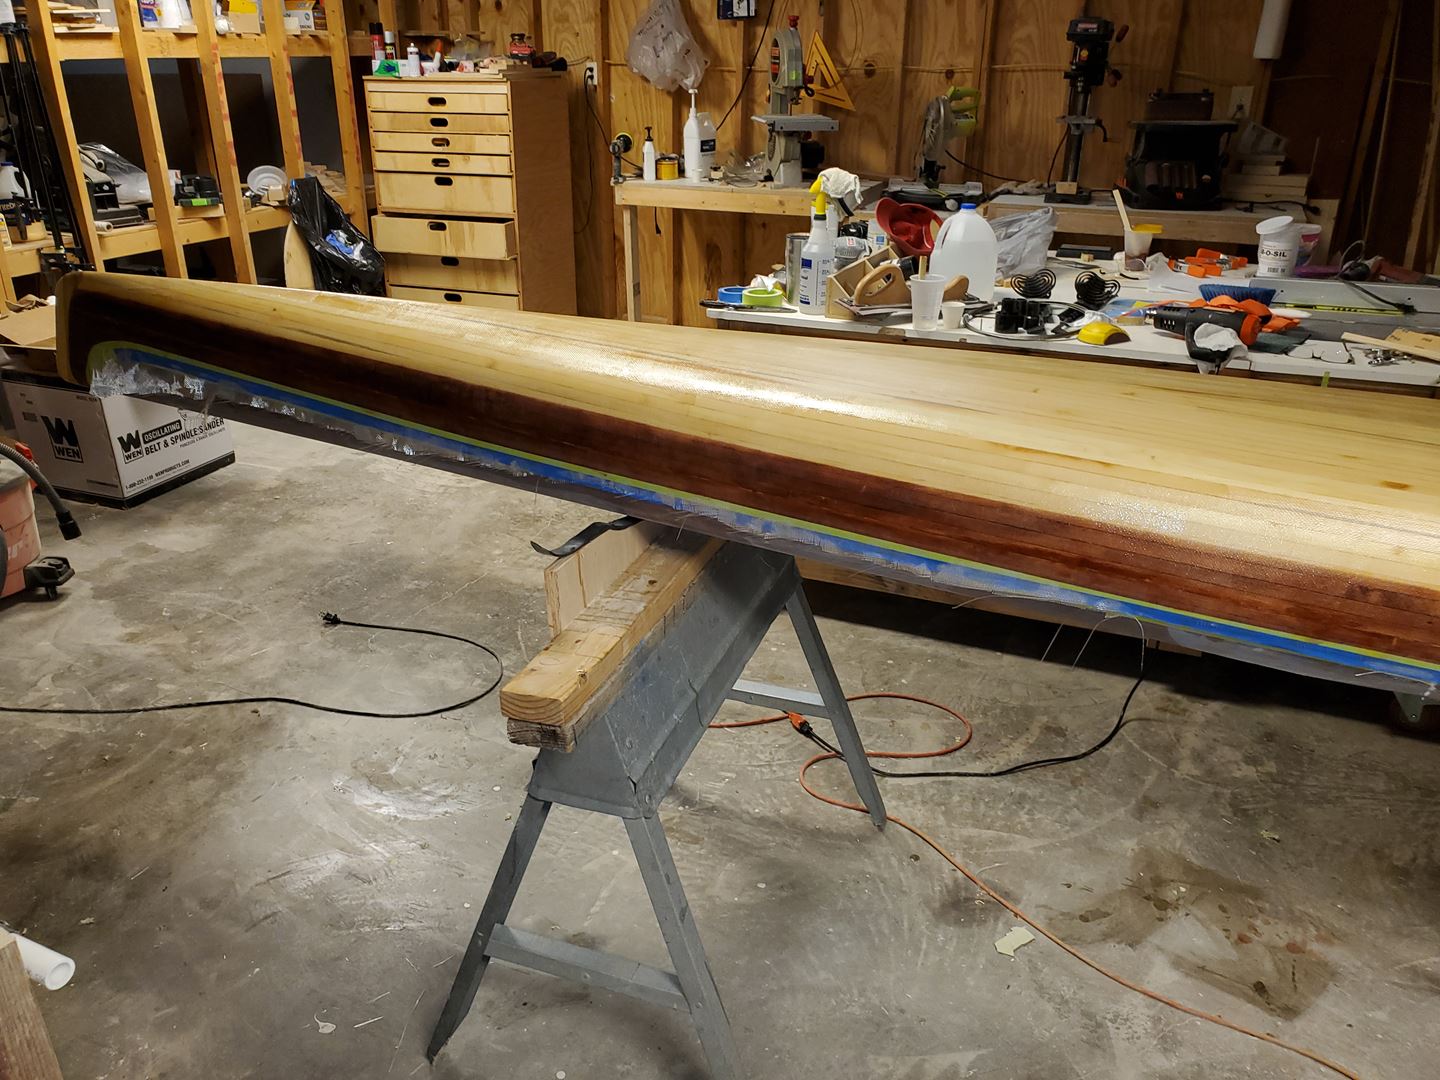
As you may recall, we last completed fiberglassing the inner part line of the kayak. Now time to work on the outside.

Ideally, this line would be intirely invisible after the kayak is complete. Something told me that I probably wasn’t going to achieve that. Still… we try.

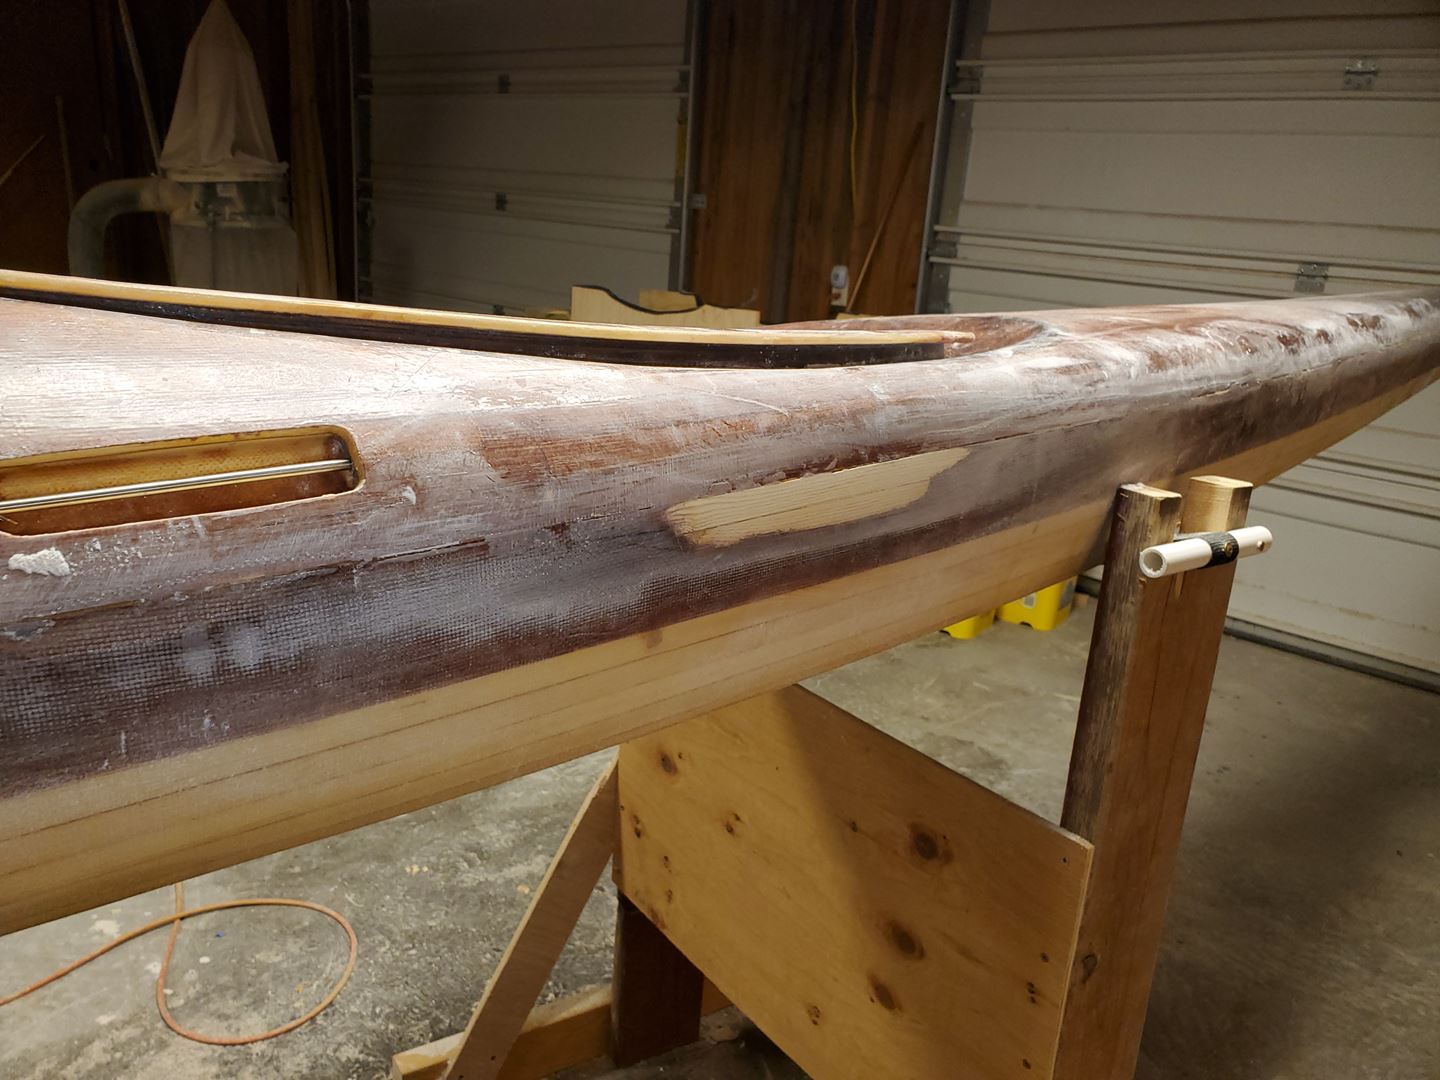
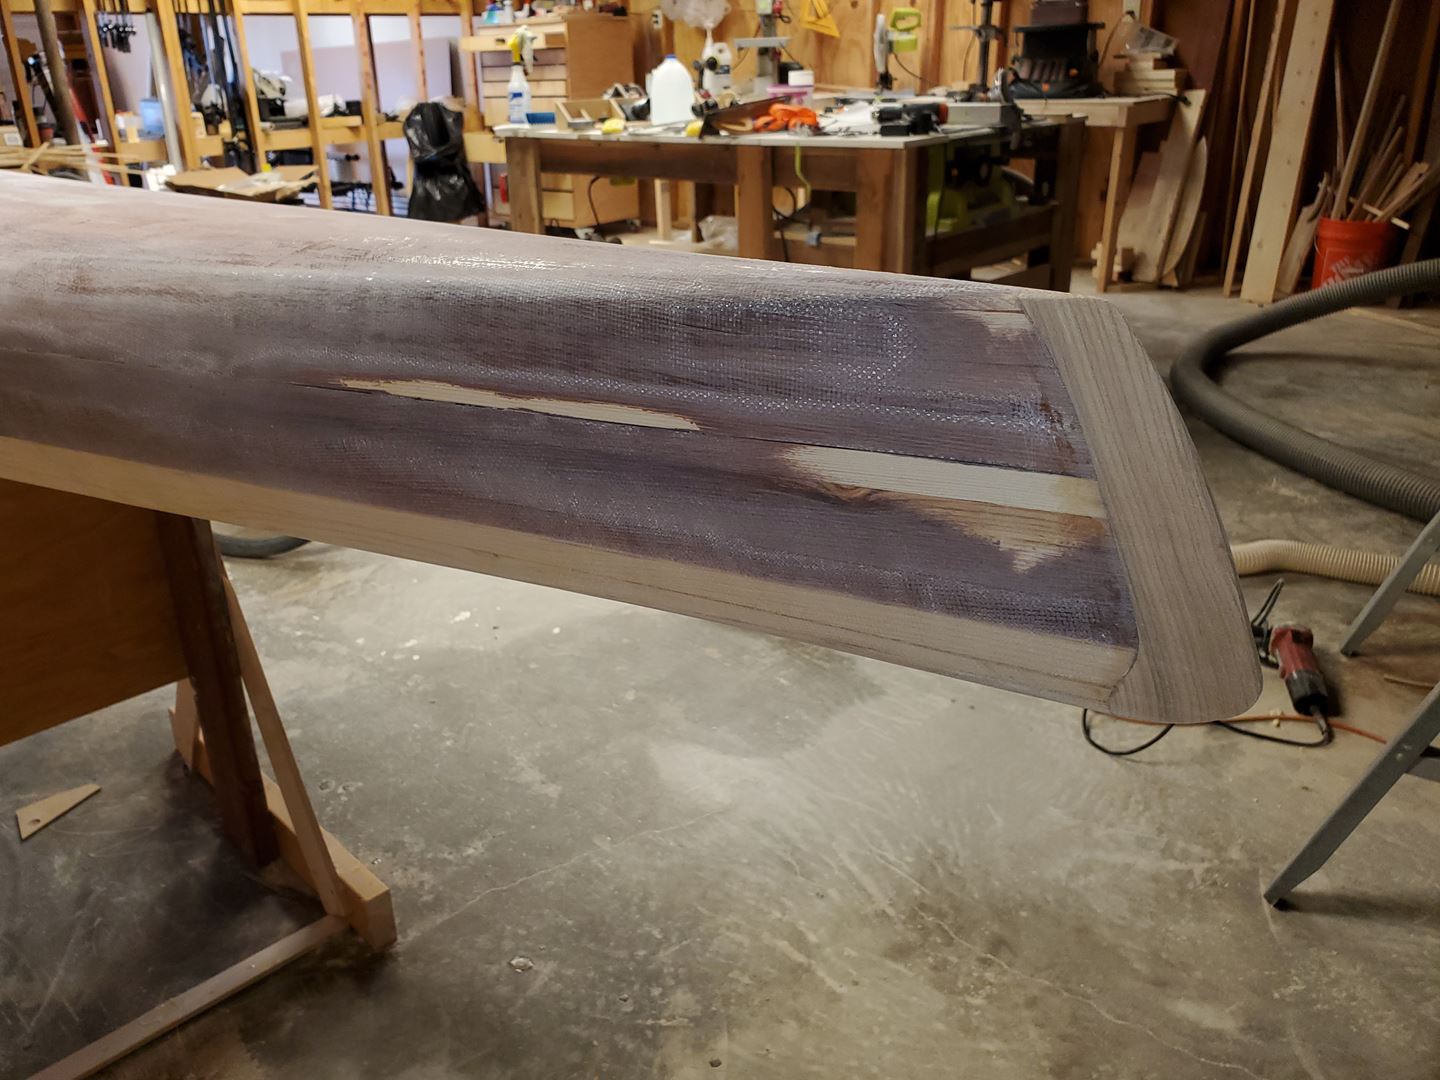
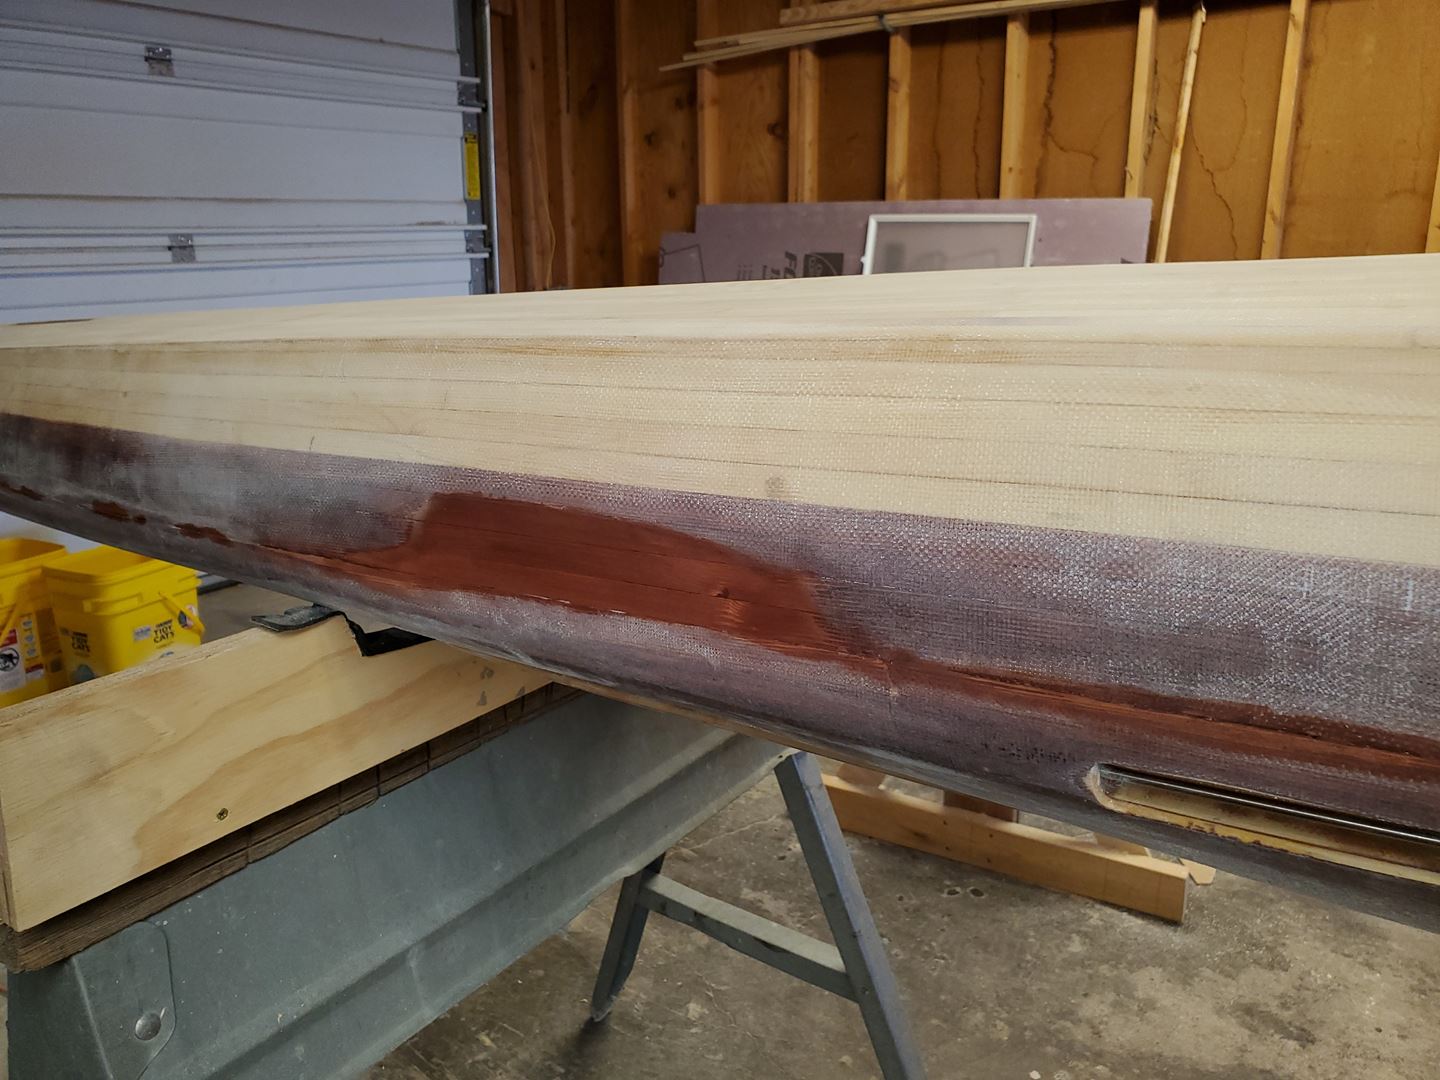
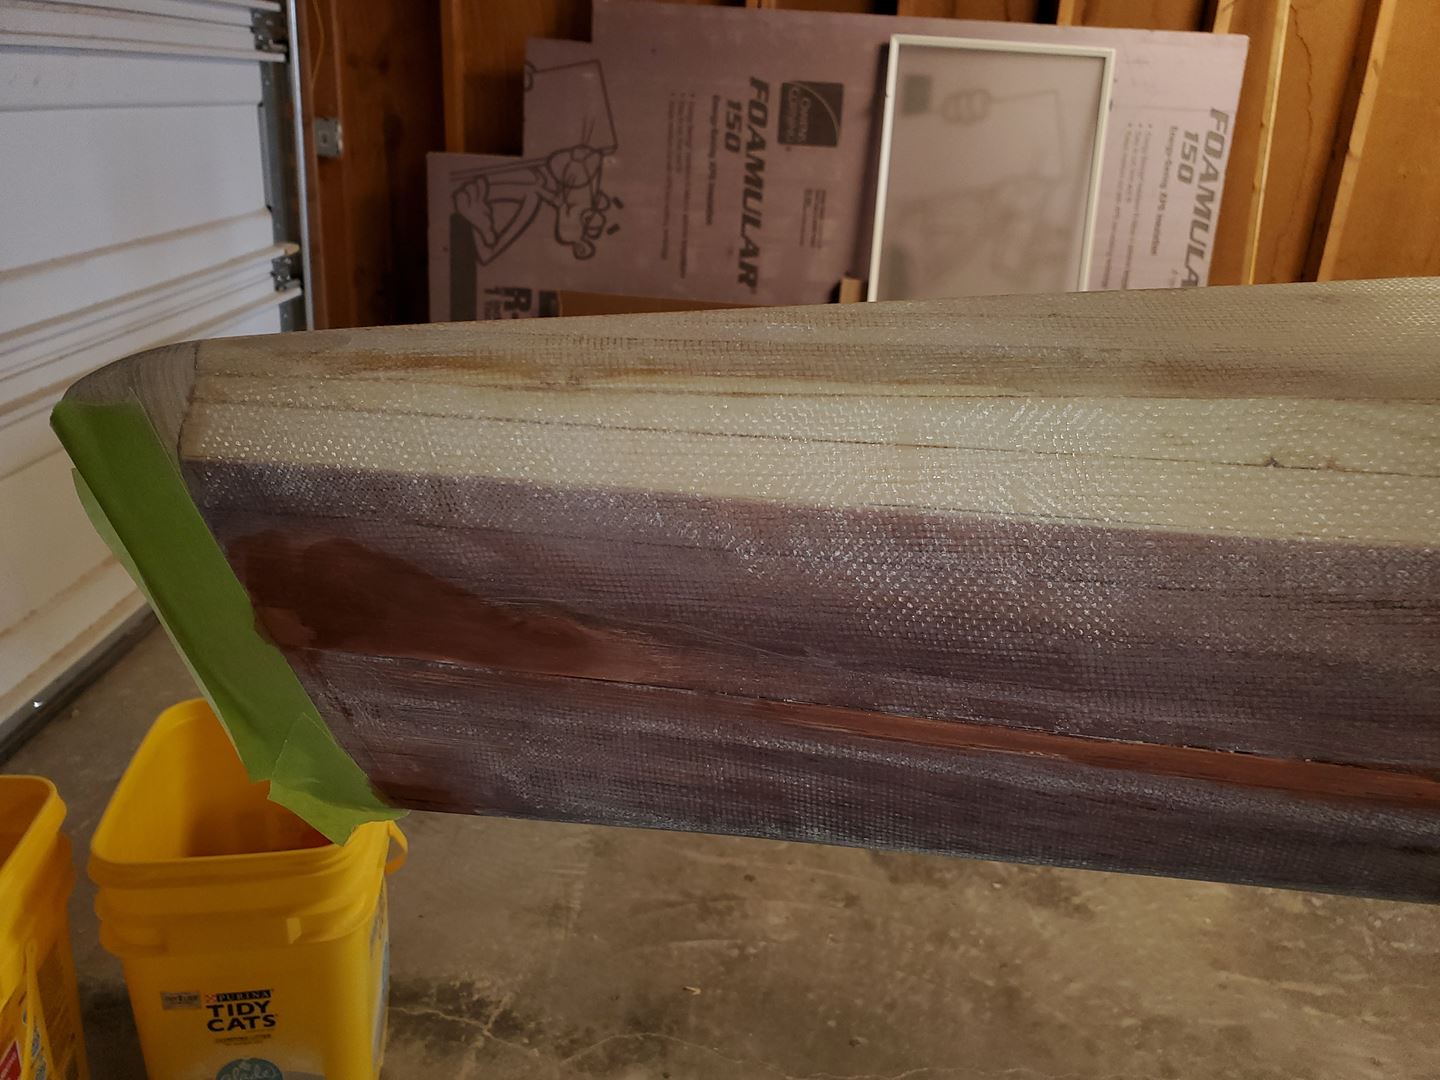
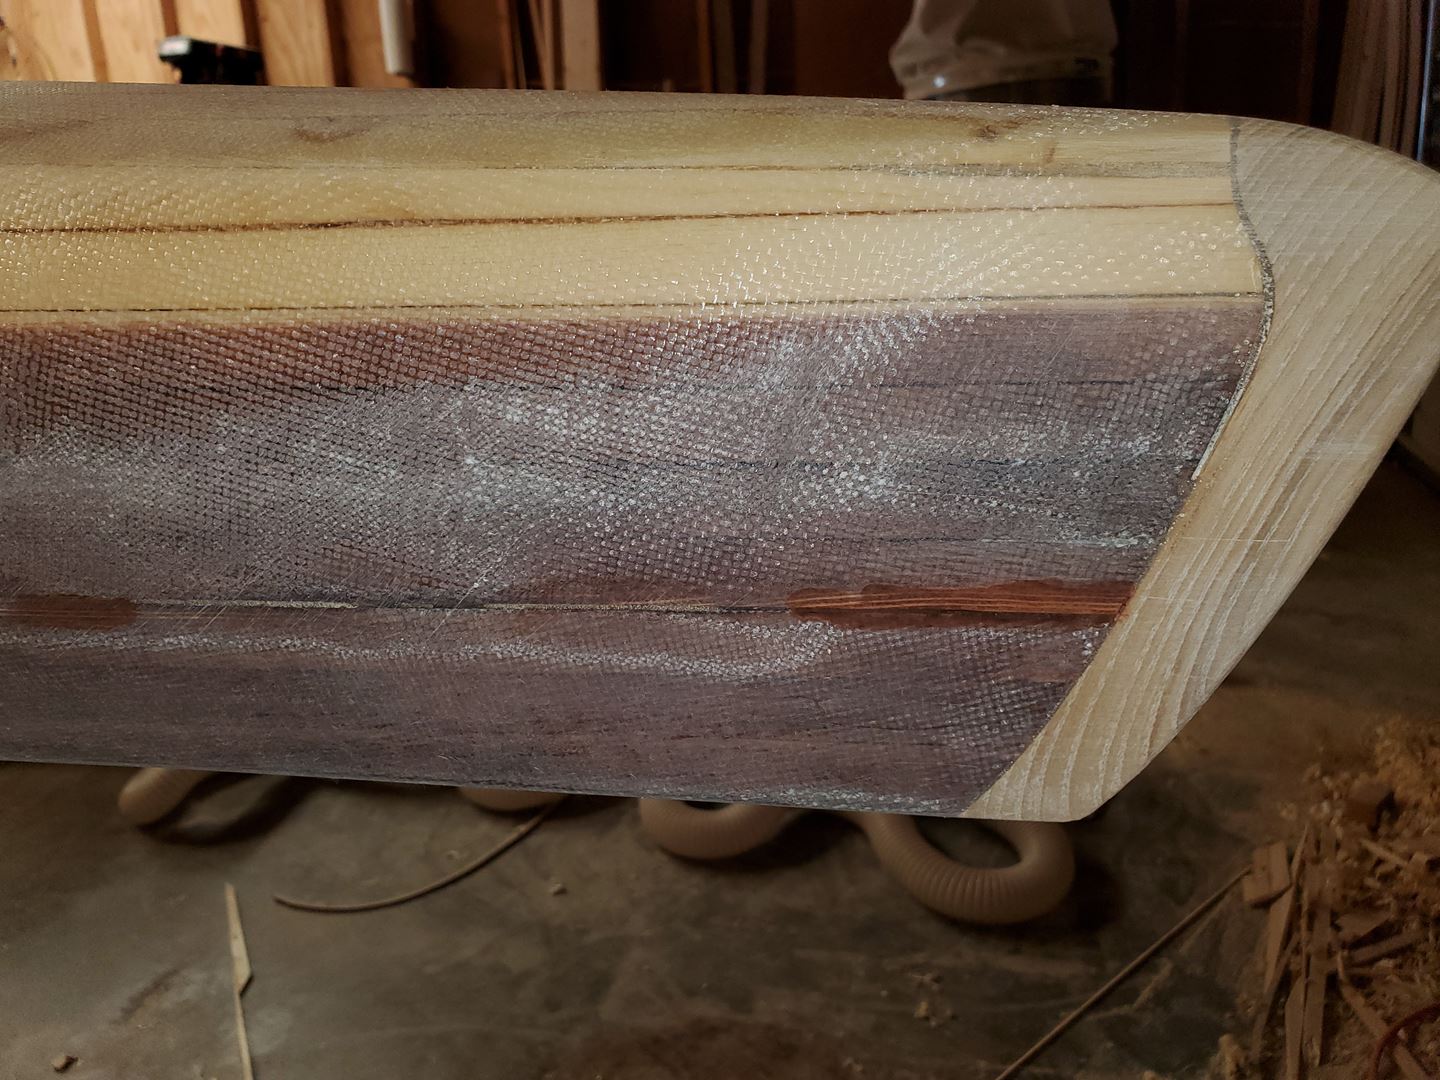
This all starts with a bunch of sanding with the long board. The idea is take the high spots down and create perfect alignment. Sadly, I had to sand into the stain on the high spots to accomplish that.

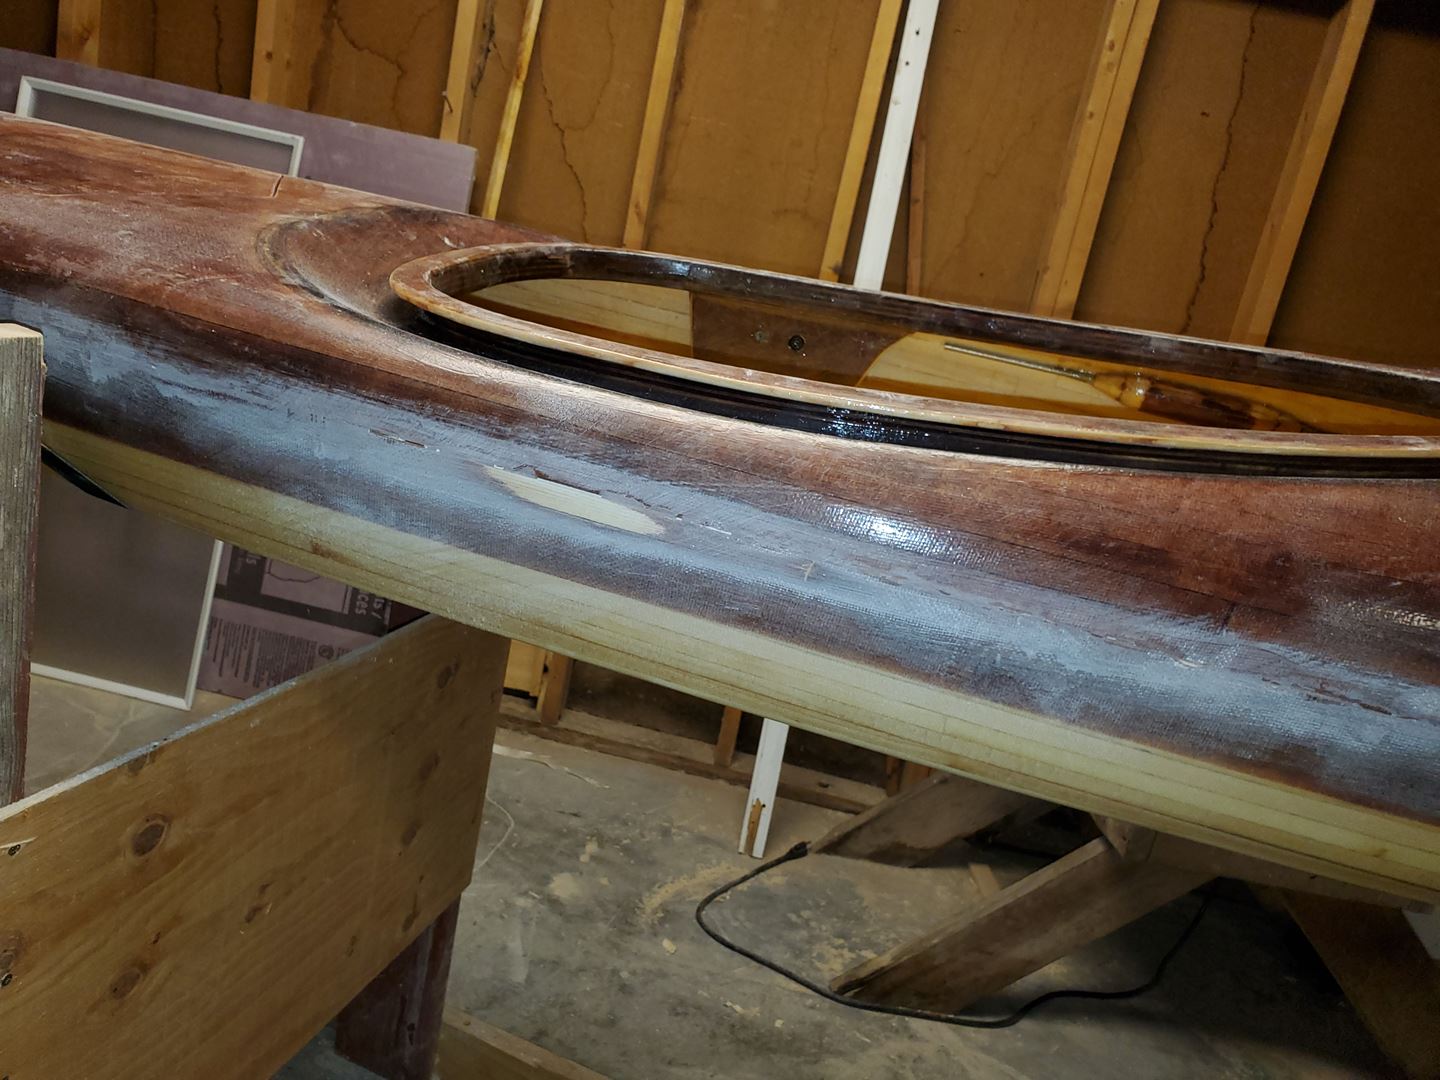
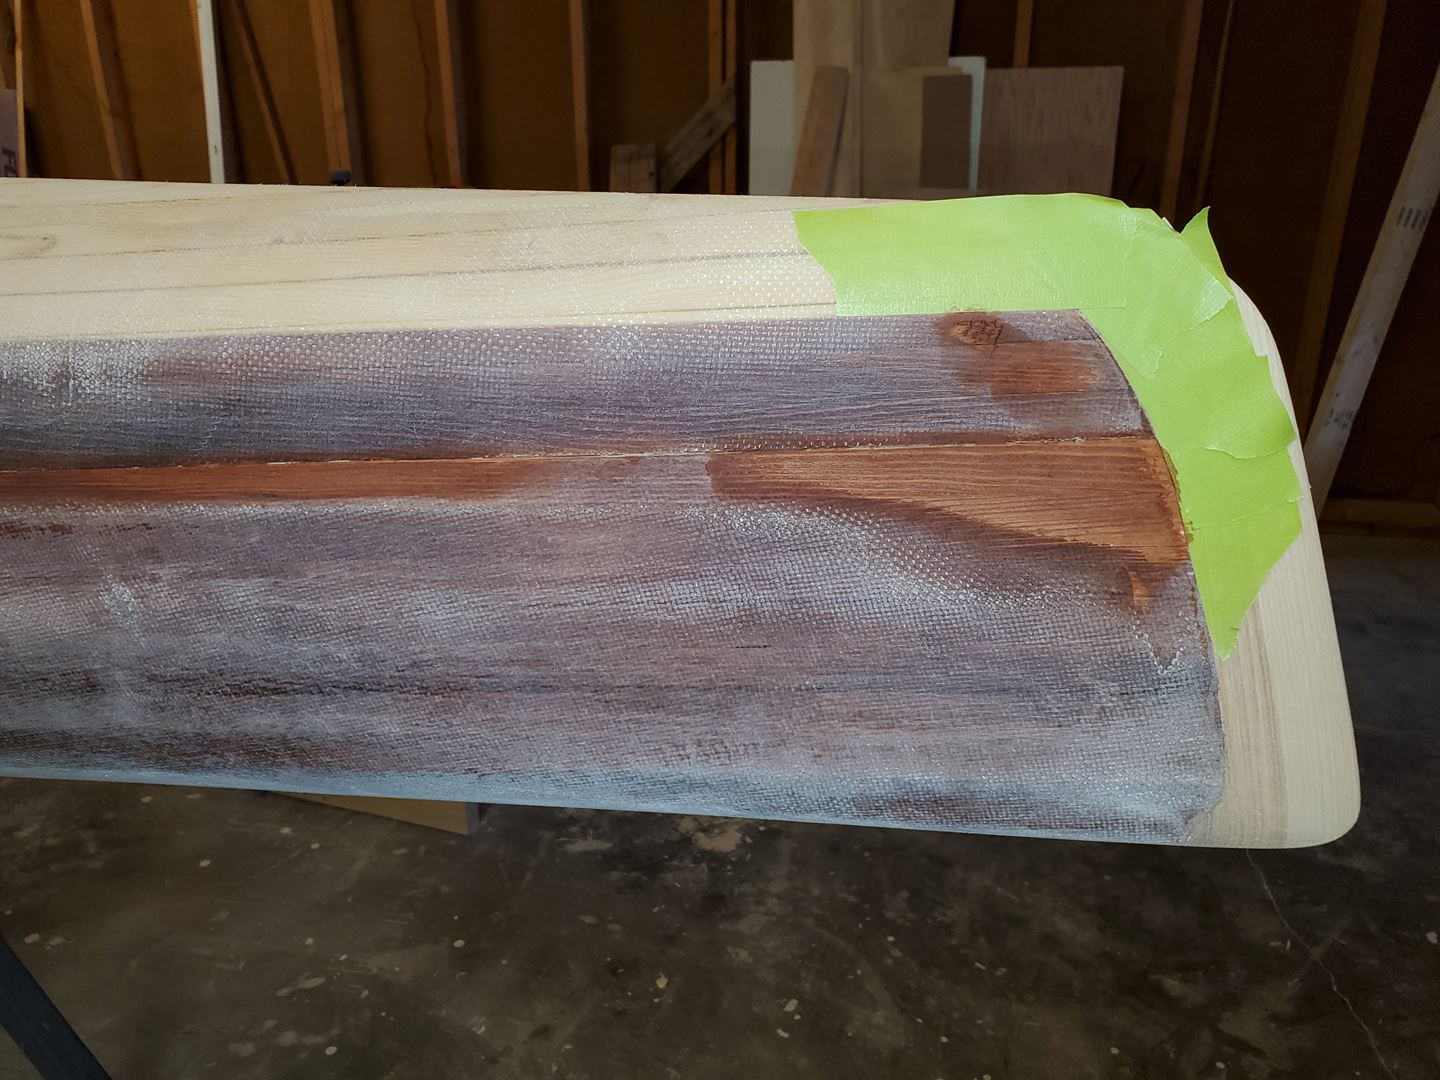
The stain can be touched up. Will that fix be visible??  Time will tell.

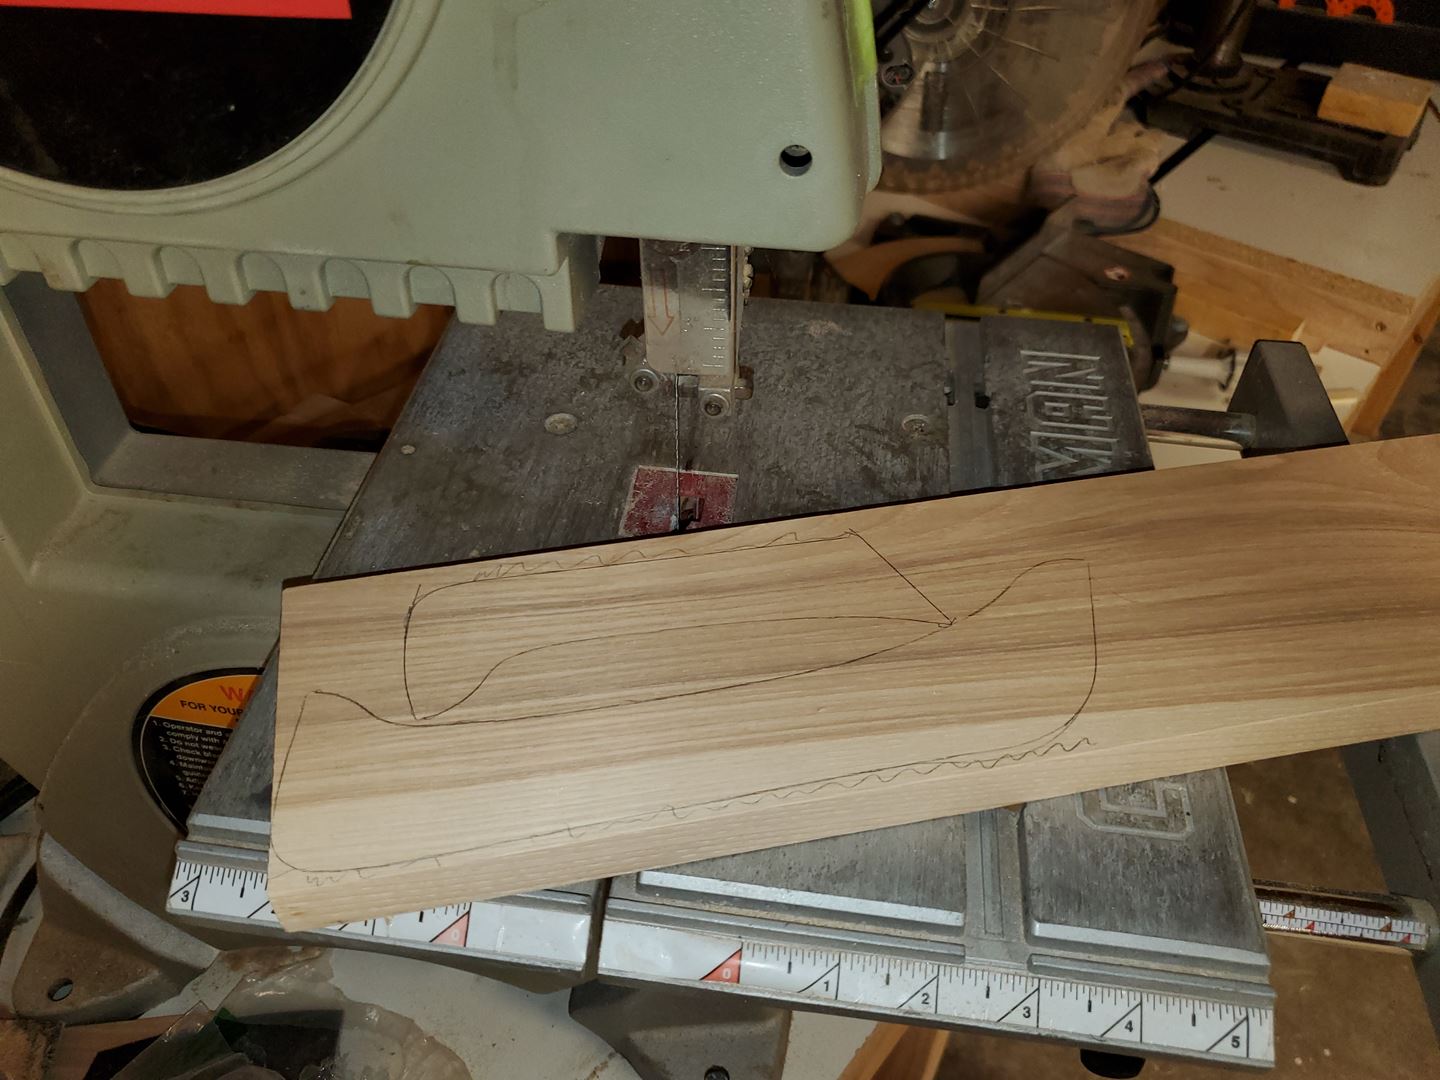
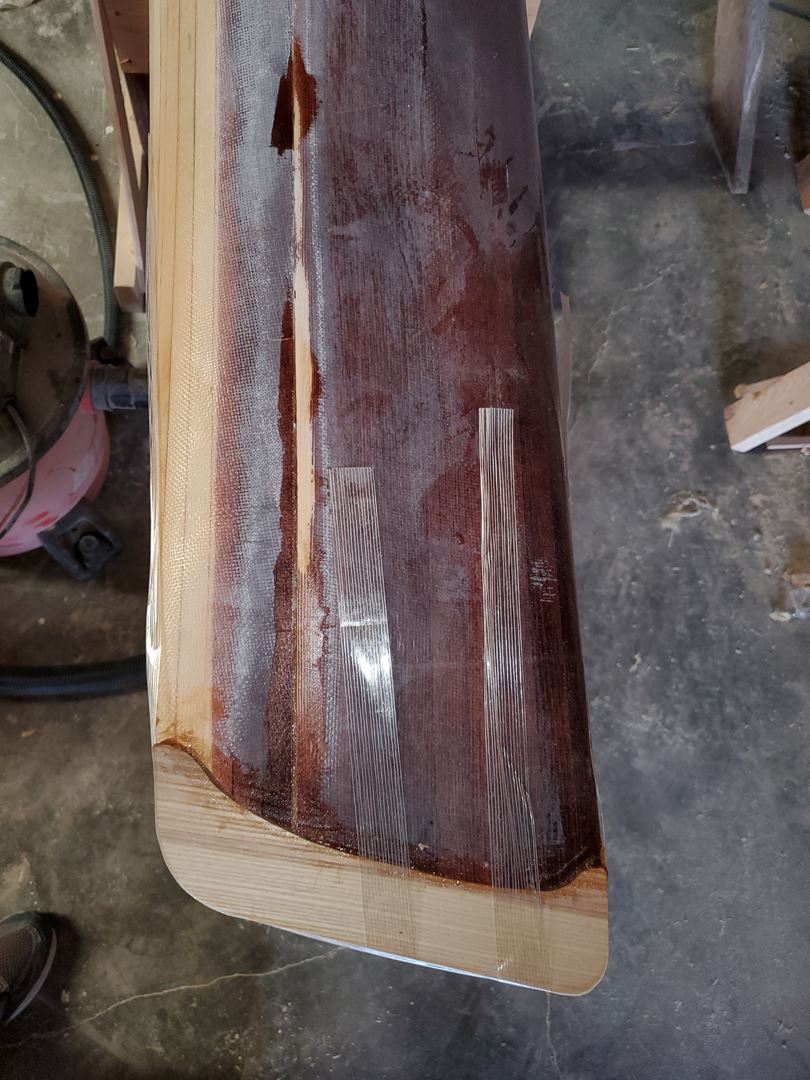
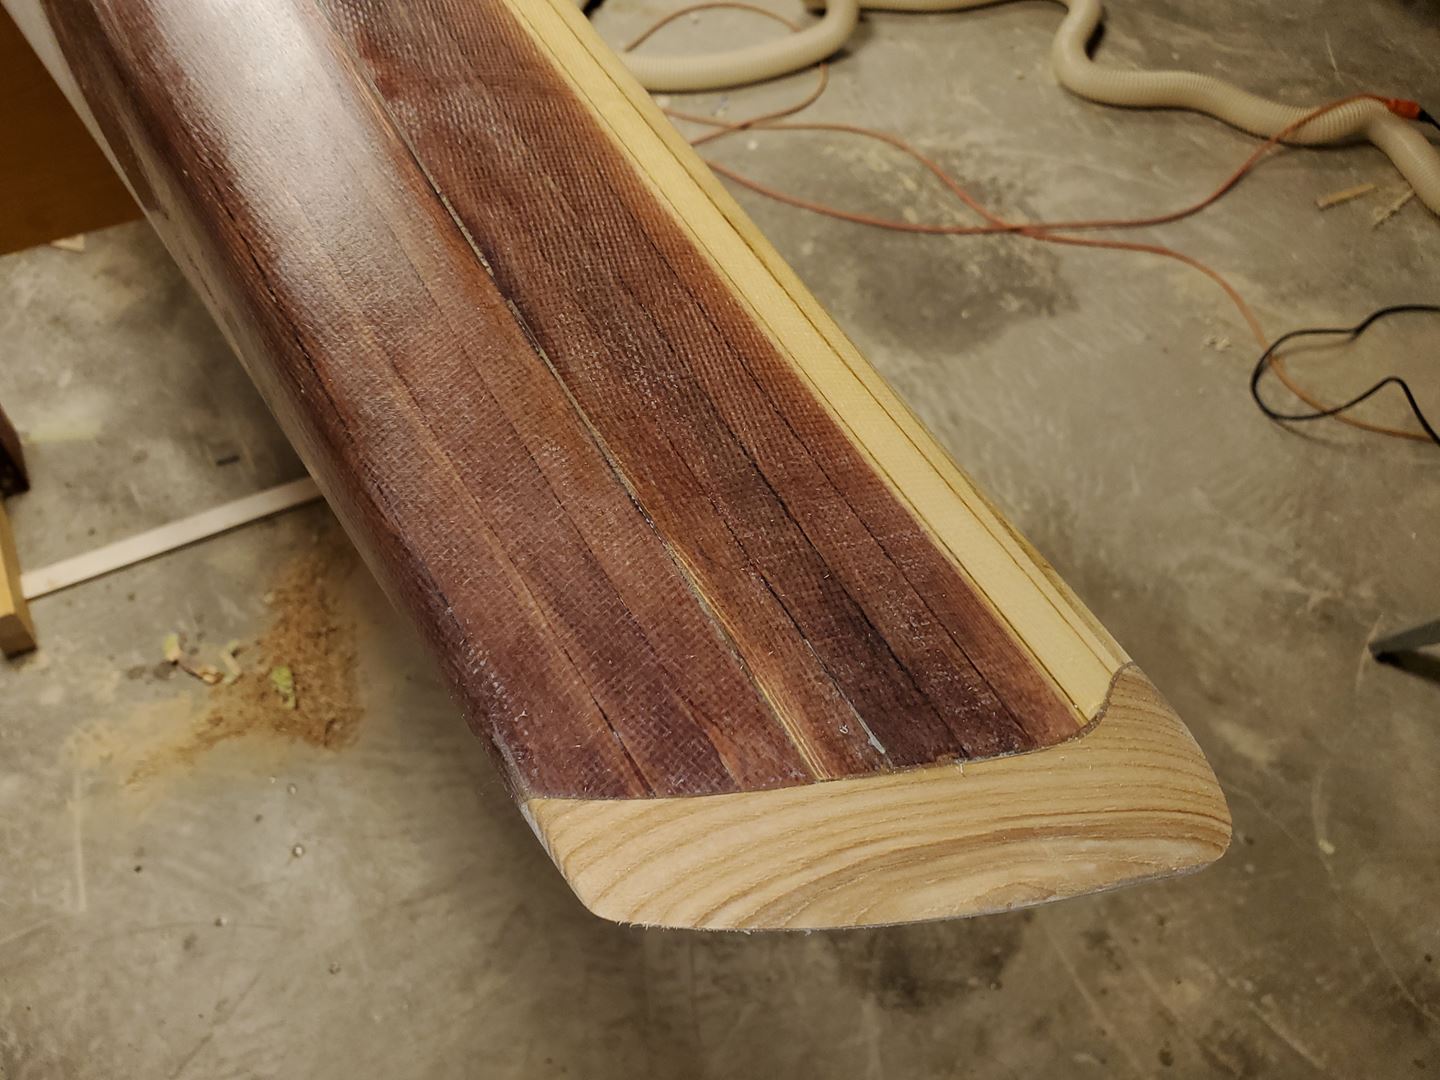
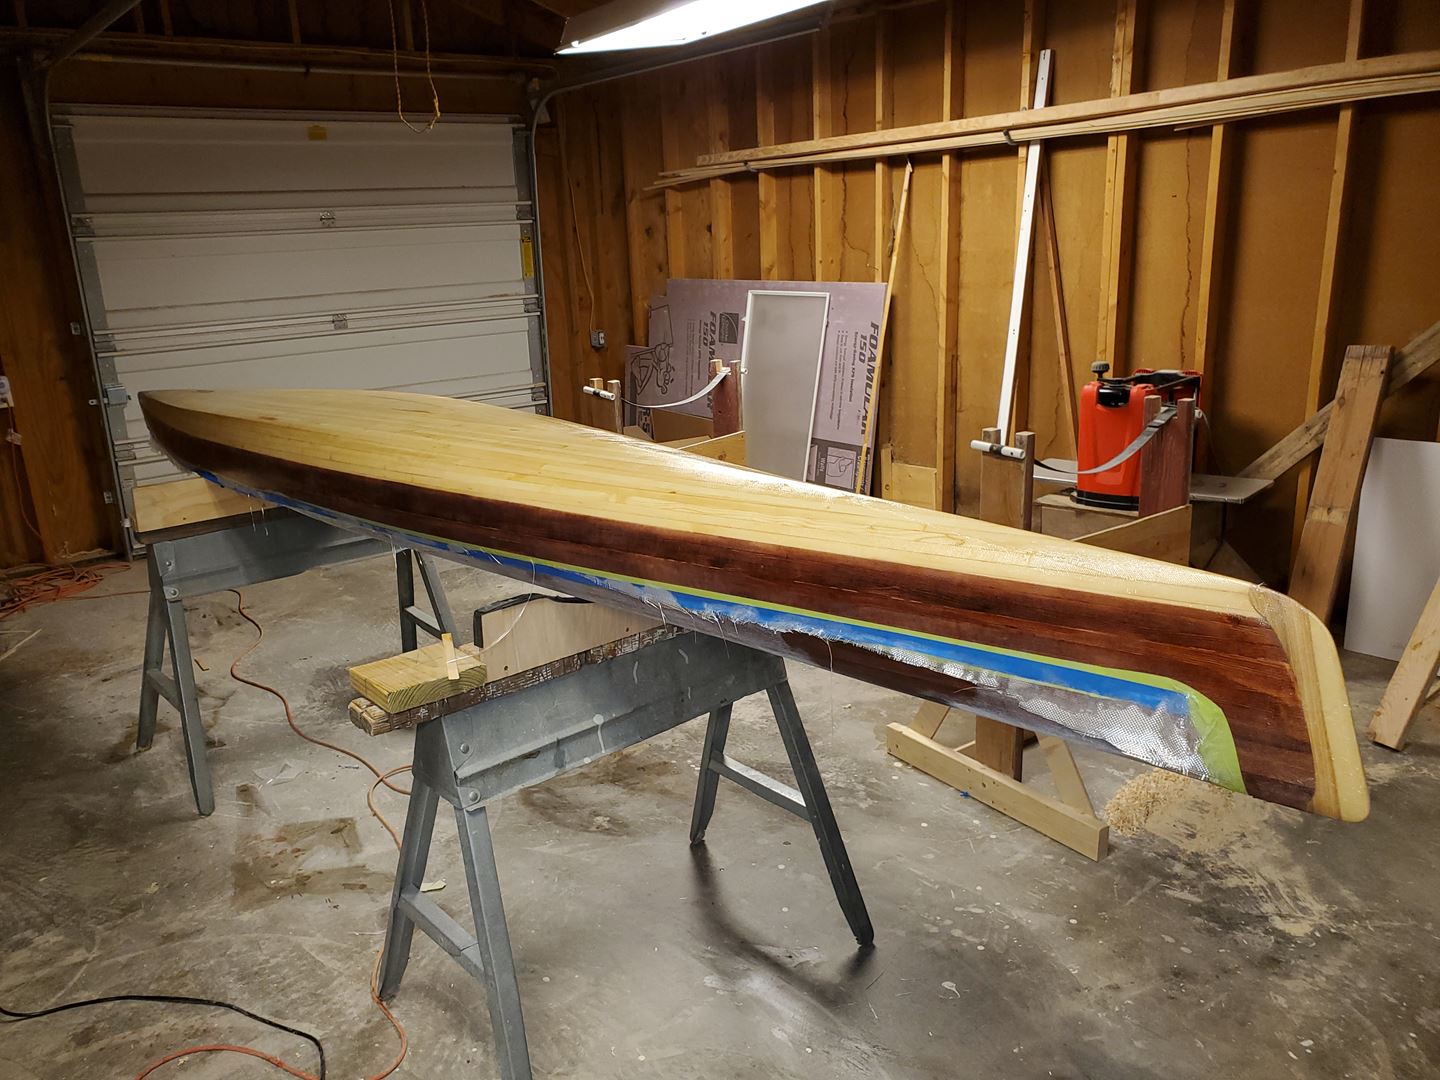
The very tip of the kayak is called the stem. Having two ends (bow and stern), I needed two of them and decided to make them from Ash.

The the bow and stern has to be trimmed to fit the stems.  That requires some careful cutting and sanding.  The sanding is made a bit easier by attaching a strip of sandpaper to the stem and using it as a sanding guide.  That seemed to have worked out fairly well.

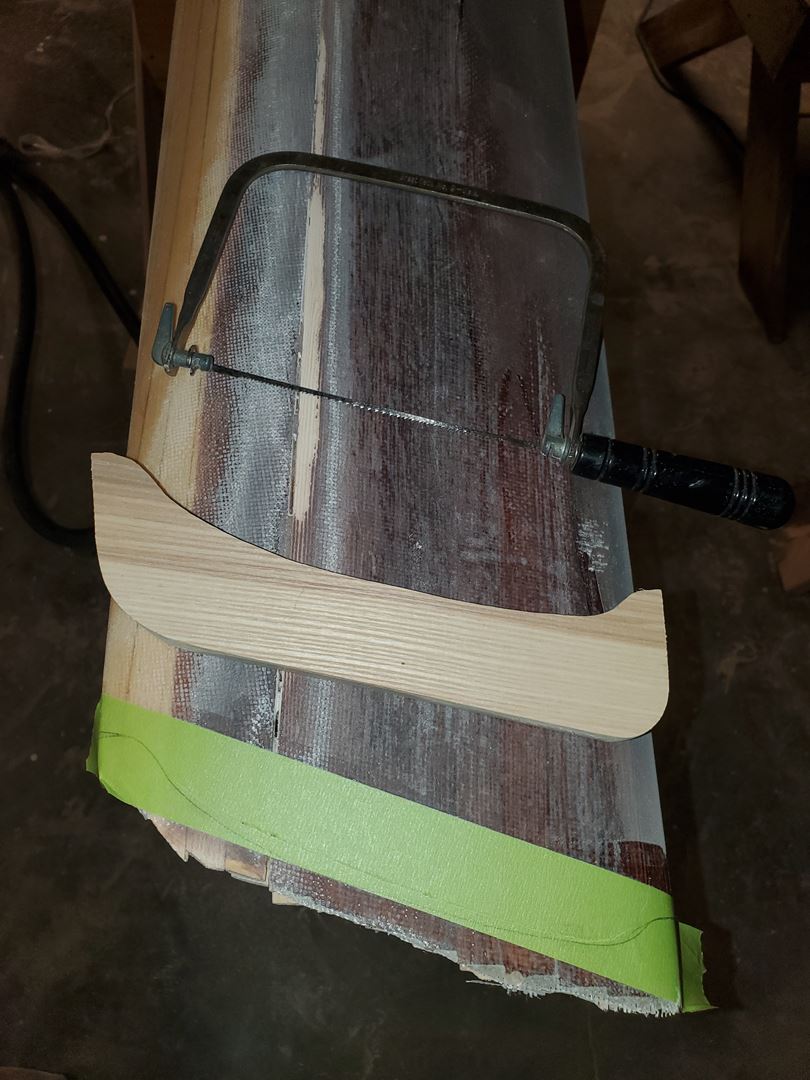
The stems are then epoxied into position…

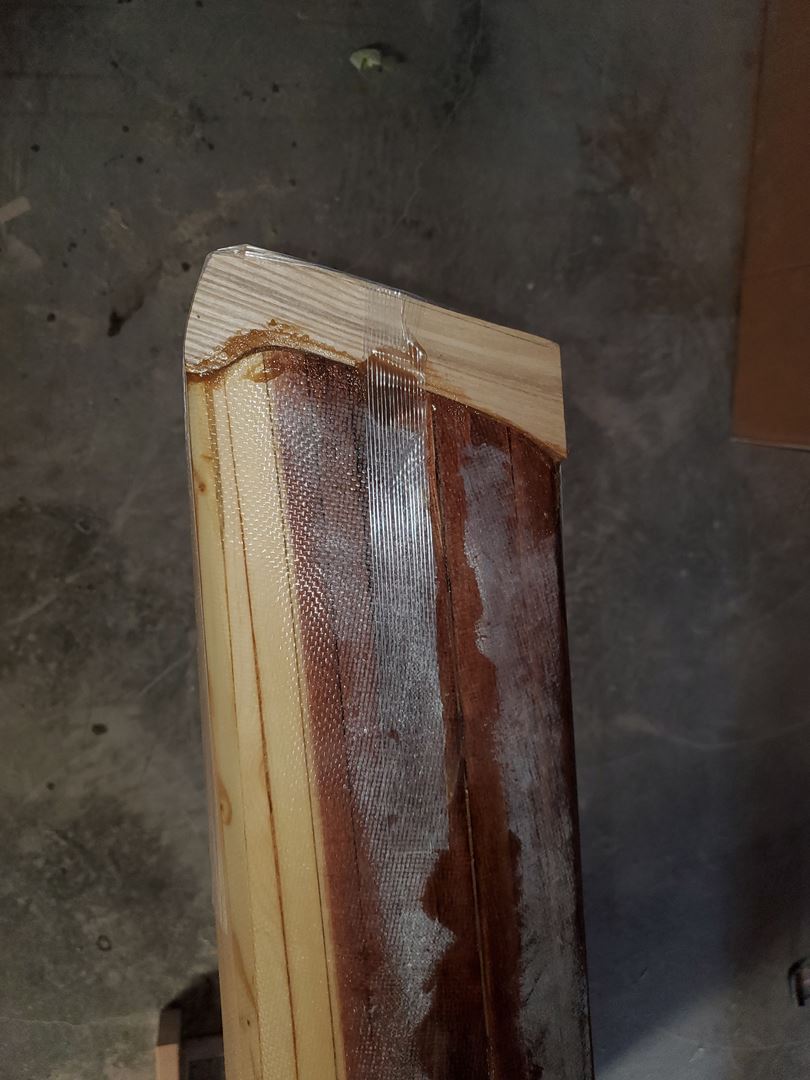
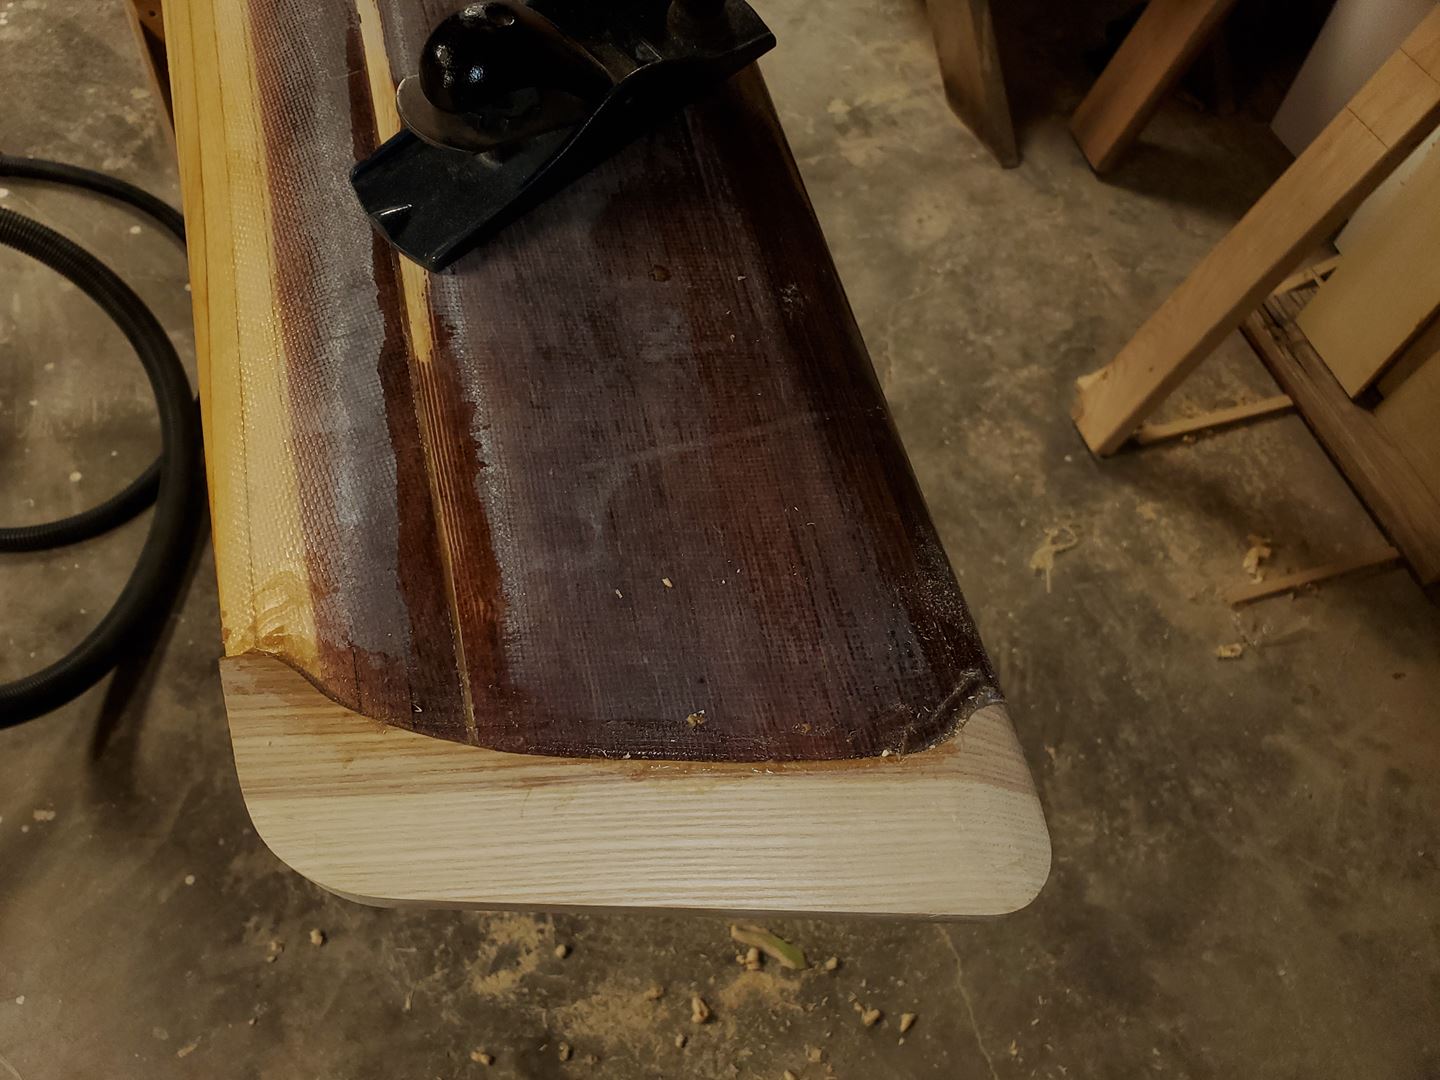
… and then the shaping starts. I used a variety of tools trying to make this easier. In the end, a plane and sandpaper on a long board seemed to work the best.

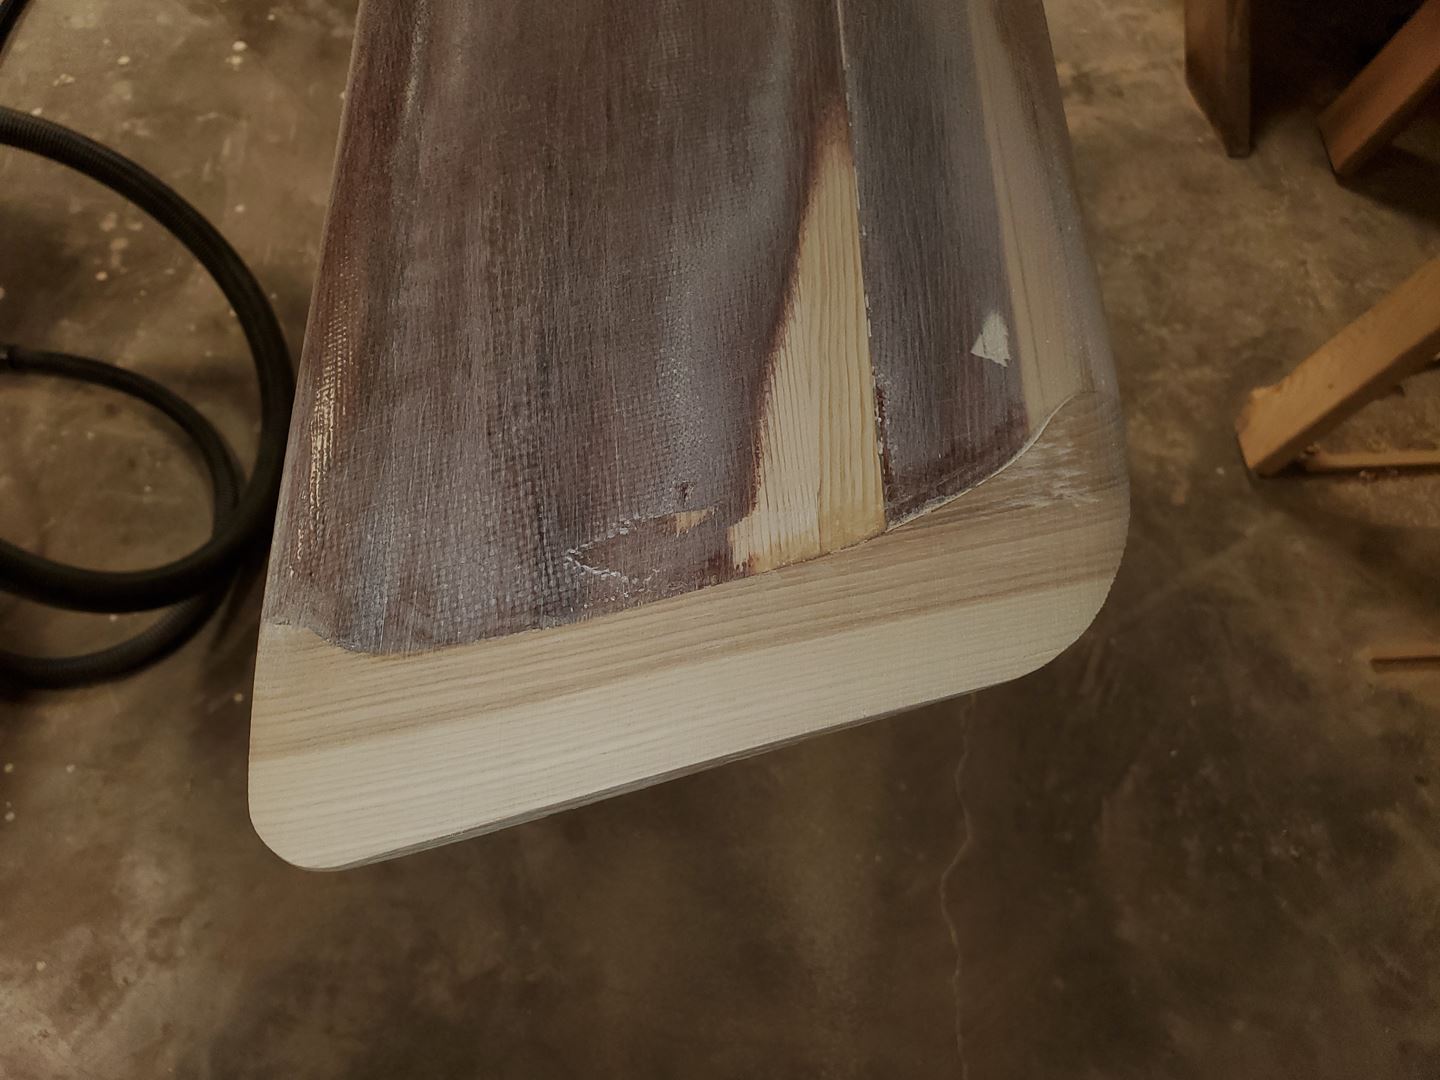
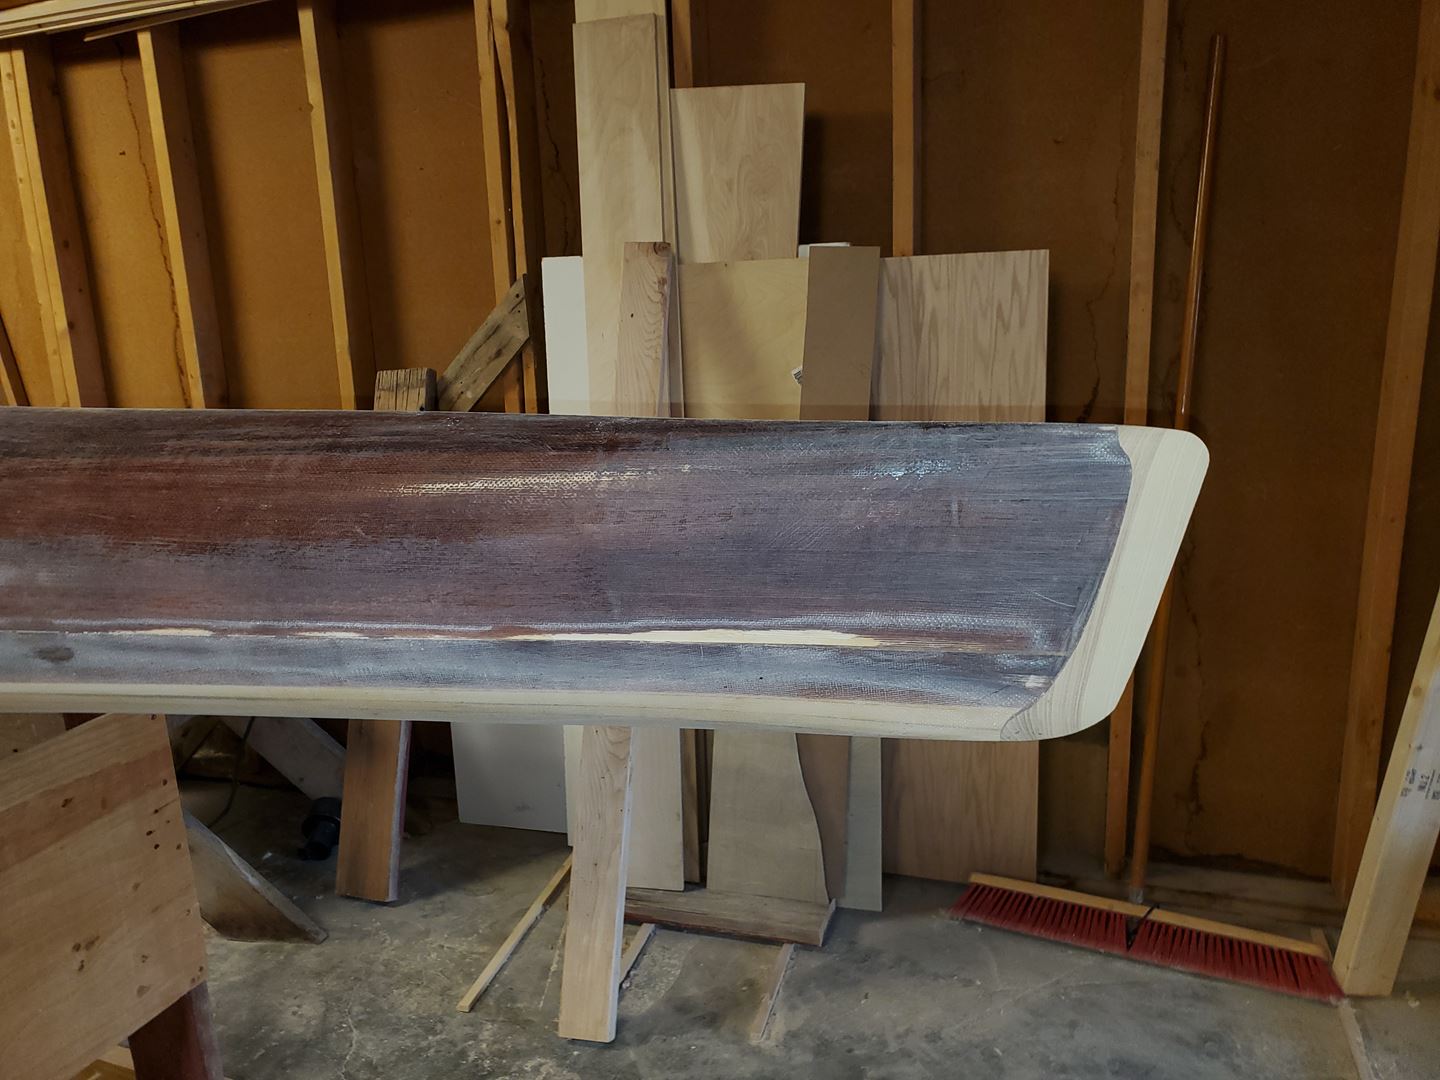
Time to fix the stain.

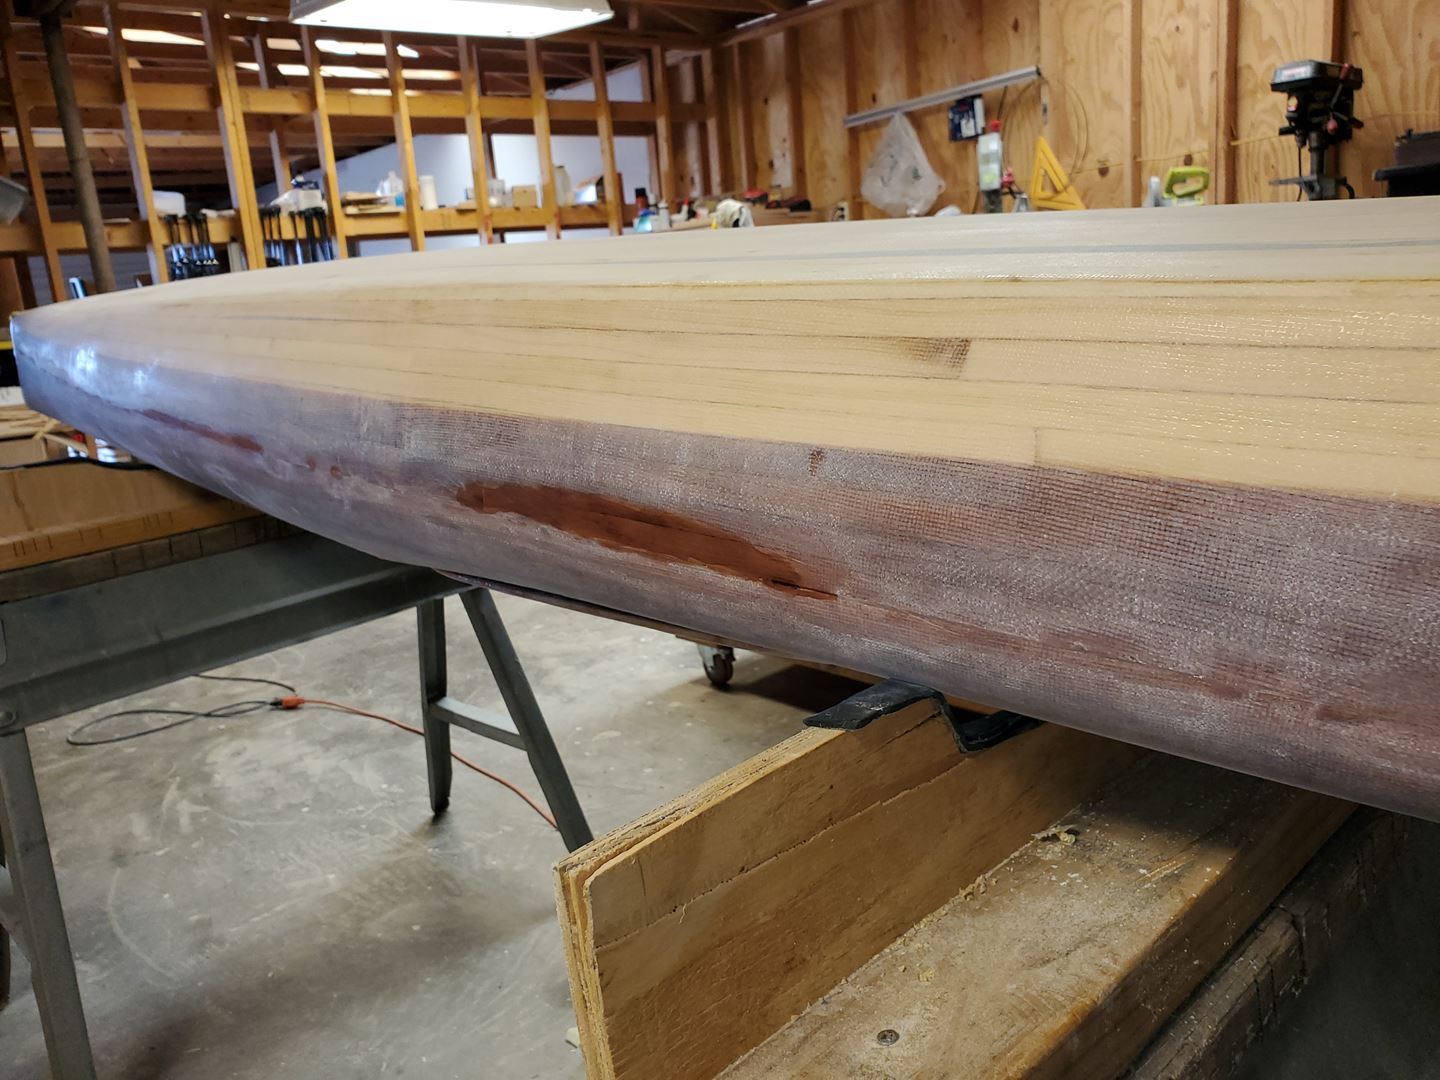
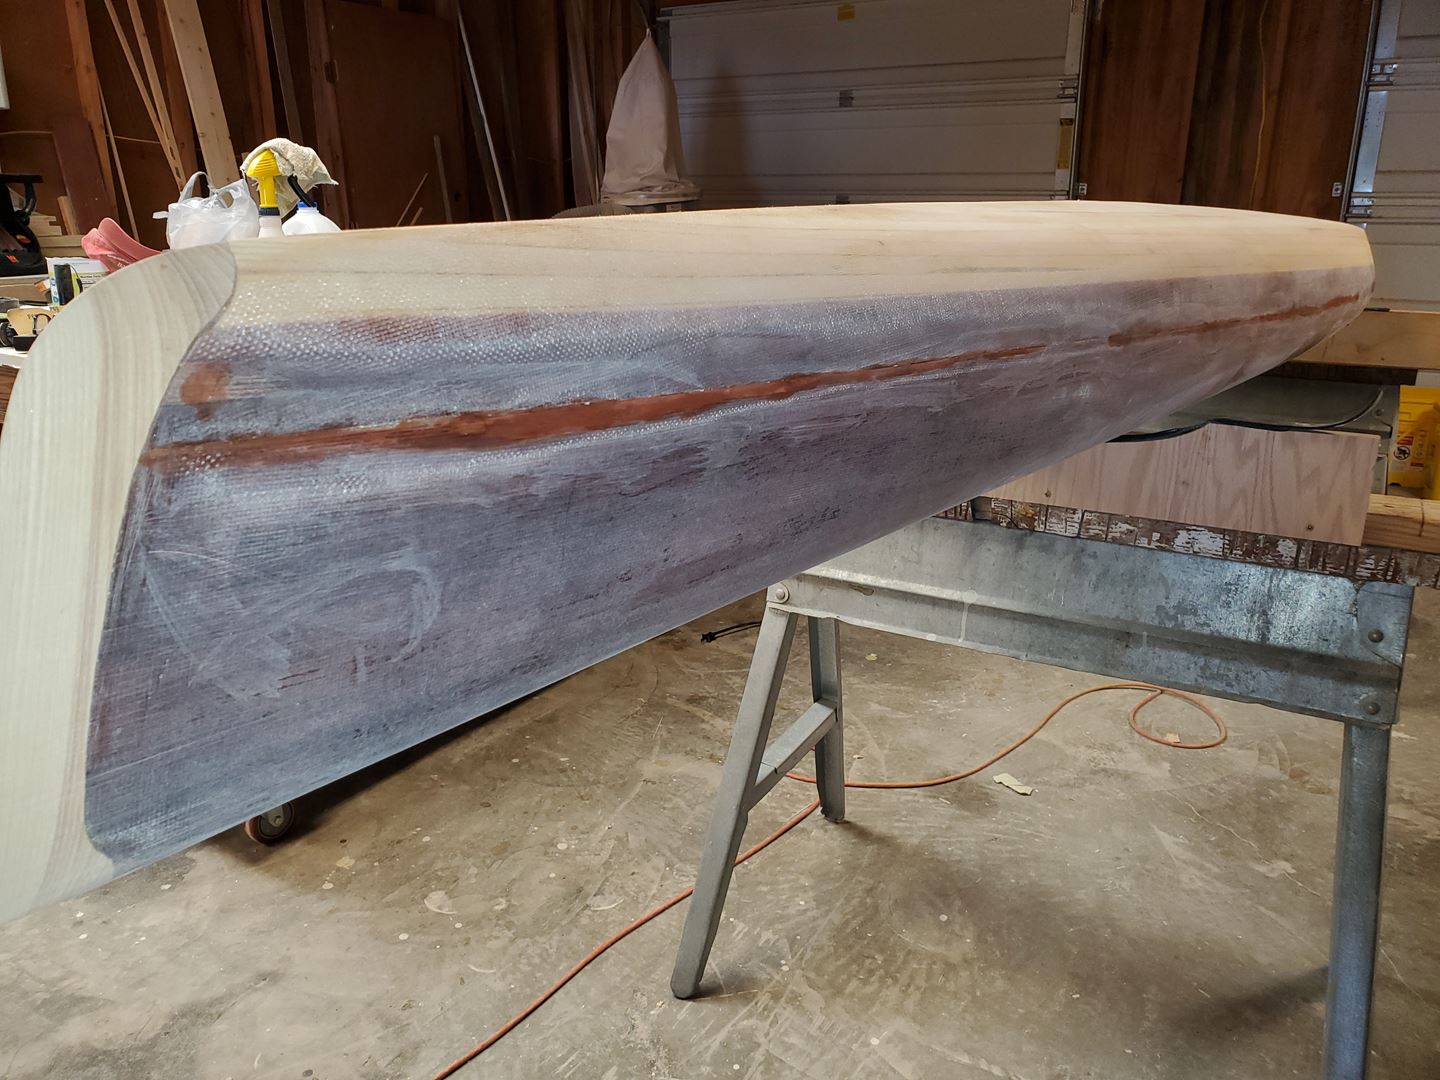
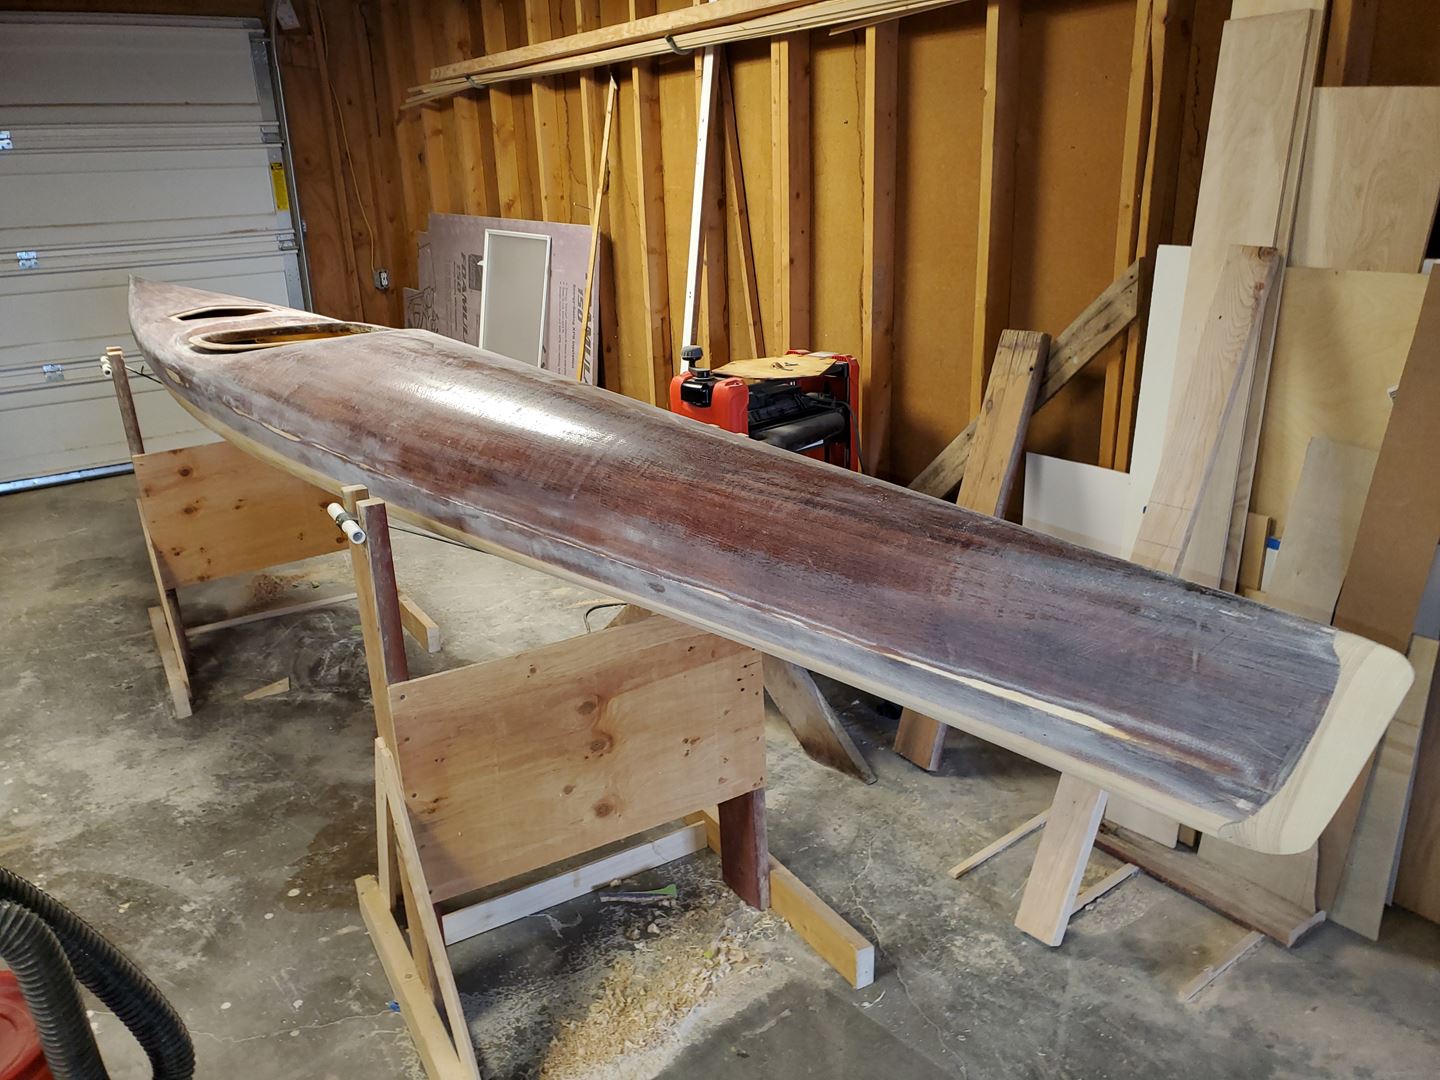
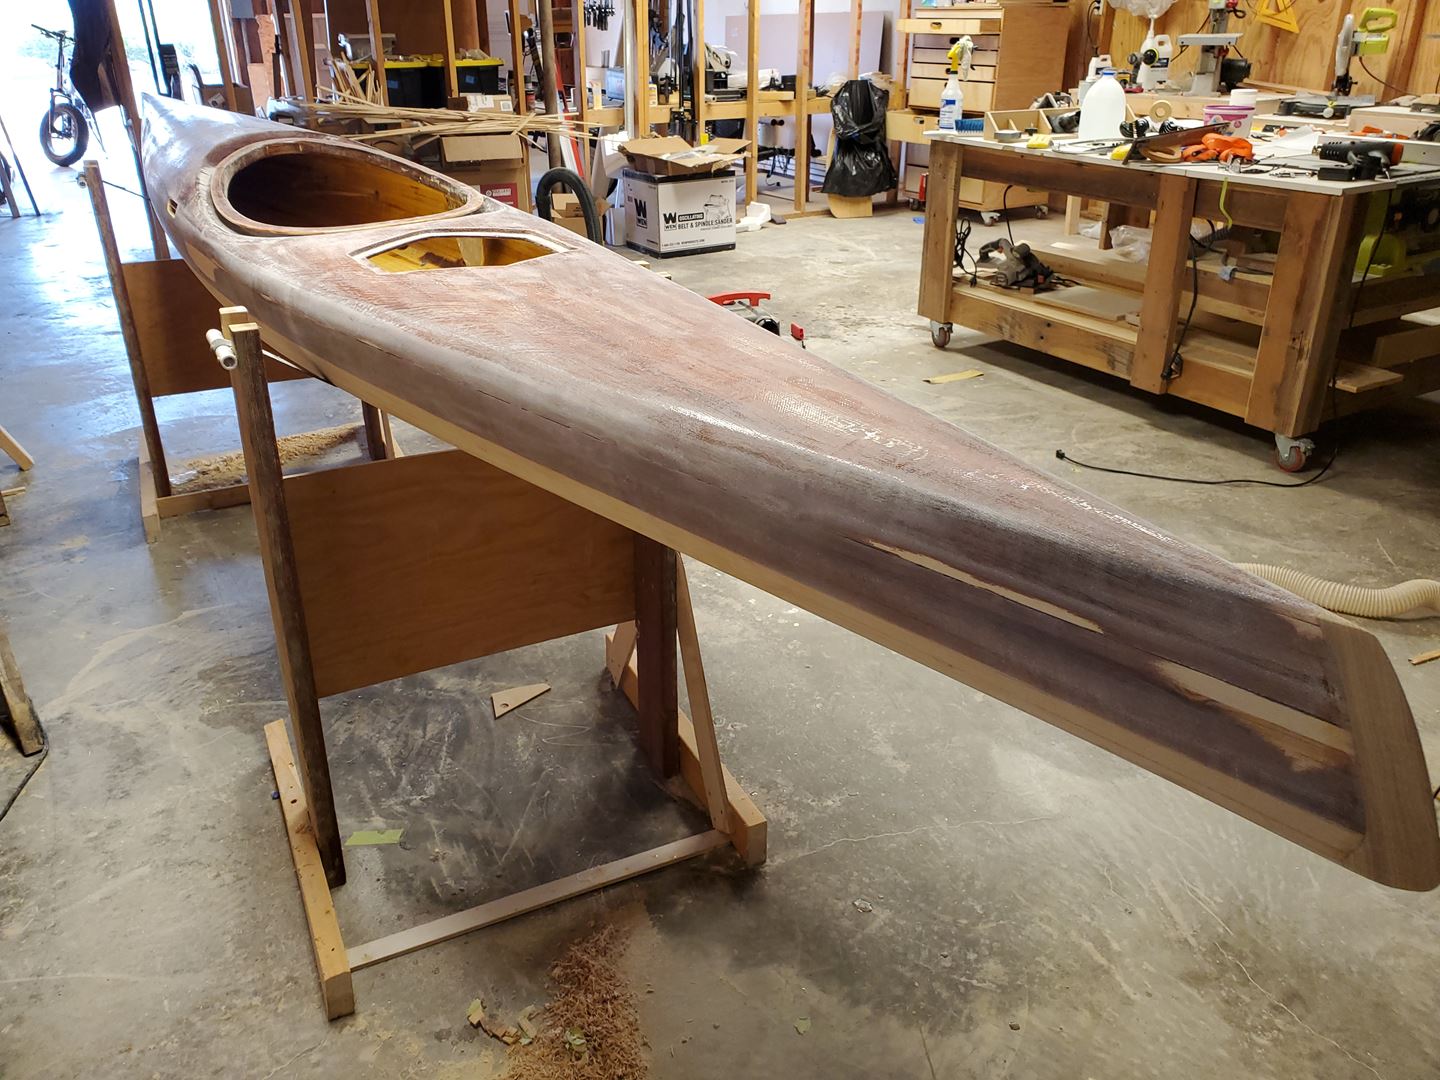
Finally, time to fiberglass the outside part line. This layer of fiberglass is actually an additional ply across the entire bottom of the boat and wraps up the sides and over the part line.

That all went reasonably well but a storm is brewing!! 🙁

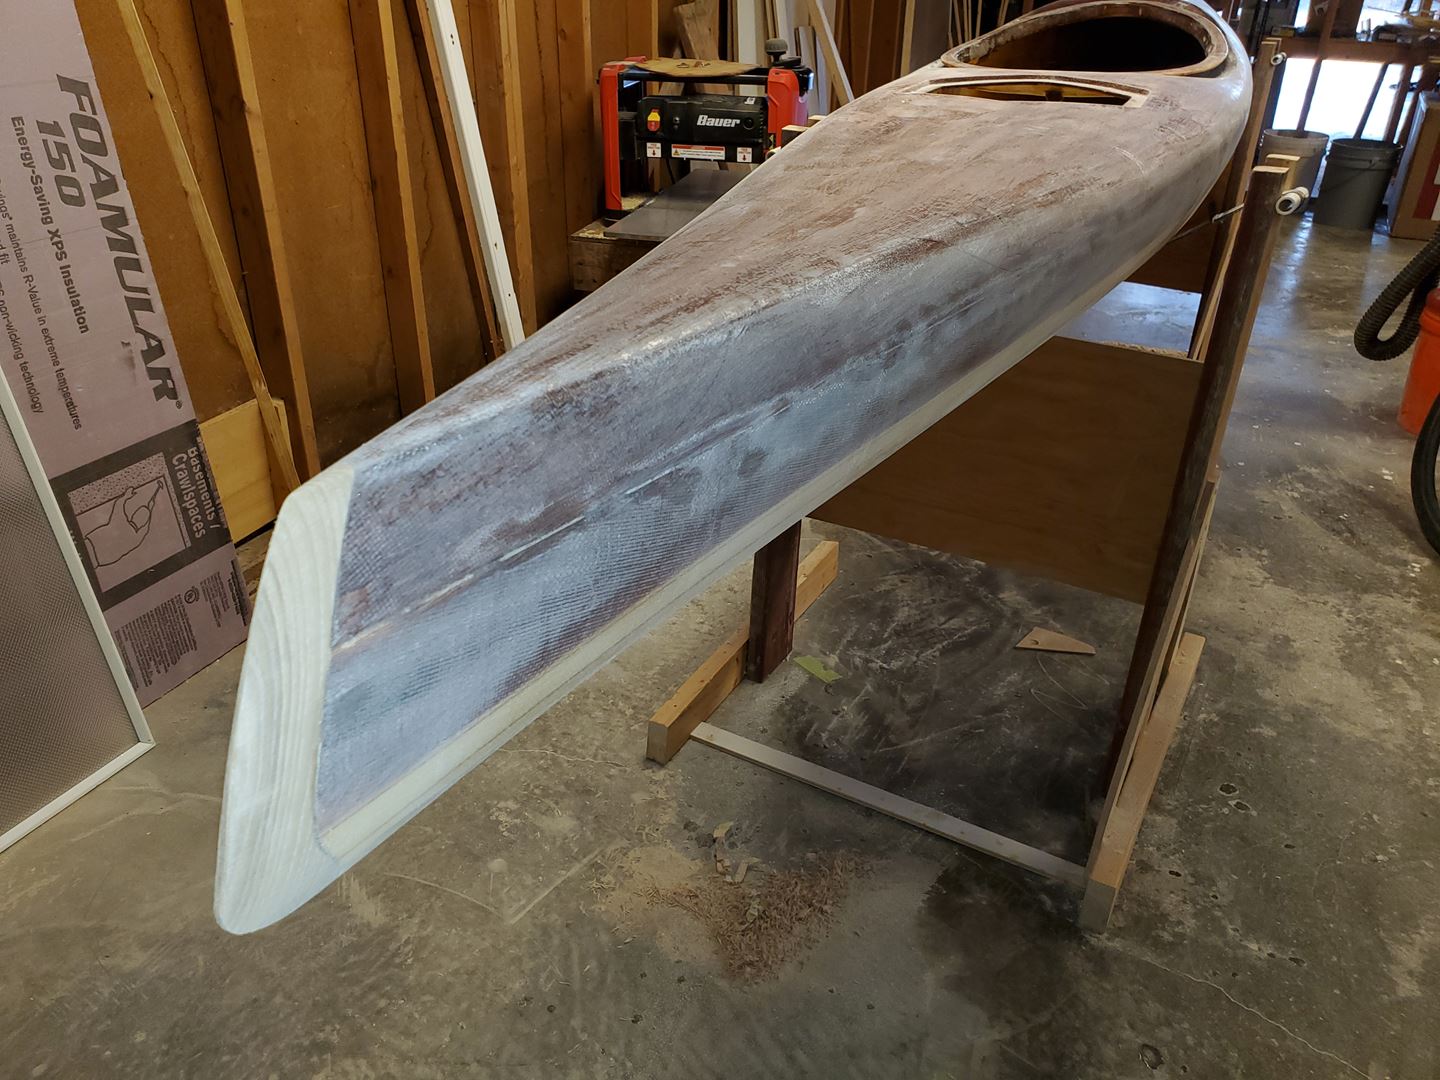
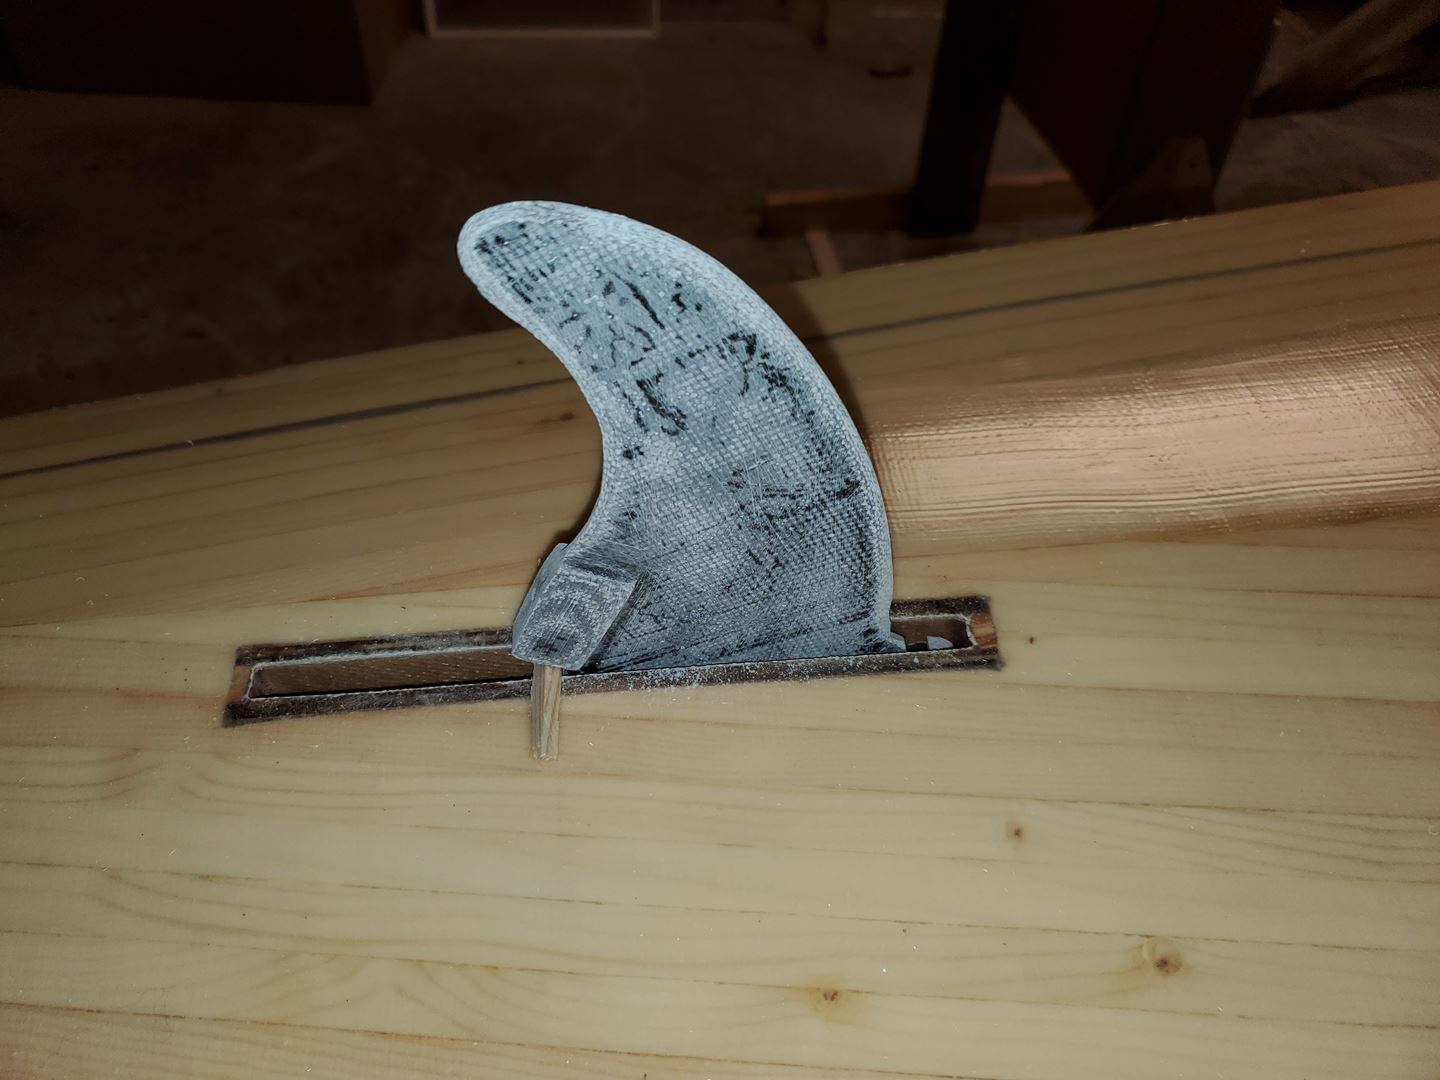
With the final fiberglass on the bottom, I could try fitting the skeg. While not yet complete – it’s looking like it might work!

(Visited 112 times, 1 visits today)

Related posts:

Adding Kayak Color Kayak Cockpit and Fairing Kayak Coaming and other bits Jeep Wrangler JK Necky Kayak Yakima Roof RackUpdate: Yakima Kayak Rack on Jeep

Comments

  1. Ronda says

    November 22, 2022 at 9:58 am

    WOW

    Reply

Leave a Reply Cancel reply

Your email address will not be published. Required fields are marked *

The party is over when the black tank is full.

— Kevin Means

Popular Posts

  • Powermatic Model 90 Wood Lathe & VFD
  • Wood Turning on a Lathe
  • Chainsaw Review: Sportsman 20 in. 52cc
  • Cielo Grande Barbed Wire Fence Repair

Email Notification


Posts by Subject

3DPrinting Aircraft Airstrip Bible Bus bus boys Camping Cat Computers Cycling Development Electrical electronics Entertainment Environment Factory Five family FAQ Finances flying Food God Health Holiday Home Humor kayak Life Maintenance Nature Photography Review RV-3 RV-4 sailboat sailing self improvement Sewing solar Travel Video weather wood woodworking X-Country

Posts by Month

© Copyright © 2025 JDFinley.com · All Rights Reserved · Privacy Policy

Unauthorized use and/or duplication of this material without express and written permission from this site’s author and/or owner is strictly prohibited. Excerpts and links may be used, provided that full and clear credit is given to JD Finley and JdFinley.com with appropriate and specific direction to the original content.