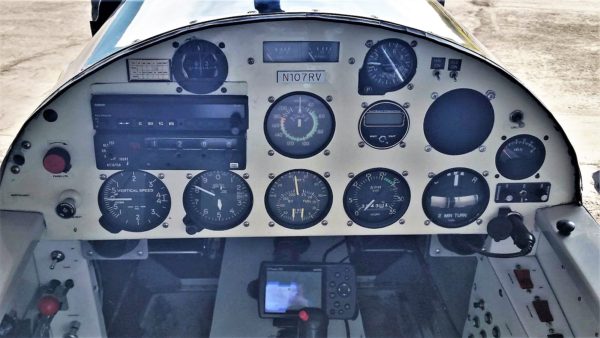
As you’ve probably seen from the photos I’ve posted, the ‘ole RV-4 (still nameless) has a very dated instrument panel. The necessities are there, of course, but little else. I previously mentioned (here) the planning for a new panel. However; all of the years activities have put a damper on that work. With the warm summer air, I felt like I did not have enough information about what my engine was really doing. In particular, the oil temperature. The previous gauge stop reading at 212 degrees and it was pretty easy to bury that needle. So, I made the installation of an EIS – Engine Information System – from Grand Rapids Technologies a high priority.
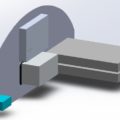
This is the starting point.
This little “box” does not look super high tech but it is magical. I had one in my previous airplane (Daisy, an RV-3) and loved it. In combination with the Lycoming ‘Advanced’ sensor package, it provides cylinder head and exhaust gas temperatures for each of the four cylinders, oil pressure/temp, fuel pressure, fuel flow, manifold pressure, fuel tank level, fuel totalizer, outside air temperature, and so on. Lots of really great information! A huge selling point is that you can set high and low limits for nearly everything which allows you to focus on other things while flying and the EIS will alert you when something is out of range.
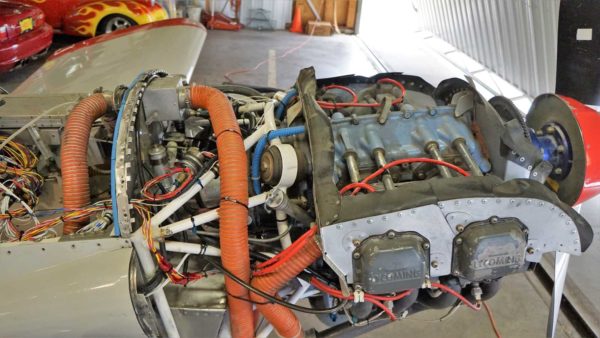
This Saturday it was time to install the EIS. I got started early. Unbuttoning her and removal of the old sensors/gauges was first. That didn’t take very long. I am clearly much better at deconstruction than construction.
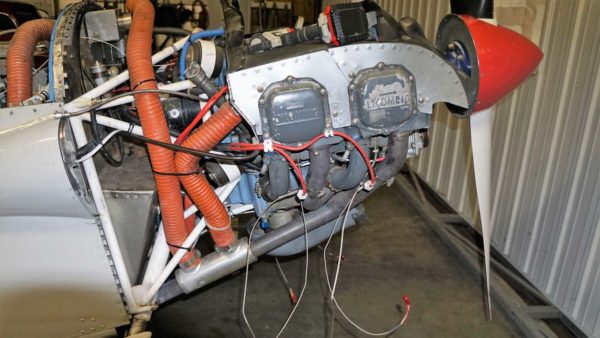
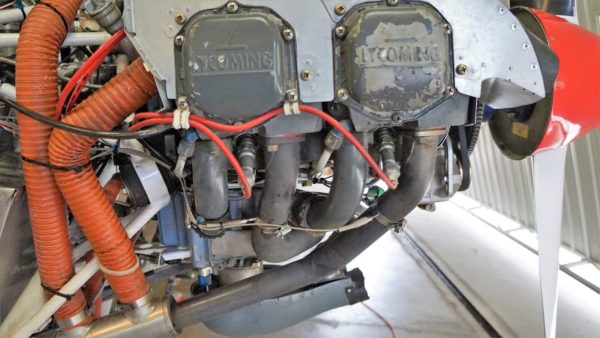
These photos were taken after the old equipment was removed and the new sensors and wiring was being installed.
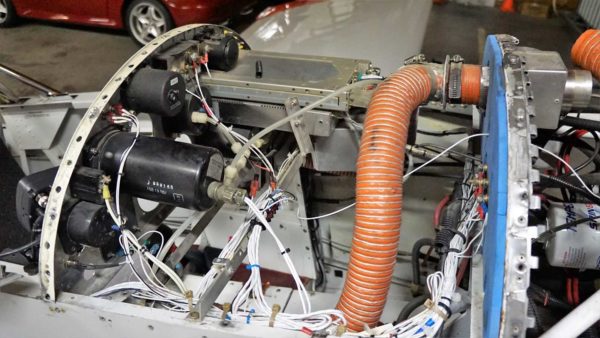
A HUGE THANK YOU to friends Mike and John!!! They dove right in and were a MASSIVE help! They modified the instrument panel so the EIS instrument “box” would fit and made two aluminum plates. One plate to mount the “box” to the panel, the other a cover plate with the EIS warning light mounted in it. Fantastic work!!
The initial engine start and run after these changes went very well. It appeared that nearly everything was working as it should and no fluids were pouring onto the ground. It was obvious that the fuel pressure was not working but that was acceptable. So, I went up for a test flight.
After cruising around a bit and playing with all the various EIS display options, it was clear that the manifold pressure was not working. Other than that and the fuel pressure, all was well.
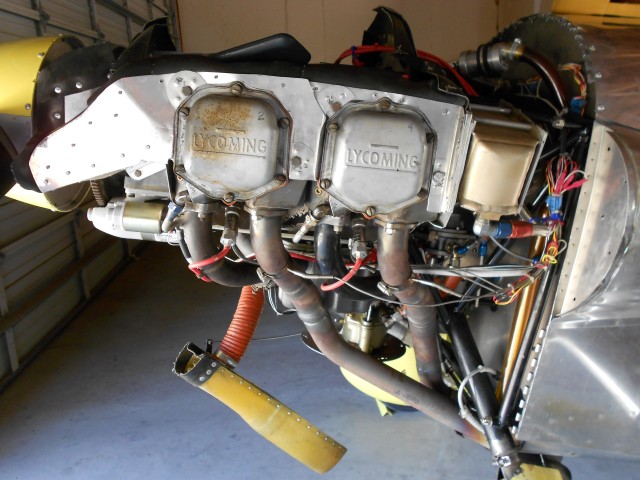
Back to the shop and remove the cowling. After some time poking around, studying the documentation, and checking the EIS settings nothing obvious appeared to be wrong. I eventually got around to giving a small puff of air to the manifold pressure hose. This revealed that the hose was leaking air!
TADA!! Problem found!!
That was an easy fix so another item off the list.
The fuel pressure issue required much more time reading and looking for hints on the Internet. I finally found the instructions that I was missing and went about hooking up the sensor correctly. For those that might be in the same boat, you will need to connect this sensor to the 4.8V excitation current with a resistor in line.
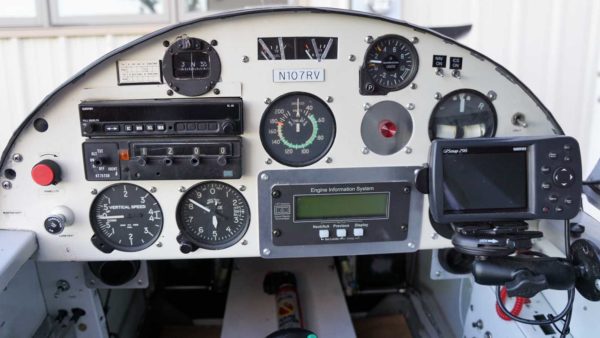
I realize the above photo, and current instrument panel, is a far cry from what I mentioned a few months ago in regards to the installation of an EFIS. However; it is a step in the right direction. 🙂
During the second test flight, the tach acted odd a couple times.
Third test flight the tach worked during the run-up but then stopped functioning. While performing some so flight maneuvers, I noticed that the tach was working again. However; as soon as I increased power to cruise RPM, the tach quit working. With some experimenting, it appeared that it was not working at any power setting over 2100 rpm.
In the middle of all this testing, the master switch failed. I hopped in the plane at one point, flipped on the master switch, and nothing happened!! Normally, the master switch causes the battery relay to engage which then provides power from the battery to all systems.
Not this time. Nothing…
Manually grounding the battery contactor/relay proved that it was not the problem so out came the switch. It tested bad and a replacement was quickly procured from Mike’s stash of airplane parts. Thanks again Mike!!
The tach issue was eventually fixed and seems to have been a poor electrical connection.
So, with all this new data in hand, what have a learned?
Well, after a handful of flights, it appears that my oil temperature problem is not too much of a problem. It will climb to 220 degrees under hot and stressful conditions (lean, high power setting, etc.) but it pretty easy to control. A full-power climb from 5,000′ MSL to 9,000′ MSL was easily performed without overheating using mixture to control temperatures. The EGT and CHT temperature spreads are more than I care for but certainly within the acceptable range. I have some future experiments in mind to try to get the EGT’s evened out (by altering the intake air going thru the carb and induction system) but that is a task and story for another day.

Leave a Reply