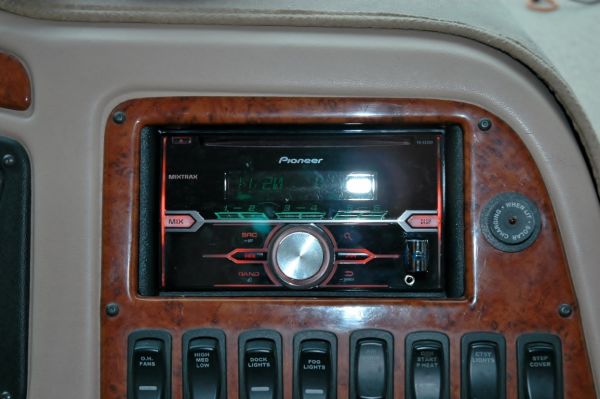
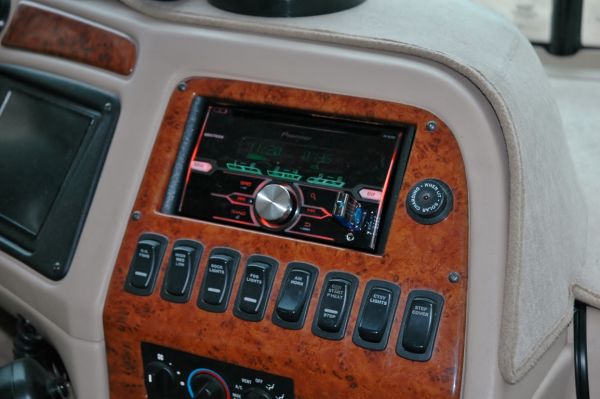
JBAM had the original Ford/Mercury six-CD car stereo when we met. The CD changer did not work and the radio station reception was unbelievably bad. The sound wasn’t the worst, nor was it the best.
I’m not one of those fella’s that’s gotta have loud thumping music blasting all the time. Nearly the opposite – I don’t listen very often and when I do, it is not very loud. However; after 4000 miles in relative silence, I decided it was time to have some tunes.
I looked around and found that an immense range of possibilities exist these days. Most of which is surprisingly affordable. I could be wrong but it seems the last time I purchased a car stereo, three decades ago, they were much more expensive with far less functionality.
I used Crutchfield to find a stereo that was compatible (double DIN) and had a nice set of features. Things like front aux and USB inputs were important to me. The Bluetooth and phone control stuff was not of much interest but I made sure it supports Android and not just products from the evil empire (it is a fruit) in case I ever get the whim to mess with those features. These days, most of my music is on the computer (MP3’s) though a little is still on CD so that was high on the list but I’m not even sure if you can buy a car stereo without a CD player.
I finally settled on the Pioneer FH-X520U which was almost silly cheap from Crutchfield.com and included the wiring harness, mounting hardware, pins to remove the old radio, and miscellaneous other. While at it, I ordered a pair of Kenwood 5″ speakers to replace the tired units in my overhead console.
Grand total? $150
It took me a couple weeks to accumulate the motivation to do the install. In typical fashion, I really didn’t want to start and then get interrupted – leaving an unfinished project for the next month.
When I finally did get started, I was quite surprised. The stereo installation probably only took an hour. I had to make a slight modification to the hole in the (plastic) dash. The wire colors from the old stereo matched the new so it was a very simple matter of splicing some wires.
Apparently, having a stereo that lights up, flashes, and pulses is cool – or something. It took me a while to figure out how to stop much of this silliness. The LED/SMD lights on this radio are on all the time so it is a matter of finding a calm, semi-blended color and a display that is readable – that took some experimentation.
Note from JD: Weeks after installing this stereo, I accidentally stumbled upon a little tip. Once the stereo is off, pressing the “Display” button causes all the lights to turn off. Nice!!
Now that I’ve been using this stereo for a week or so, I can say that I like it! It picks up radio stations at least as well as you would expect, plays CD’s, and I have my entire collection of MP3 music on a memory stick and plugged into it. Best of all, it does not require a read of the manual each time I want it to do something. Meaning; it is pretty easy to use.
A very interesting benefit that took me several days to discover is the lower current draw. Even with all the lights on and playing a CD, this stereo consumes less power than the old one when it was “off” (most stereos are never totally powered down). The ‘everything off except refrigerator (on LP)’ 12 volt current draw fell from 3.1 amps to 2.4 amps.
No, I have not installed the Kenwood speakers yet. That is another project for which I need to accumulate more motivation. 🙂


John, I have enjoyed reading about your projects. I was about to start a project to create a windshield screen. I ordered the magnets from Amazon and began looking at fabric swatches. I changed my mind with the help of my wife. I tried to send the magnets back but Amazon wouldn’t take them. Instead, they refunded my money.
Your project to replace the stereo is another one I have been considering. But I’m hoping to get a unit that includes a option to display the backup camera video.
Thanks for including us in your adventures.
Paul
2005 Newmar Dutch Star
Thanks Paul! It is super to hear from another DS owner! The windshield cover is no small project! I’m pretty happy with mine (and the side window covers) – particularly when I consider the cost. I’ve invested about $125 in magnets, $15 in fastener grommets, and $166 in material and thread. A total of about $300. I have enough material left to make mirror and windshield wiper covers. Compared to nearly $1000 to purchase similar, pre-made covers; I’m happy. Now I just hope it holds together and lasts a few years! 🙂