• RV
    • Missy – My Home
    • JBAM – Newmar Dutch Star
    • Shaneeda
    • Buying a Used RV
    • Gas vs Diesel RVs
    • Ideal Motorhome
    • Choosing the Ideal RV
  • Cycling
  • Jeep
  • About
  • Flying
    • Vans RV-4
    • Daisy – RV-3B
  • Resources
  • Subscribe

JdFinley.com

Fulltime RV Living Adventures

  • Is Solar For You?
  • Gas vs Diesel RVs
  • Buying a Used RV
  • Choosing the Ideal RV
  • Ideal Motorhome

Splitting the Kayak

October 4, 2022

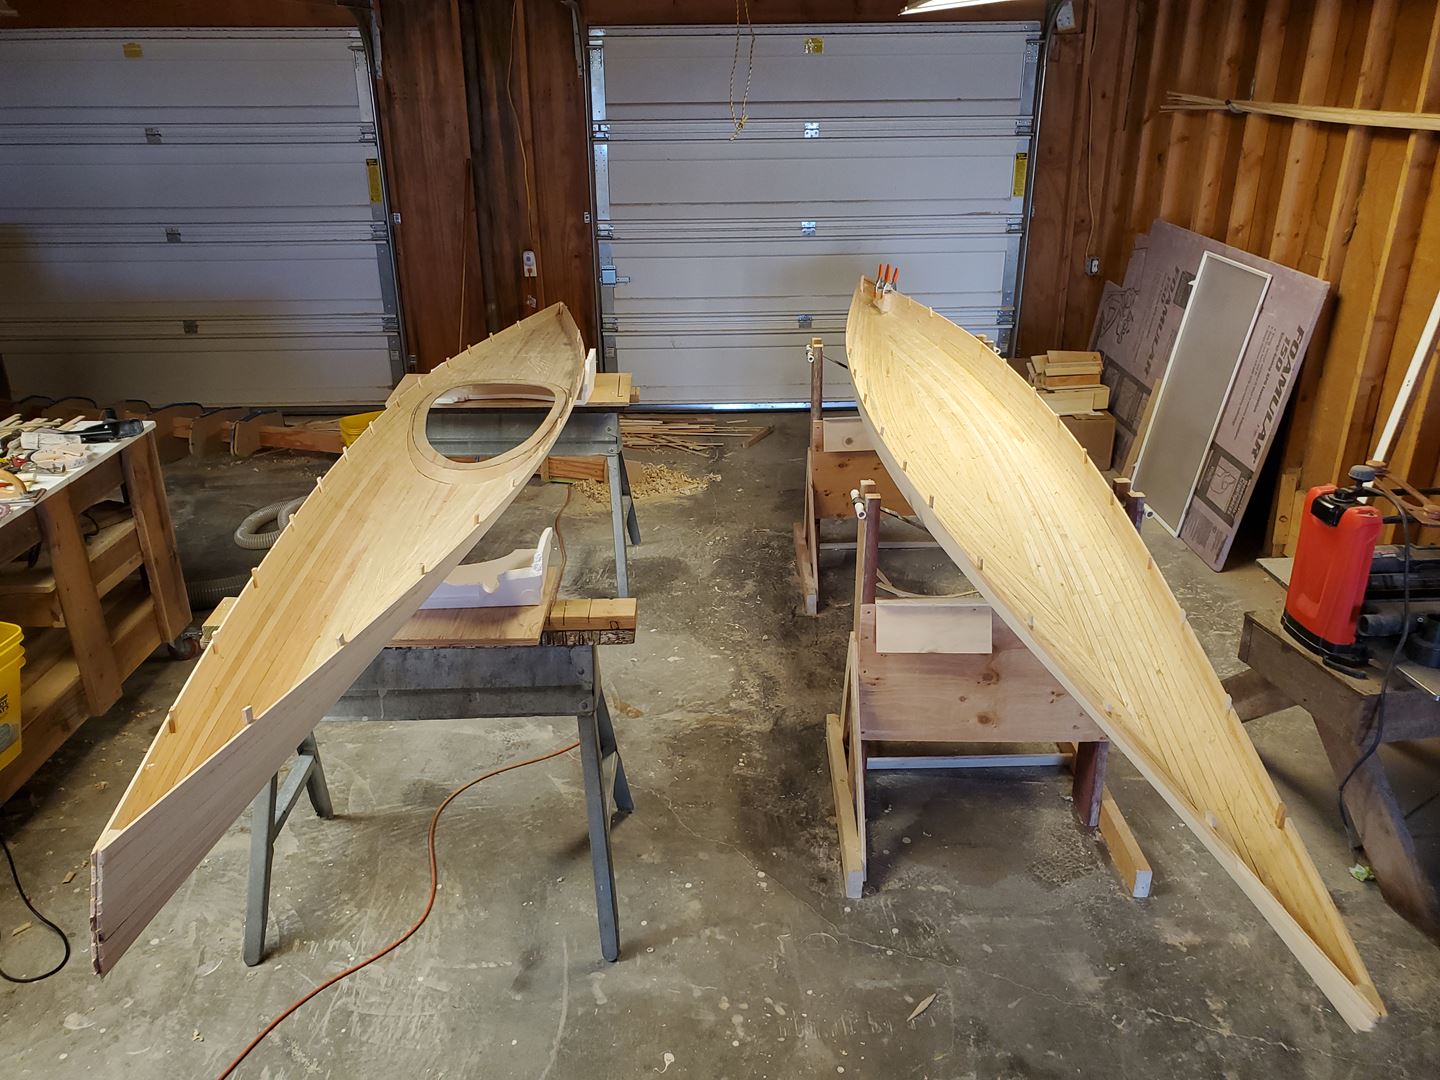
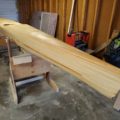
After the cockpit coaming was installed and the exterior was faired (here), it was time to see what was underneath all the woodwork!

I previously mentioned the split line – it was time for it to leap into action.

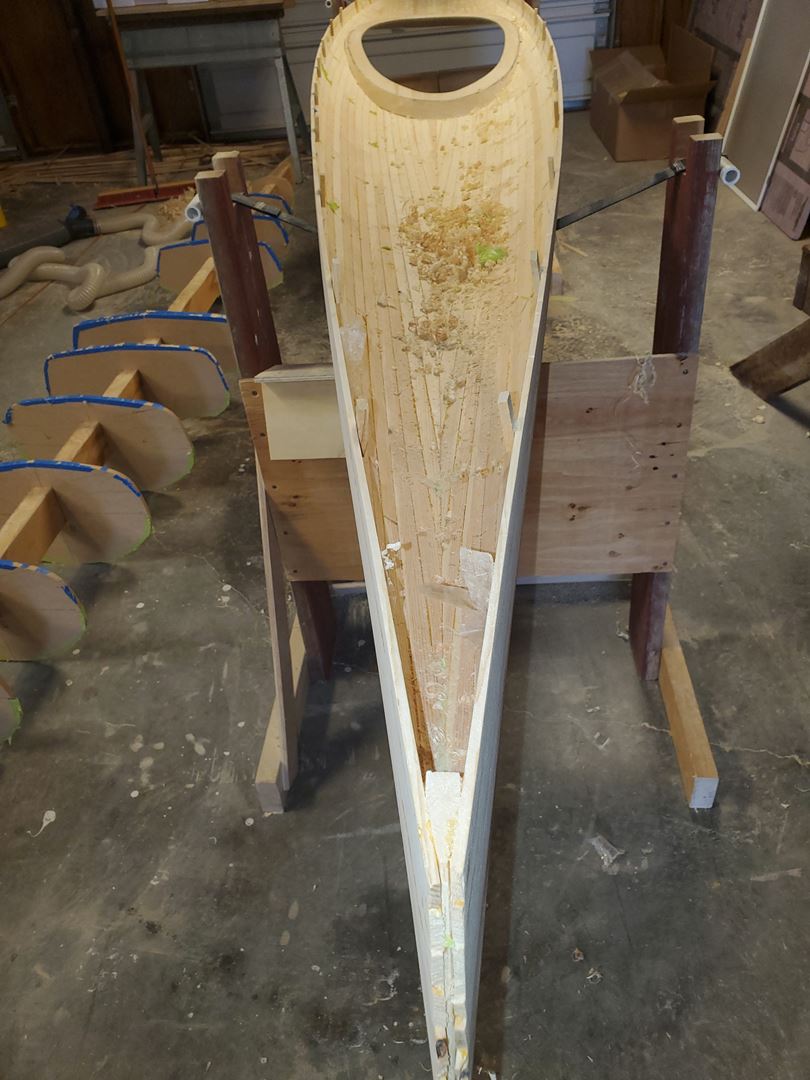
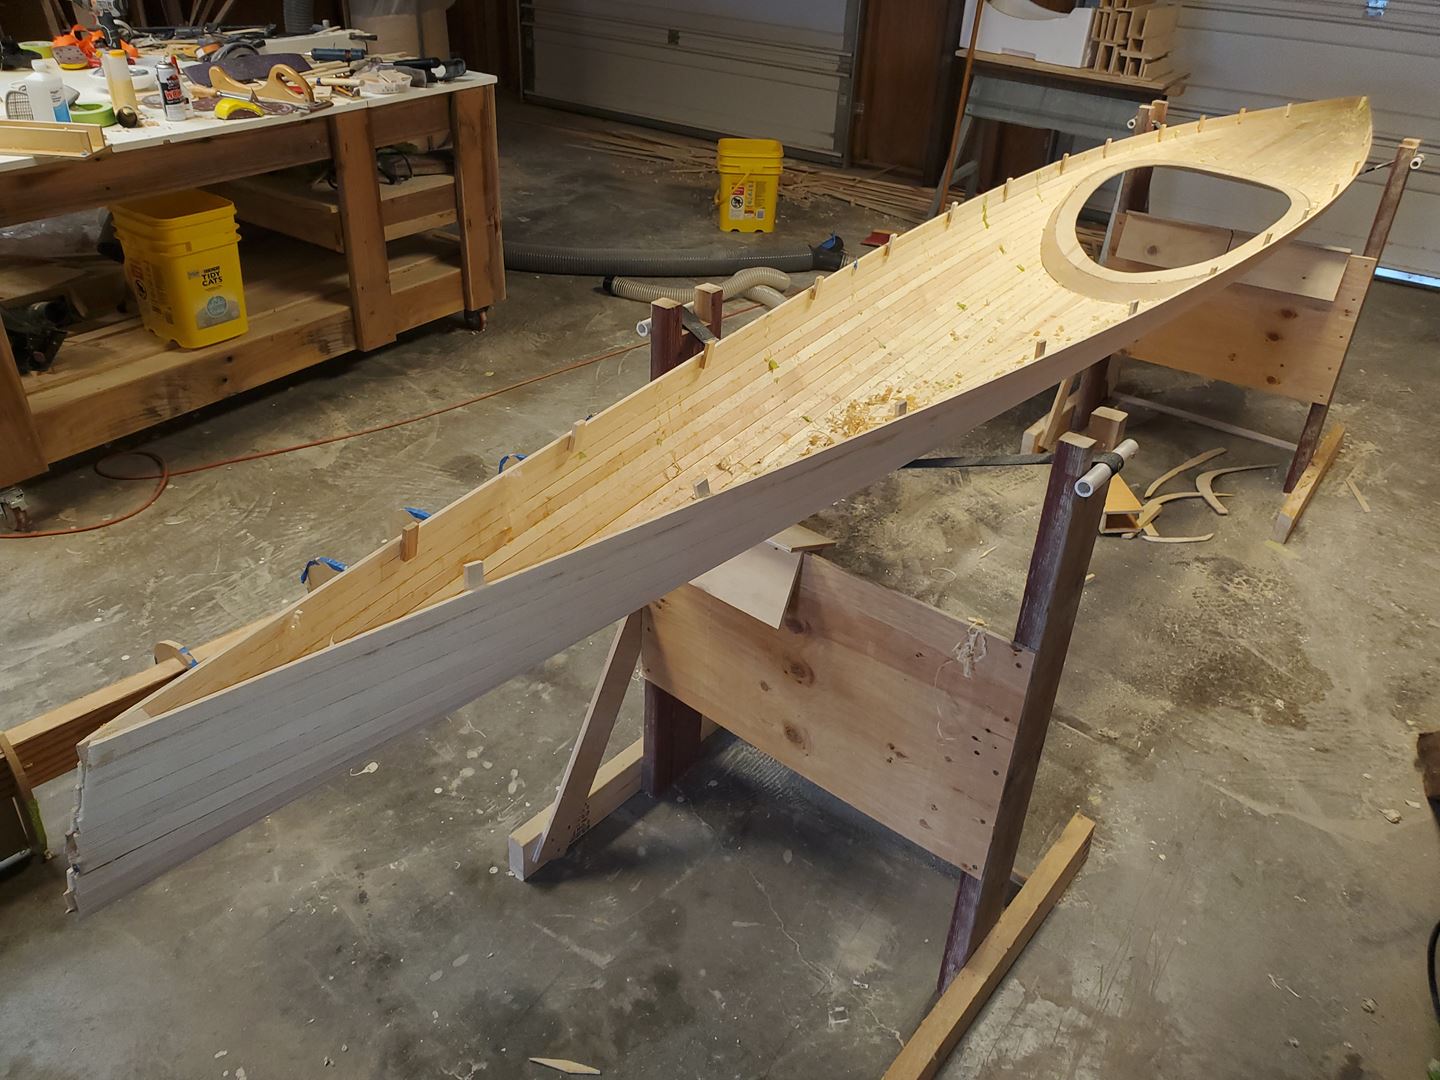
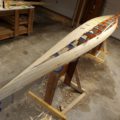
With a bit of persuasion, the hull was carefully lifted free of the forms and strongback.

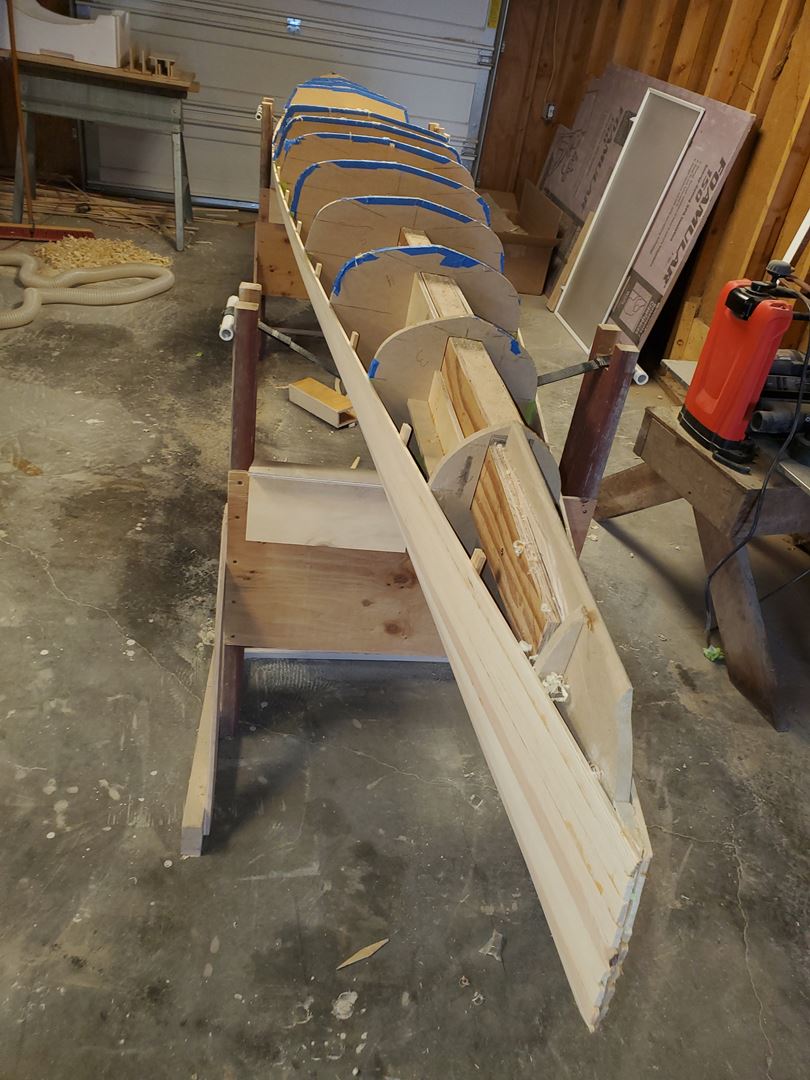
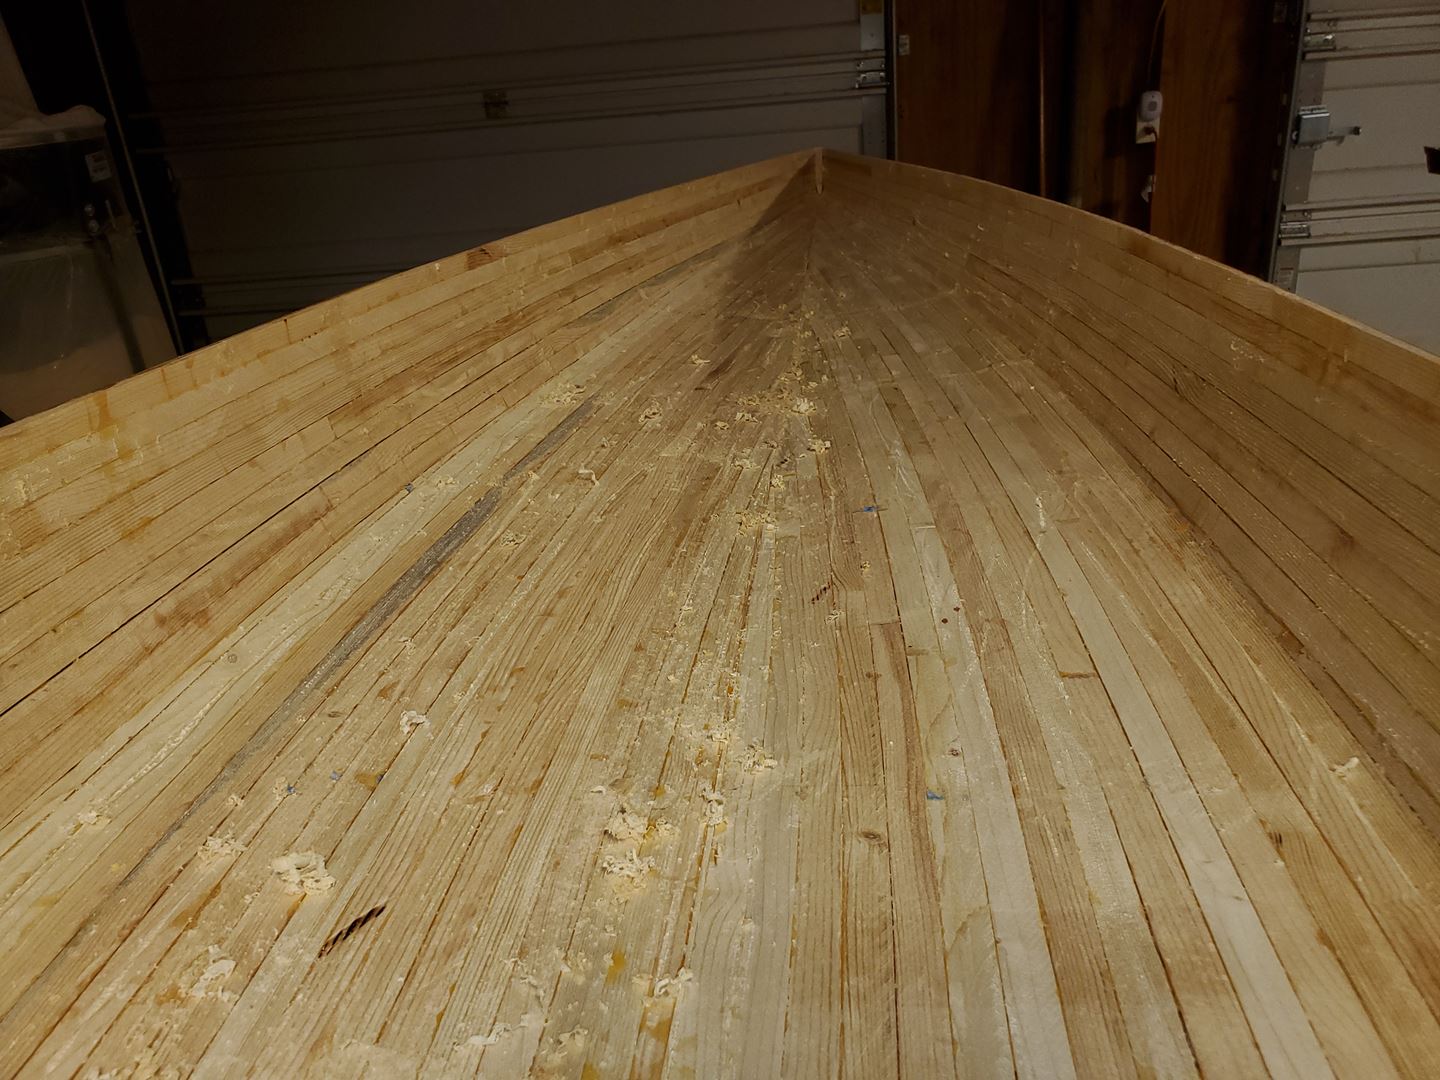
Believe it or not – underneath I found a whole bunch of wood strips that had been glued together!

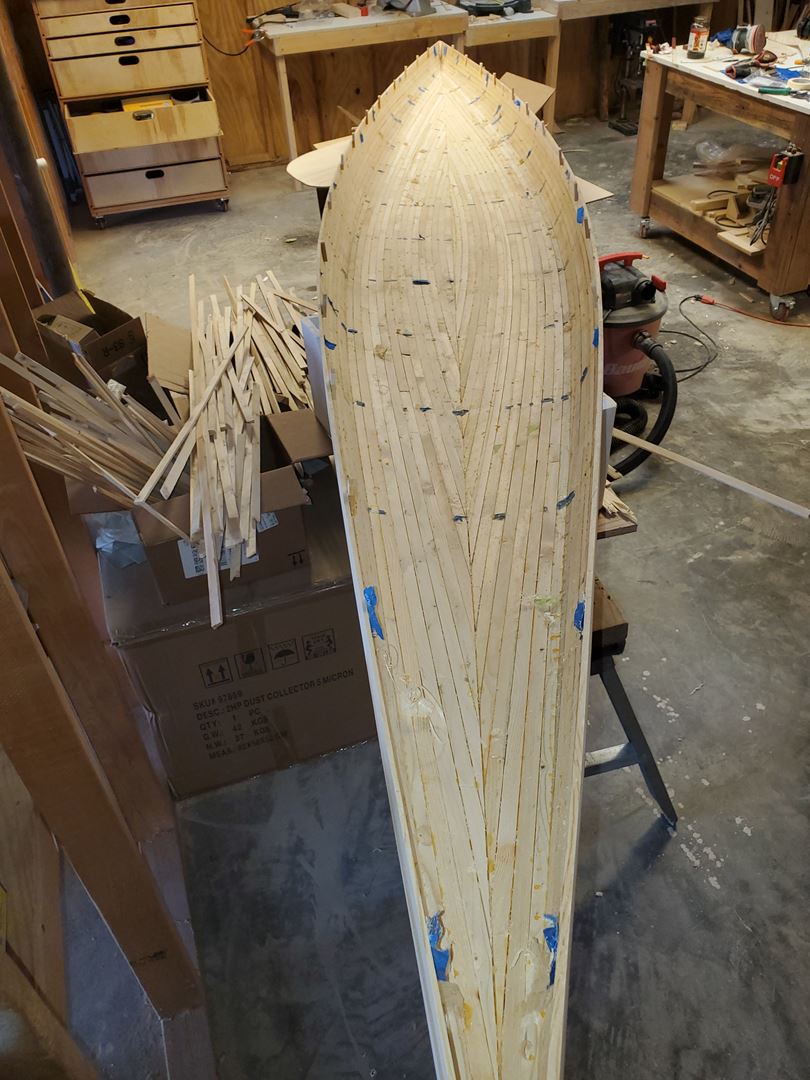
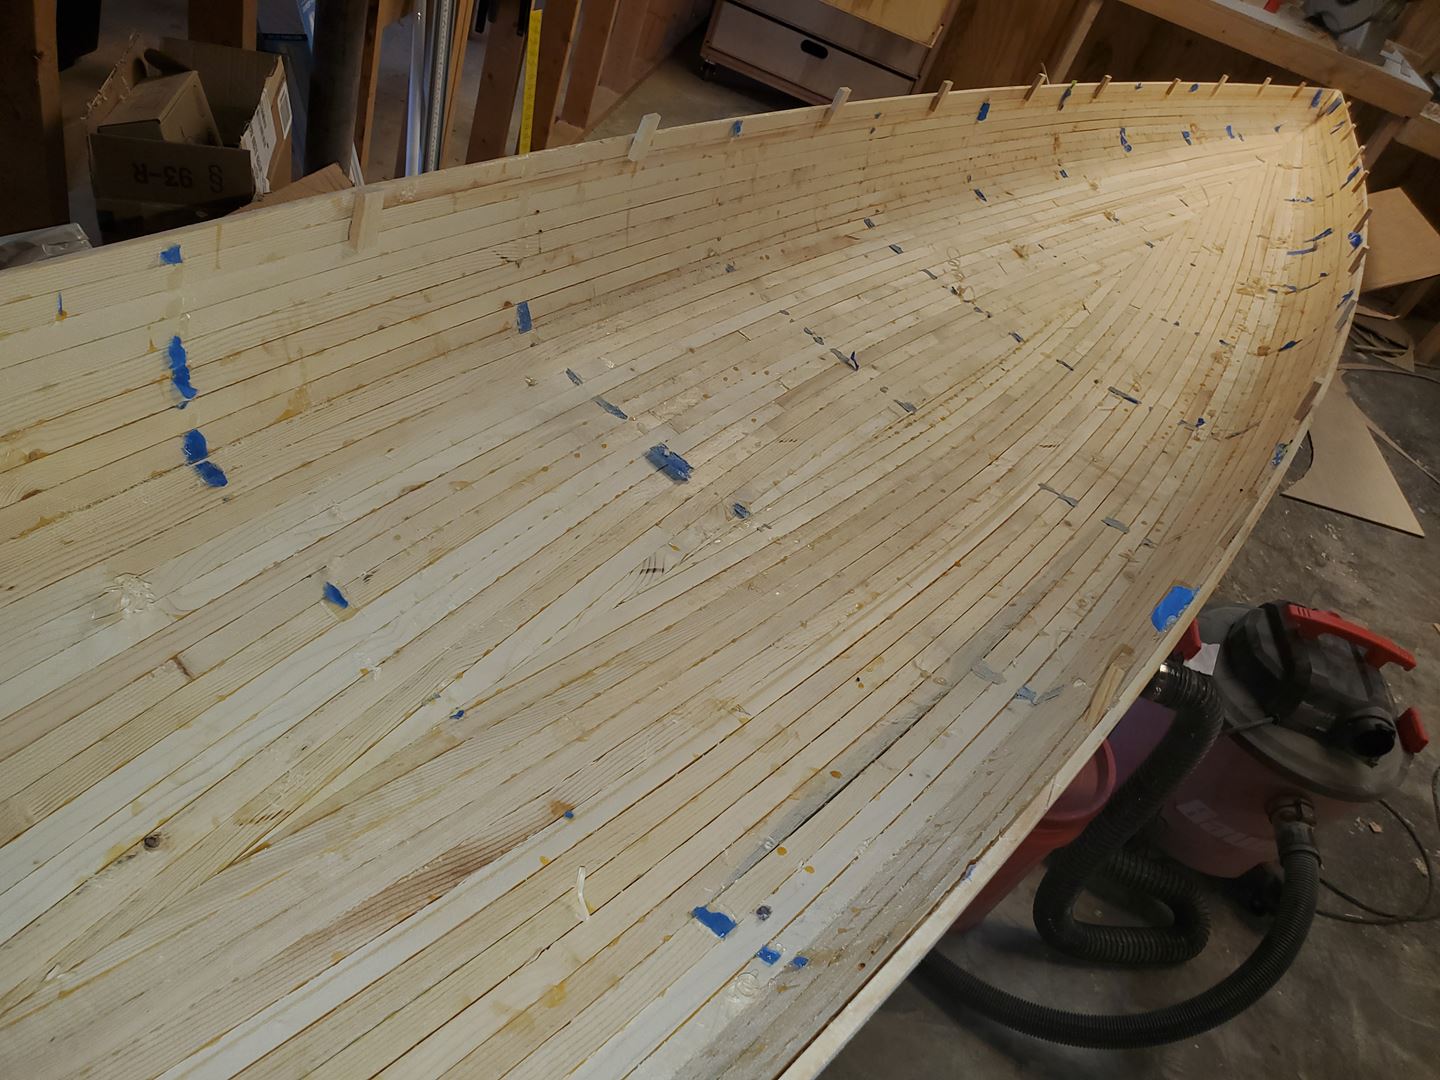
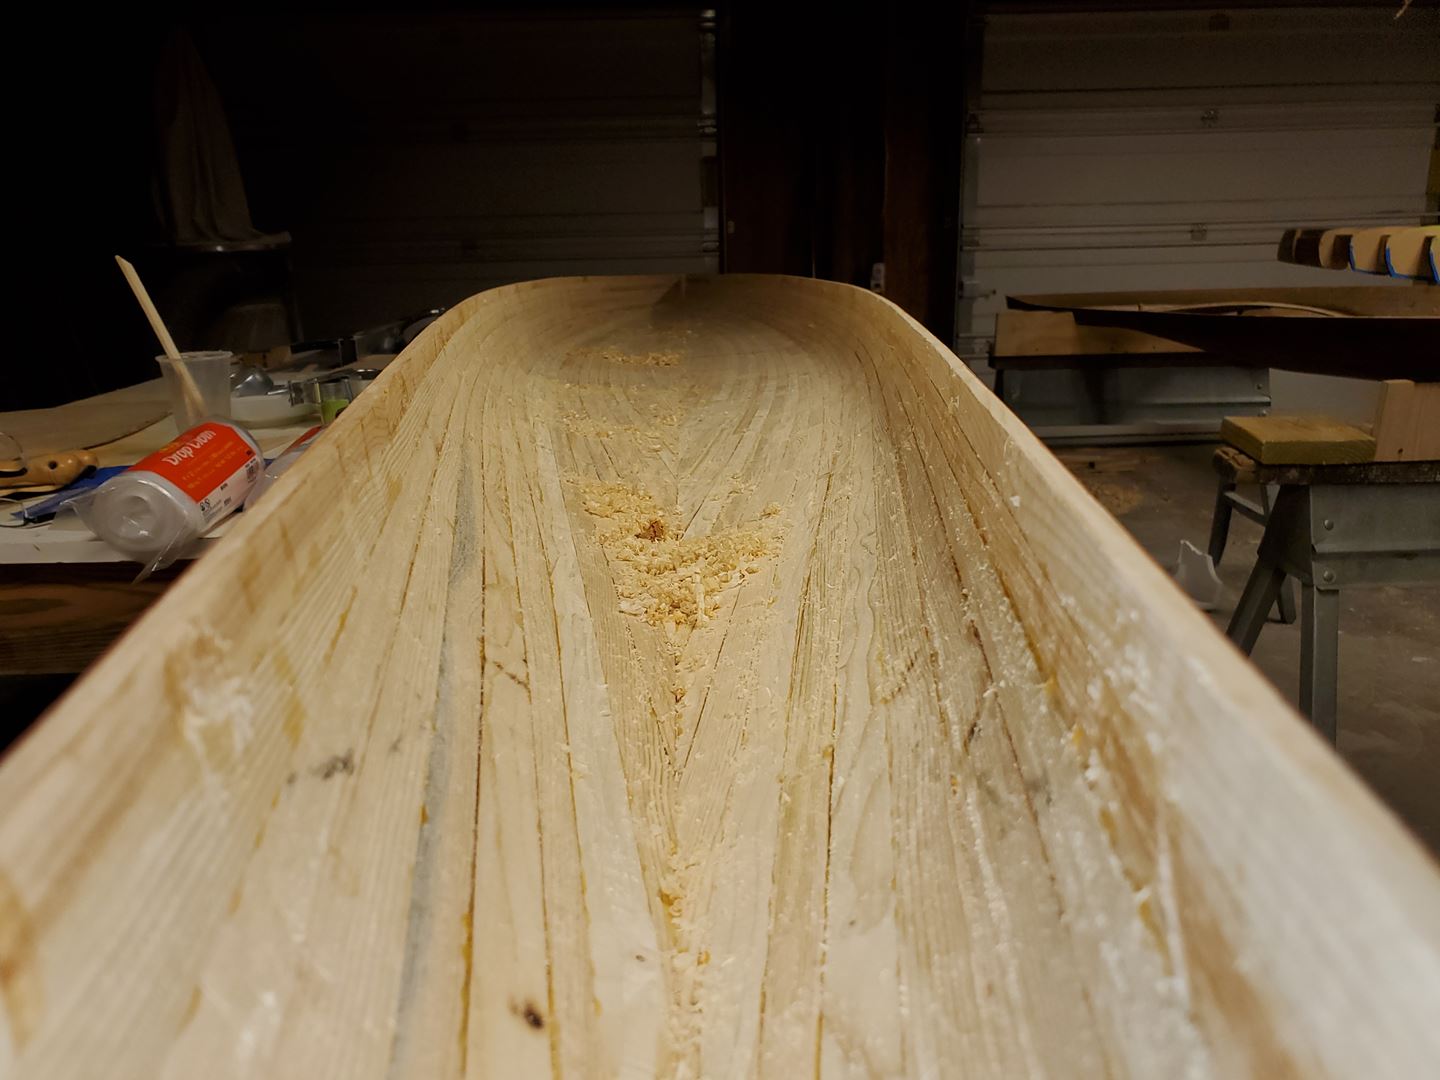
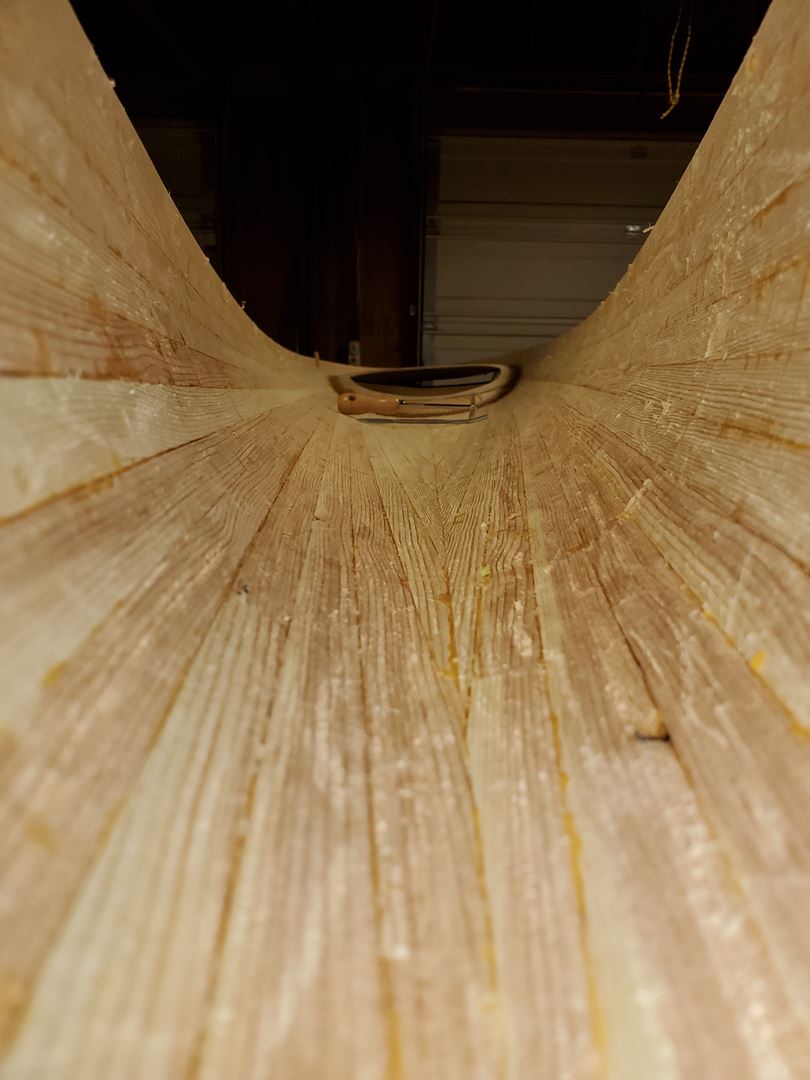
Then next step was smoothing all those strips to make a nicely faired surface onto which fiberglass could be laid.

To accomplish that, I started with wood scrapers. The concave surface is much more work than the concave exterior. Eventually, I worked from the scrapers to sanding blocks (40 grit, then 80 grit, then 120 grit). I tried to use the electrical orbital sander where the surface was relatively flat but had minimal success there. It was mostly elbow grease – and my not so great elbow didn’t care for it!!  But we eventually got where we needed to be.

(Visited 114 times, 1 visits today)

Related posts:

Kayak Hull Taking Shape Kayak Cockpit and Fairing Solar Panel Charging System MPPT ElectricityRoof Cleaning – Part 2 kayak feelfree elephant butte rudderBack in a Kayak

Comments

  1. Thom says

    October 4, 2022 at 11:13 am

    An amazing project you made. I hope all that work was like Zen for your mind. That wood should look great after the fiberglass is on. I had a neighbor who built a wood boat over two years and he said it was the most calming thing he had ever done and it came out looking like it belonged in a museum. Thanks for the updates on your project.

    Reply
  2. Peter McDonald says

    October 4, 2022 at 3:15 pm

    I can not believe the amount of work it takes to build this! Amazing job!!

    Reply
  3. Robert E. Finley says

    October 8, 2022 at 7:17 pm

    I’ve always thought I had project ‘stick to it’ until finished. However… I’m not so sure after seeing what it takes you to make a Kayak!!!! It looks as though you’re nearing the end What kind of finish will you apply to the outside strips??

    Reply

Leave a Reply Cancel reply

Your email address will not be published. Required fields are marked *

Once you have flown, you will walk the earth with your eyes turned skyward, for there you have been, there you long to return.

— da Vinci

Popular Posts

  • Powermatic Model 90 Wood Lathe & VFD
  • Wood Turning on a Lathe
  • Chainsaw Review: Sportsman 20 in. 52cc
  • Cielo Grande Barbed Wire Fence Repair

Email Notification


Posts by Subject

3DPrinting Aircraft Airstrip Bible Bus bus boys Camping Cat Computers Cycling Development Electrical electronics Entertainment Environment Factory Five family FAQ Finances flying Food God Health Holiday Home Humor kayak Life Maintenance Nature Photography Review RV-3 RV-4 sailboat sailing self improvement Sewing solar Travel Video weather wood woodworking X-Country

Posts by Month

© Copyright © 2025 JDFinley.com · All Rights Reserved · Privacy Policy

Unauthorized use and/or duplication of this material without express and written permission from this site’s author and/or owner is strictly prohibited. Excerpts and links may be used, provided that full and clear credit is given to JD Finley and JdFinley.com with appropriate and specific direction to the original content.