I LOVE solar power!!
I think I’ve mentioned that before. 🙂
It is amazing to me that such a small investment can provide such huge returns. For a few thousand dollars, the sun provides all of the electricity that I need to live in very normal fashion while sitting in the middle of nowhere.
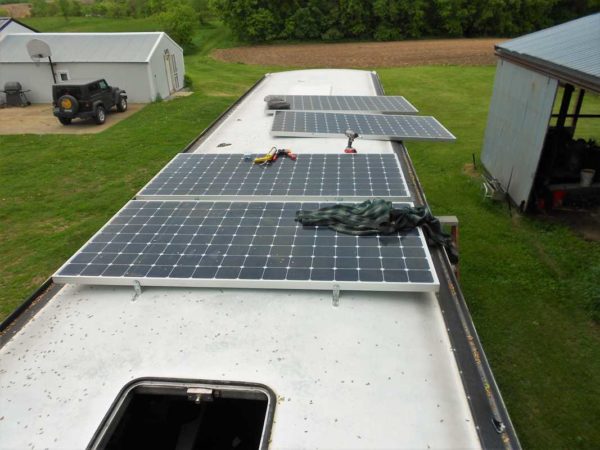
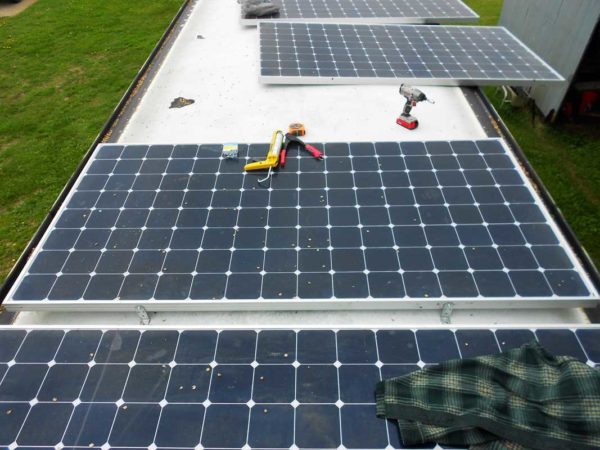
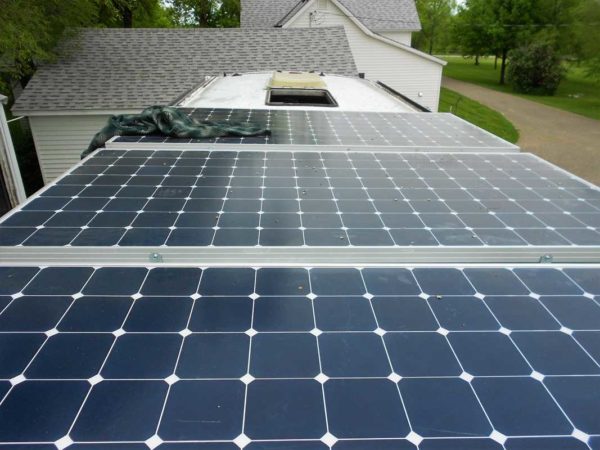
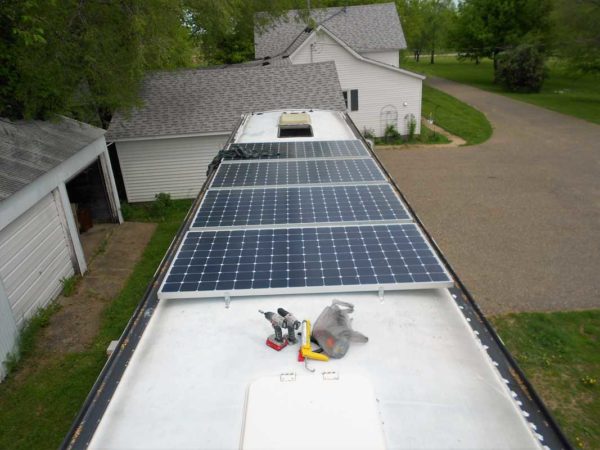
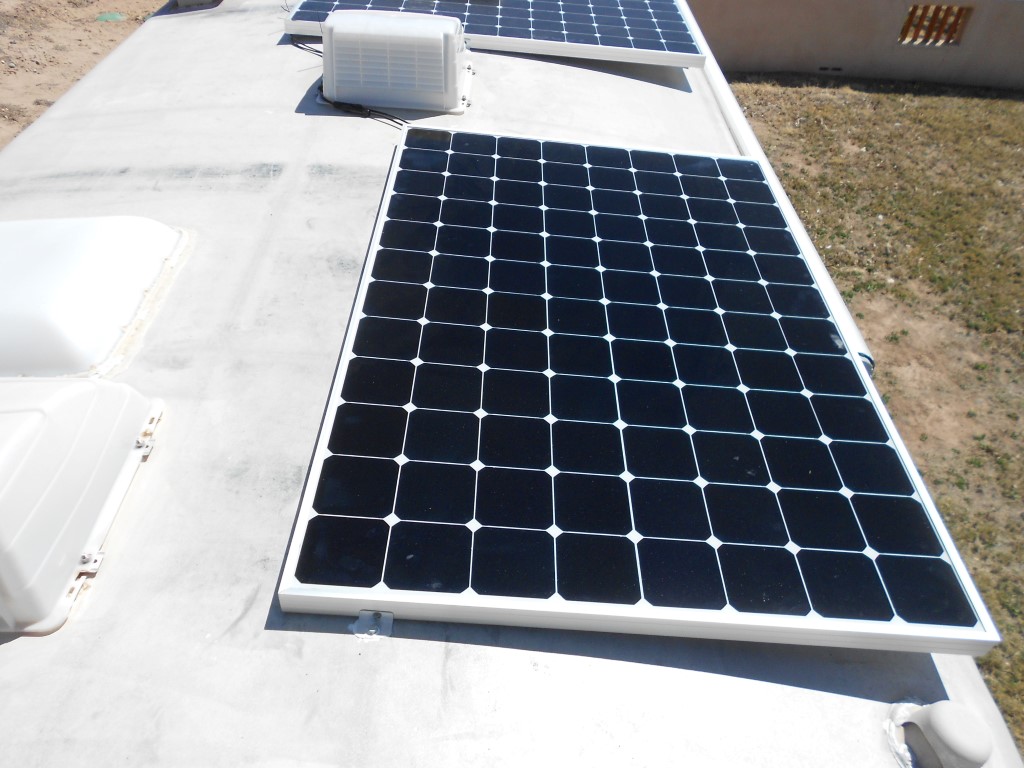
JBAM had 650 watts of solar photovoltaic panels (photovoltaic means electricity producing). With Missy, I took it up a notch. I have installed 1720 watts of solar. That is four, 435 watt SunPower E20 panels. These are 128 cell panels so are very large measuring 41″ x 81″ and produce approximately 6 amps at 72 volts.
The solar charge controller I’ve selected is the MorningStar TS-MPPT-60 unit. It is an MPPT controller (Maximum Power Point Tracking) with a maximum output (to the battery bank) of 60 amps. I am running it at 24 volts. I’ve had fantastic results with the TS-MPPT-45 so I decided to keep with the same product line.
A few mornings ago, they day dawned without a cloud in the sky and with no wind in the forecast. I great day to be working on the roof. So, I went to work.
Getting these big panels up on the roof is always a challenge. I simply summoned my super-human strength (similar to Superman but better looking, obviously…) and hoisted them up.
The “how” to mount them has been stewing for a few months. Missy has 2″ x 2″ 304 stainless steel square tubing making the roof framing. I decided to tap into this frame for real solid mounting. The issue is that 304 stainless is a real pain to drill thru.
I considered gluing them down instead of using a mechanical fastener. This approach worked very well on JBAM (and is still working). The thing that dissuaded me was that there is very little “stuff” on Missy’s roof to break up the flow of air. JBAM had lots of stuff. Satellite dish, air horns, air conditioner, etc. Additionally, the location of Missy’s structural tubing was easy to find – I had no idea where it was on JBAM. I considered U-bolts around these frames instead of drilling into them but I could never get comfortable with that. So, I bought some 135 degree split point drill bits that I hoped would ease the pain of drilling into the SS tubing.
I should note that I did consider making these panels “tiltable.” There is no doubt that panels oriented perpendicular to the sun produce more power. This can be a very significant difference during the winter months (when the sun is low on the horizon). However; I just dread the thought of babysitting the panels and I wanted to get them installed and operational. They day may come when I make some changes so I can tilt them.
As soon as I started drilling for the first panel it was evident that the drill bits were a wise investment. They zipped right thru without any hassle. Then, just as I was about to drive the first bolt, I realized that I had a bunch of big stainless steel rivets.
Hmmm… says I. When do I ever plan to remove these brackets??
Never was the answer so the plan was changed.
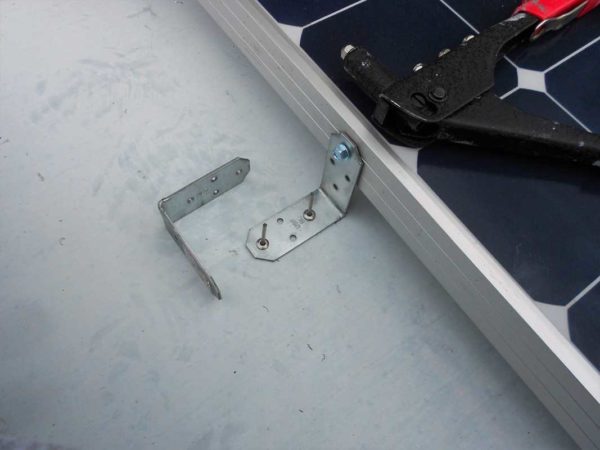
A good layer of Dicor was slopped down under each bracket and then it was riveted to the chassis, they are not going anywhere. Each bracket has one self-tapping sheet metal screw that is driven into the side of the solar panel aluminum frame (double wall). Once everything is tightened down, it is very solid.
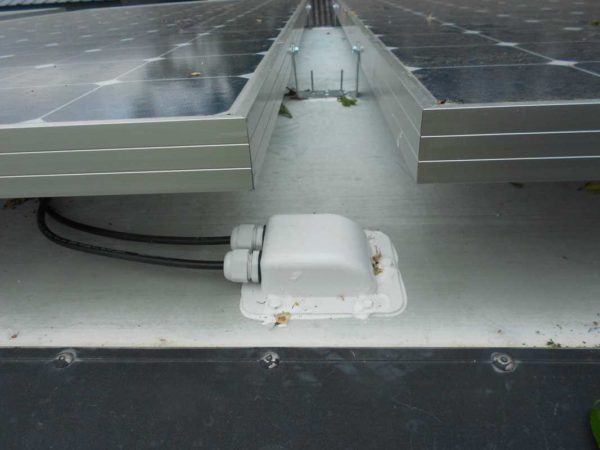
I picked the spot at which I wanted the cables from the solar panels to come thru the roof and drilled some holes. I had purchased this handy dandy weatherproof “entry gland” from Amazon and put it to work here.
It is installed with a thick layer of Dicor and five sheet metal screws – and rubber grommets to protect the cables where they go thru the sheet metal skin. I really like the clean appearance and it sure seems like it will be water proof.
The cable I used was a 10 gauge, 50′ cable with MC4 connectors which I then cut in half. This is a great trick as the Morningstar charge controller has fittings for bare wire (does not require a fitting/connector). I used a set of three to one adapters, a set of two to one couplers, and a set of 5′ extension cables with MC4 connectors. At maximum power output, I see a loss of about 1.2%, according to the calculator, which is well within the target range.
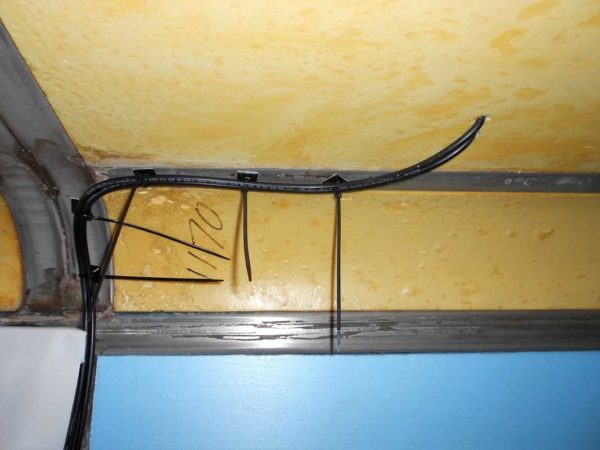
The cables route down to the charge controller mounted on the “electrical wall” in the basement. The positive cable goes thru an 80 amp circuit breaker and then into the charge controller.
The cable for the Morningstar remote digital meter was ran up into the house and to the area that will eventually be a cabinet with all of my electrical equipment.
As soon as the connections were complete, I closed the circuit breaker and BINGO! The little green light on the charge controller started blinking. Power was being created and stuffed into the batteries!! YAY!!
I LOVE solar power!!
Everyone that is considering solar is interested in “payback.” For that, see this old post. Hint: I think it takes about one boondocking trip for the system to pay for itself. Not having to listen to a generator drone on for hours and hours is huge – to me. For this system on Missy, the total cost was $2,456.00. That is broken down as follows:
Solar Panels: $1,720
Charge Controller: $528
Cables/Connectors: $85
Remote Meter: $123
Remember, this solar charging system is HUGE and far more than most RV’s require. That said, it will provide all the electrical power I require, for everything except air conditioning, for many years to come. That is a pretty swell deal!
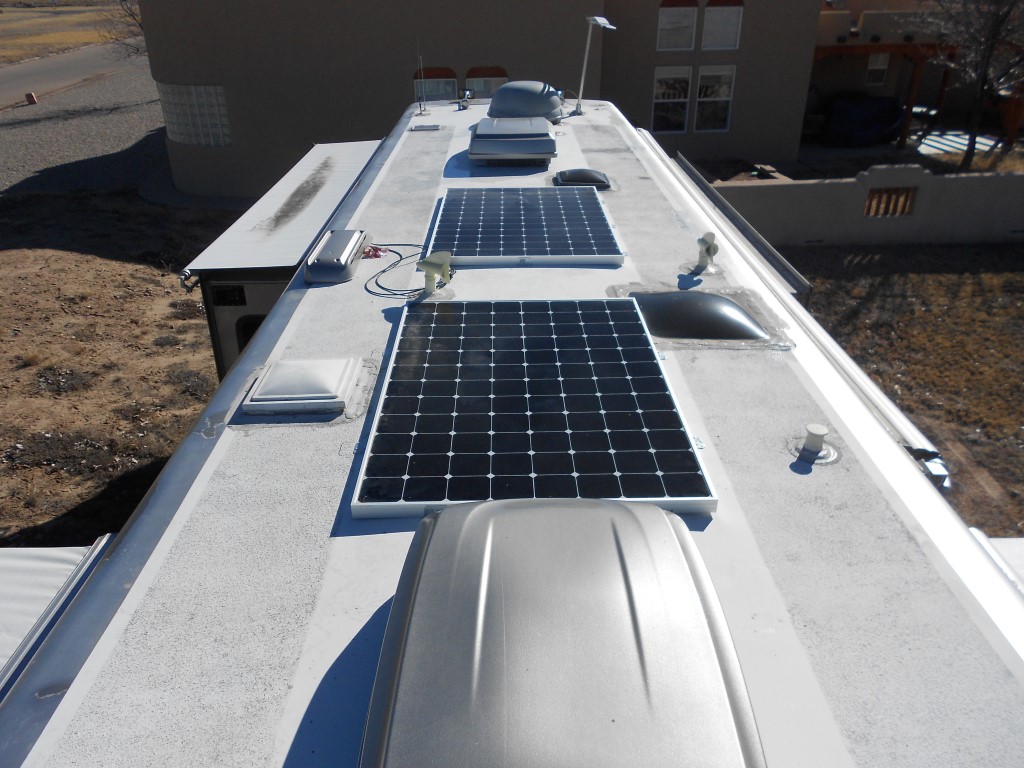
And… look at all that open space. Maybe I’ll add some more panels – just for the shading effect!! 🙂
In hindsight, I did make a boo-boo. I should have left a couple feet of space between the middle two panels for installation of the Fan-Tastic vent/fan that I have waiting. Oh well… it will now go somewhere else.

That is really impressive! What a great job! And you are so right about the solar still working on JBAM. The convenience of this is more than most RV people understand until they have it. When we were in New Mexico in a small RV park, the power went out. It was hours later that we talked to some folks we had met there that we found out. They were doing things to charge their batteries (even after just a few hours…………..something’s not right there!) but we didn’t even know the power was off! Very cool!! We will boondock more on the next trip!
Thanks Pete! That is great to hear!! Solar Rocks!! 🙂
JD Sounds like a great system and something I want to do! Thanks for sharing! Could you recommend a site to order those 435 watt SunPower E20 panels from?
Thanks,
Bill
Hi Bill! It is great to meet another DS owner! I’ve purchased all my panels from a fellow that advertises on the Albuquerque Craigslist. Purchasing the higher voltage “residential” panels seems to be a bit of a challenge for those of us that want just a few of them.
well done….will pay dividends for years to come….and very self-satisfying at that….