After a lot of cleaning, measuring, inspecting, and fiddling; it was time for the new engine to start going back together.
I should probably note that the measuring is related to wear limits established by Lycoming. Most everything in the engine has published limits – everything from bearing journal diameter to crankshaft out of round, to lifter diameter, to valve guide size, and so on…
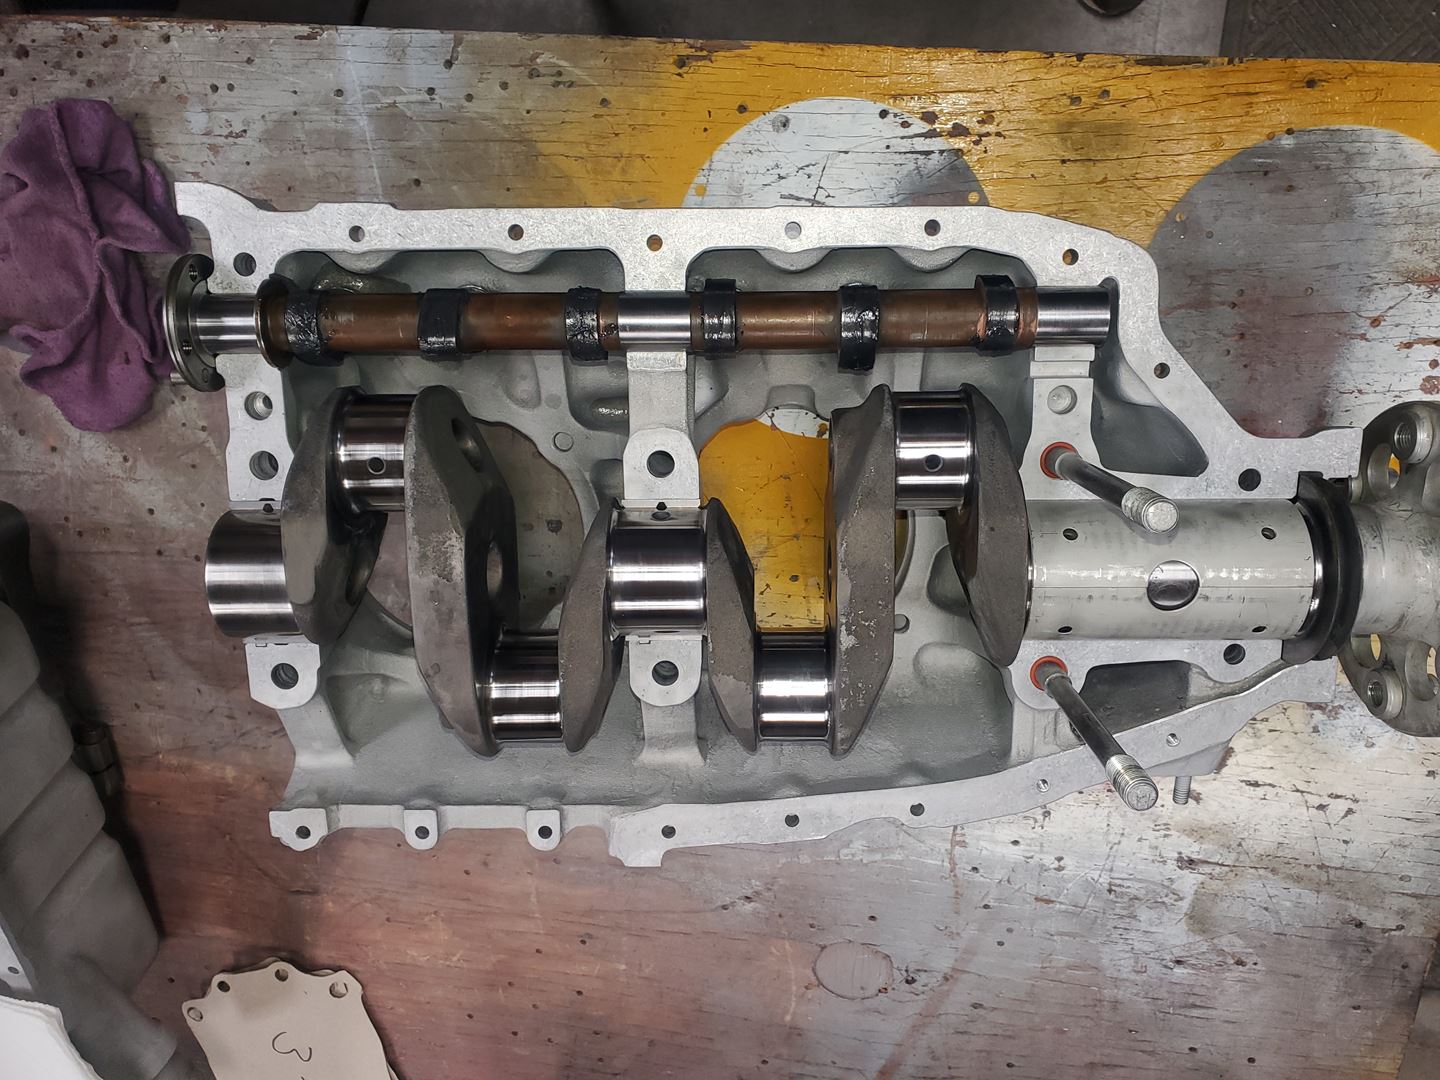
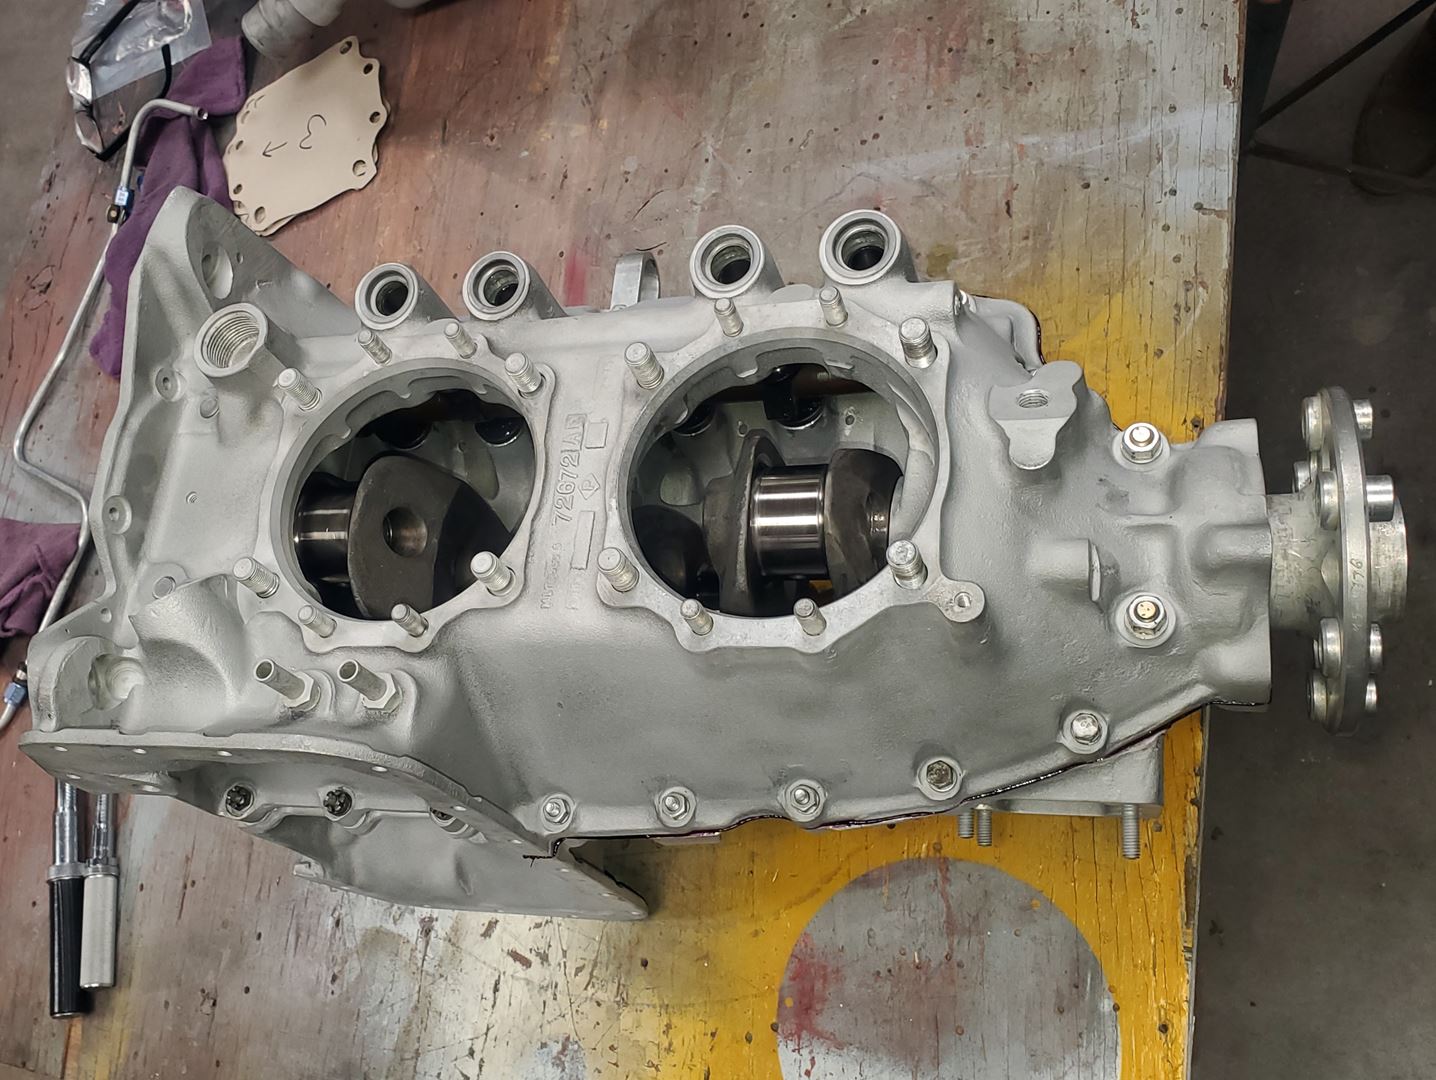
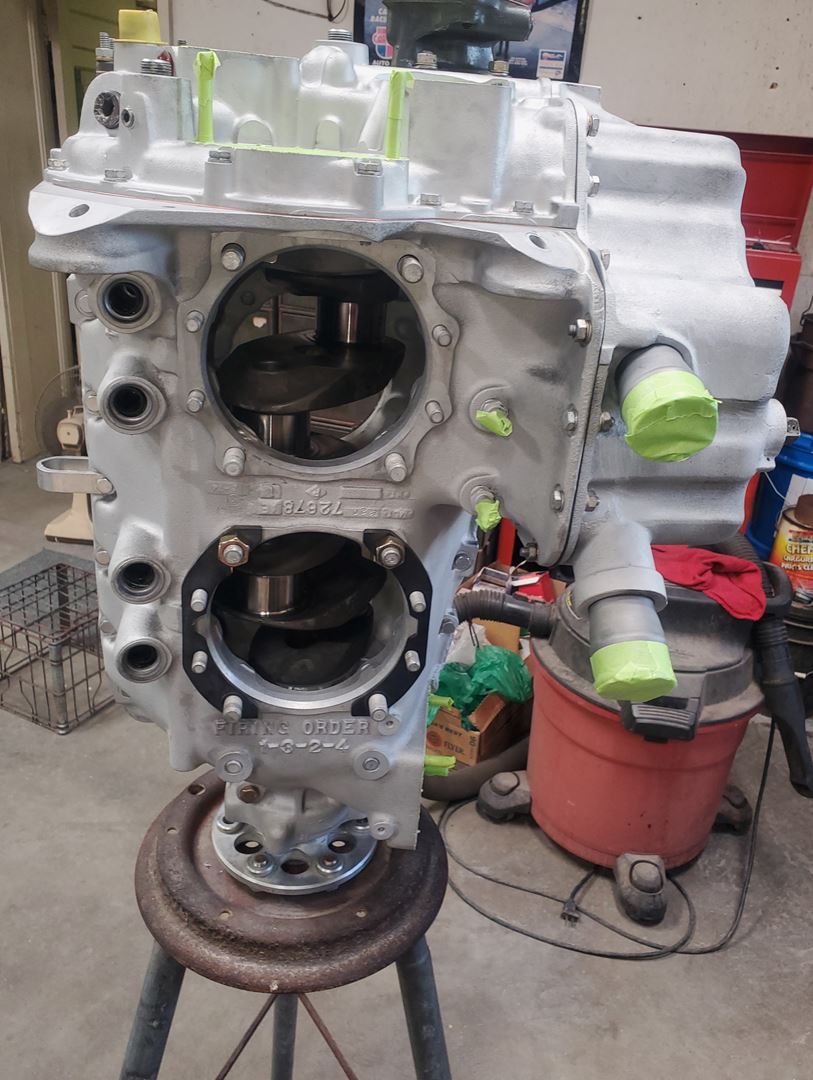
The camshaft, crankshaft, bearings, and tappets (cam followers) are installed in one half of the case.
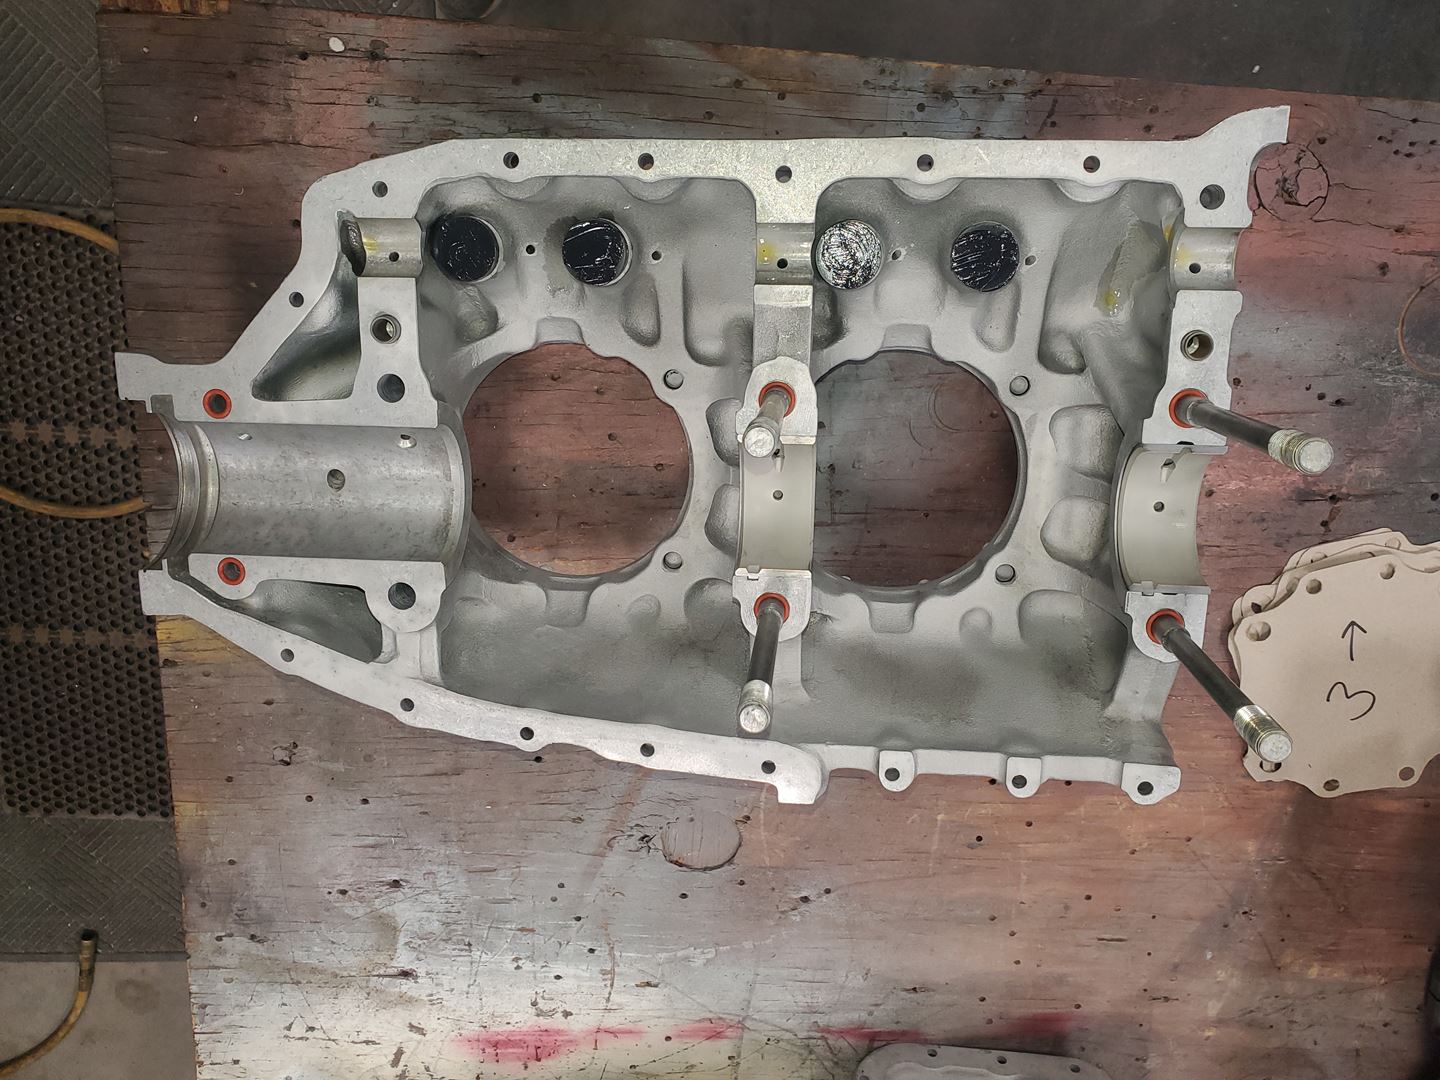
Cam followwers and bearings in the other half.
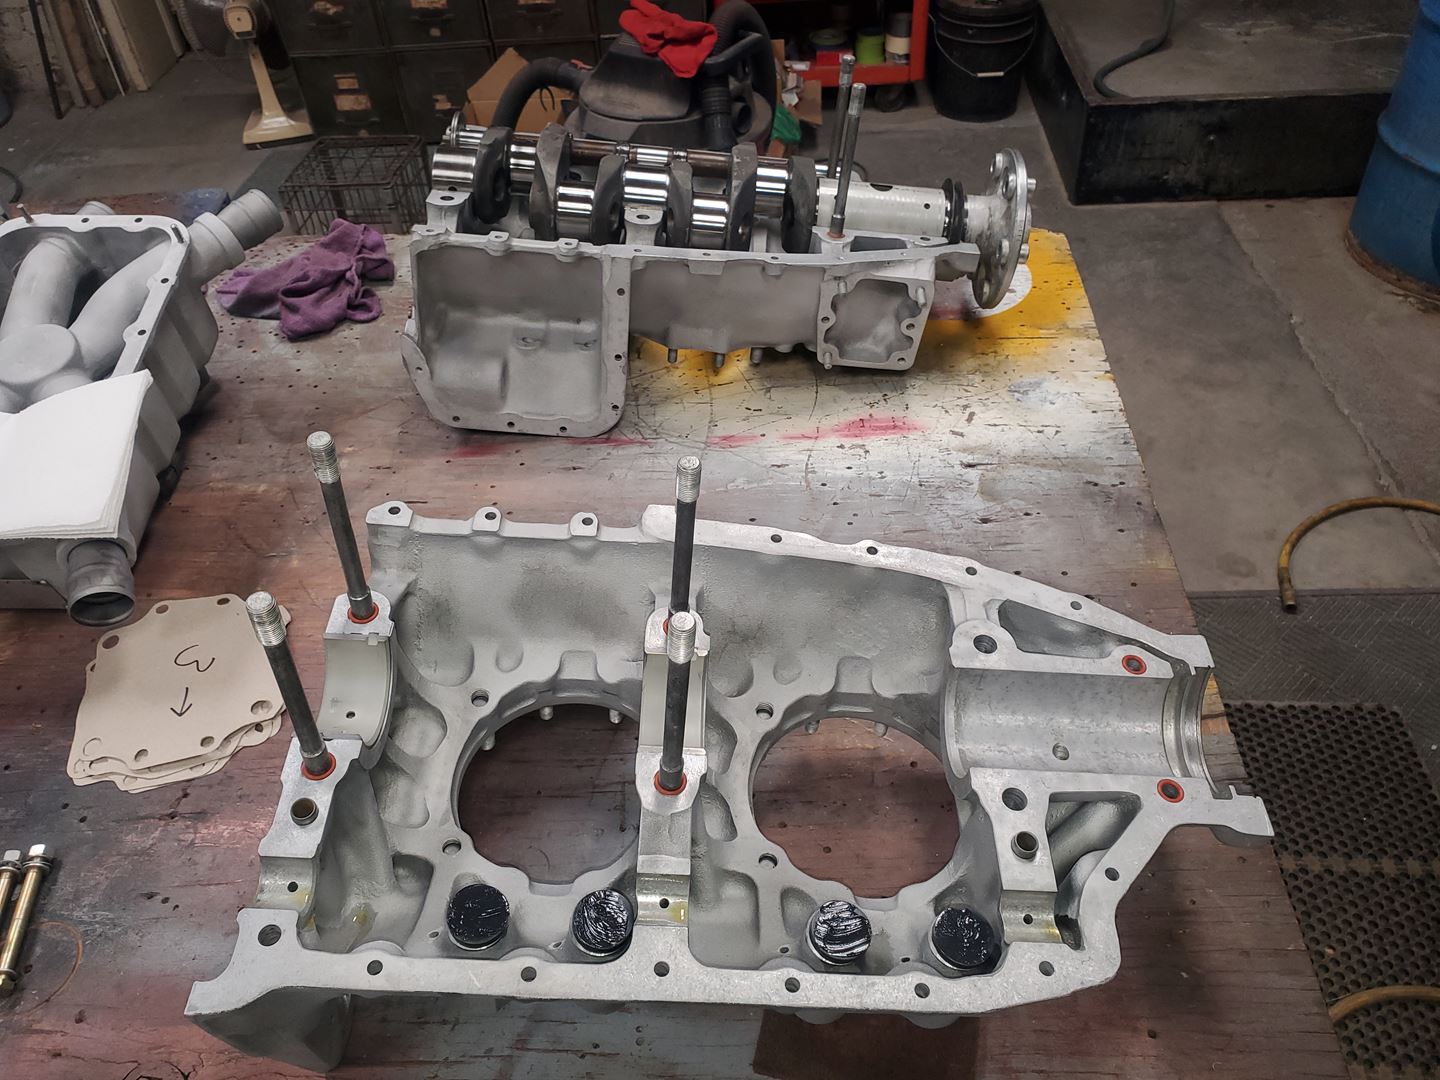
A bit of sealing goop is applied.
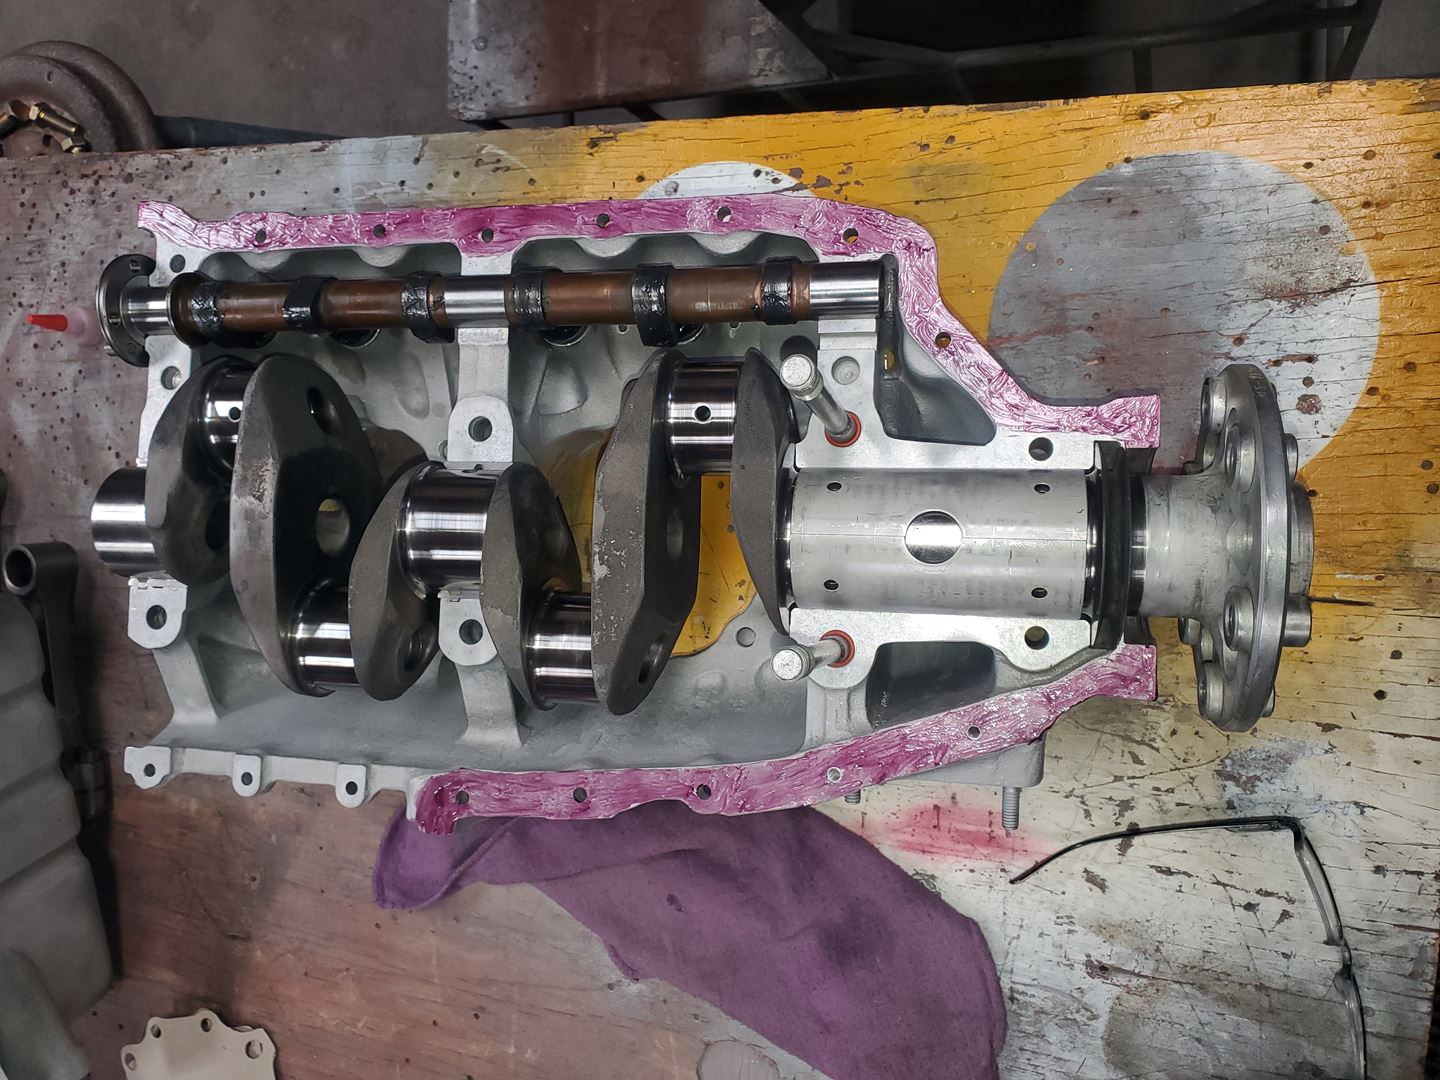
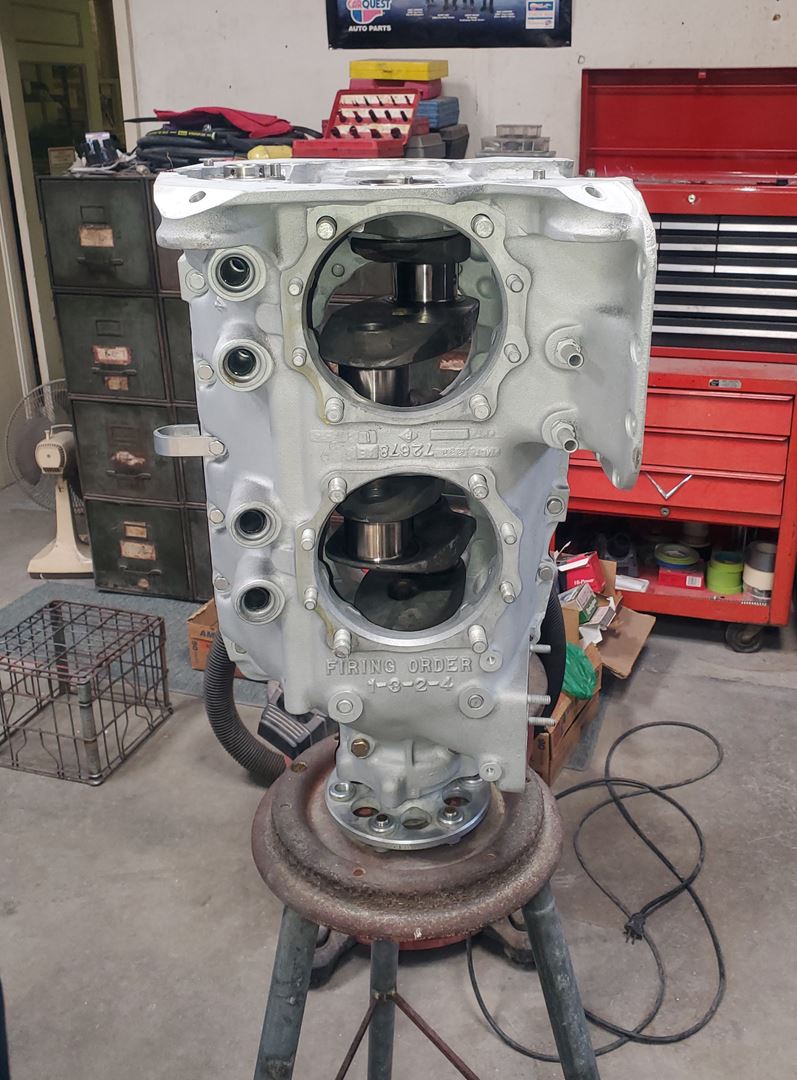
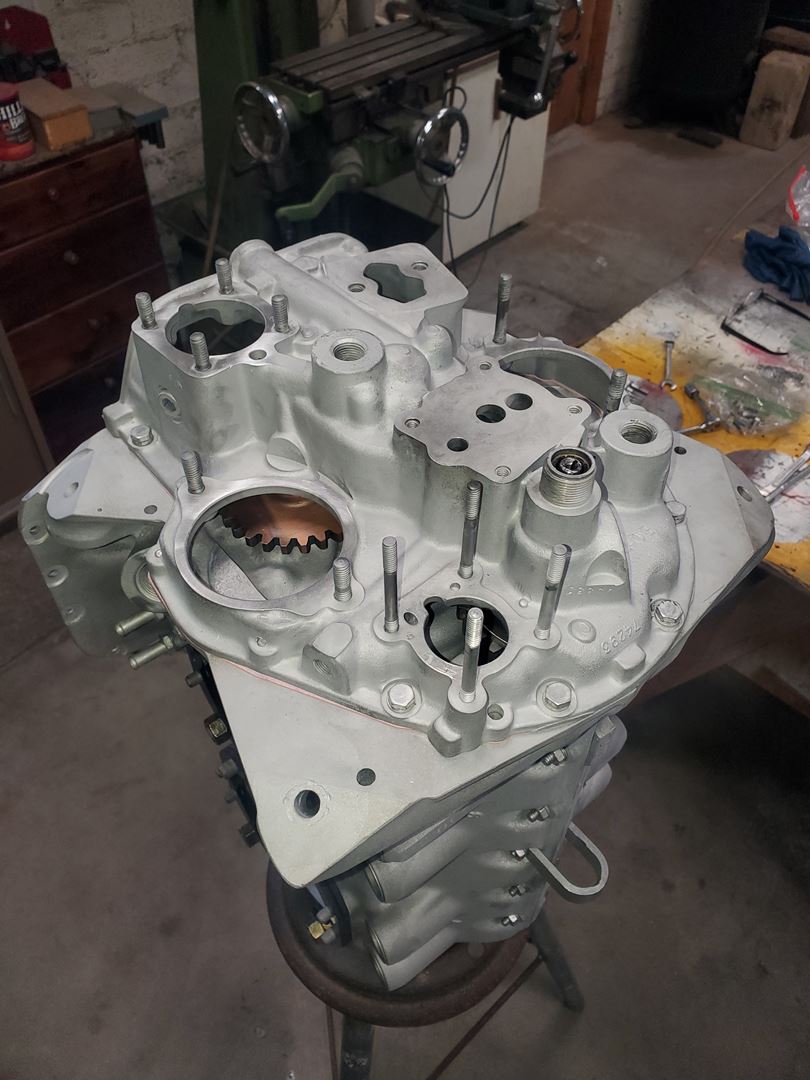
And the halves are put together and bolted.
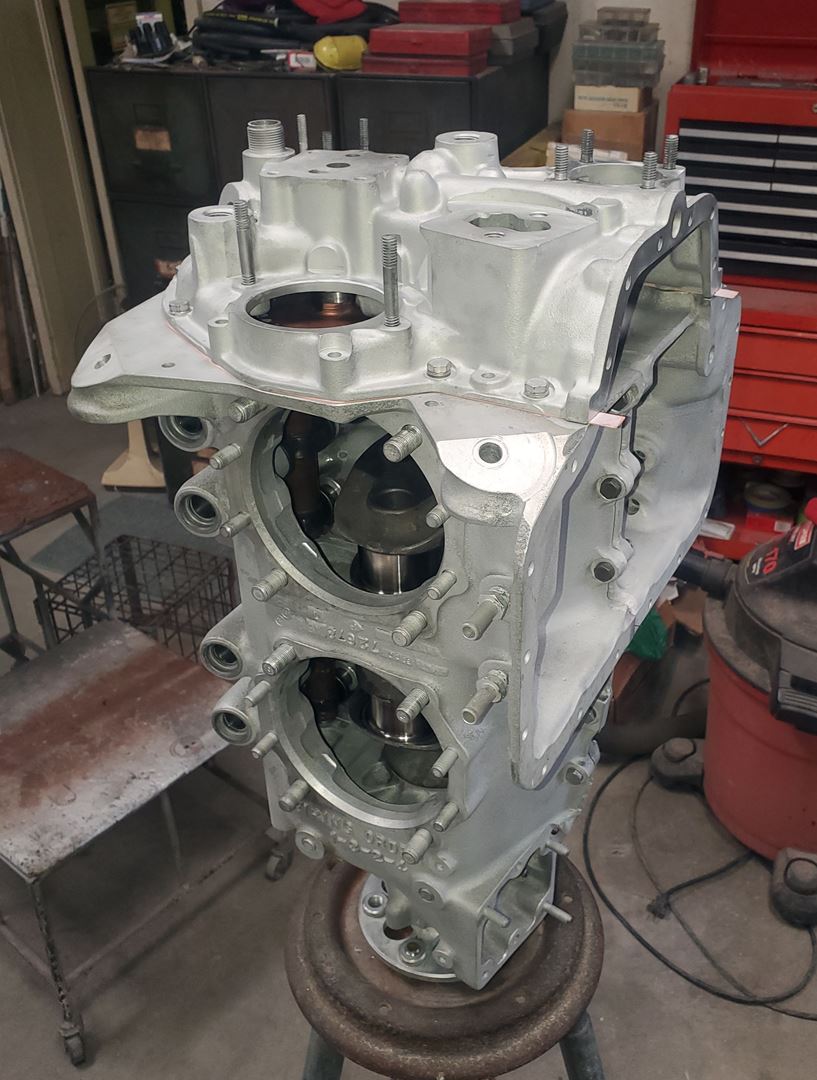
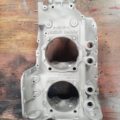
Onto the engine stand to make things a bit easier. Some might ask about the connecting rods. With this particular model Lycoming, they are easy to reach thru the cylinder hole so I decided to install them after the case halves are assembled.
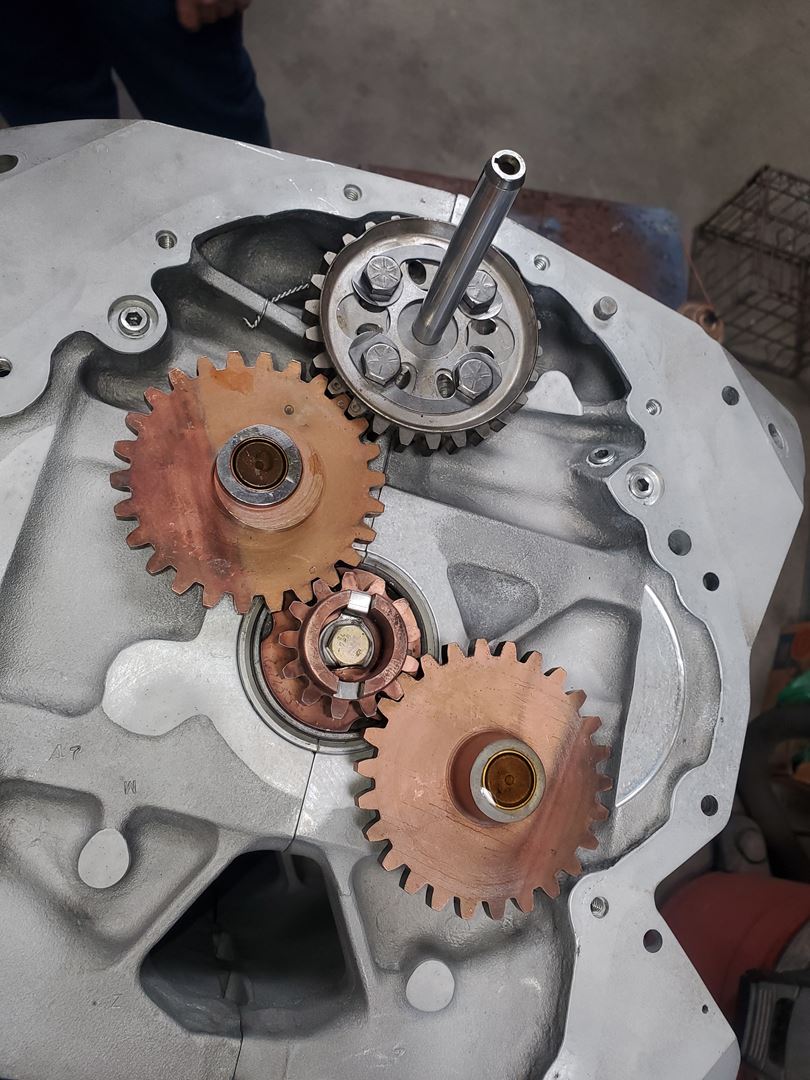
These are the gears that make it all work. The top is the camshaft gear, middle is the crankshaft gear, the two large gears in between connect the two and drive accessories – like ignition, propellor govenor, oil pump, etc.
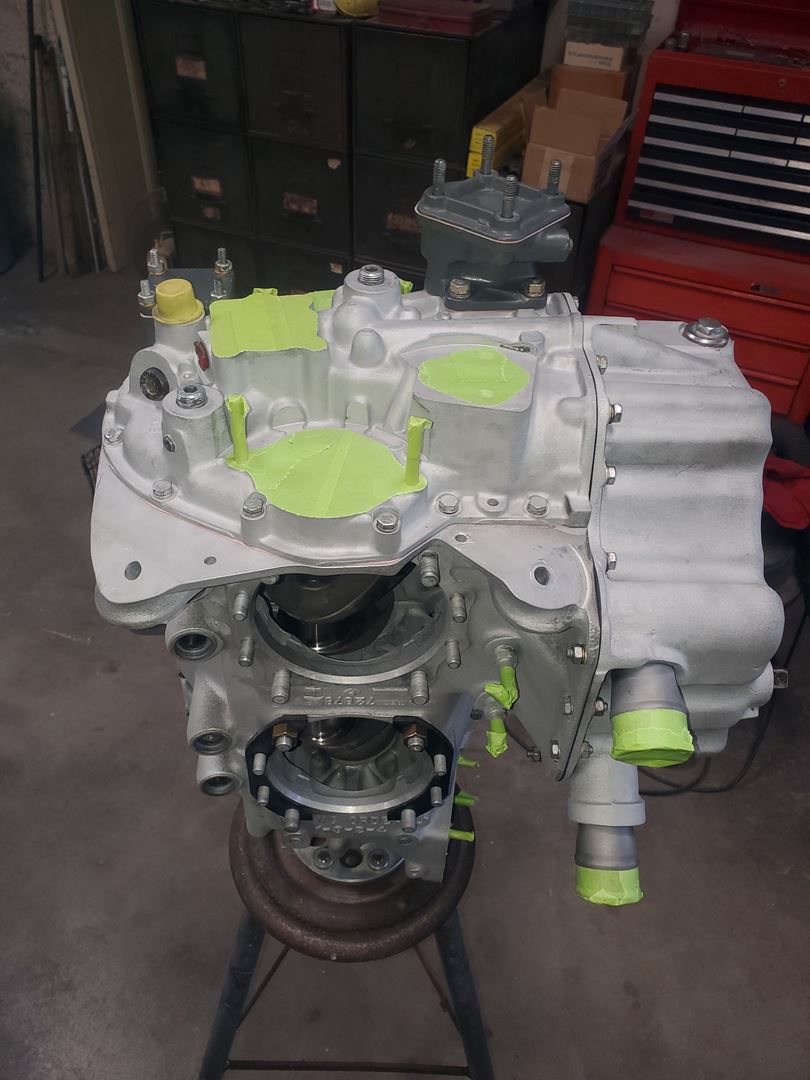
Then the accessory cover goes on.
And then the oil sump. The updraft carburetor (a Marvel-Schebler MA-4-5) is attached to the bottom of the sump and the large tubes are air intake runners that connect to the cylinder heads.
The two items on top of the engine that are already gray are the propellor governor pad (for a constant speed propellor governor) and the vacuum pump mounting pad (which, in my case, is not used).
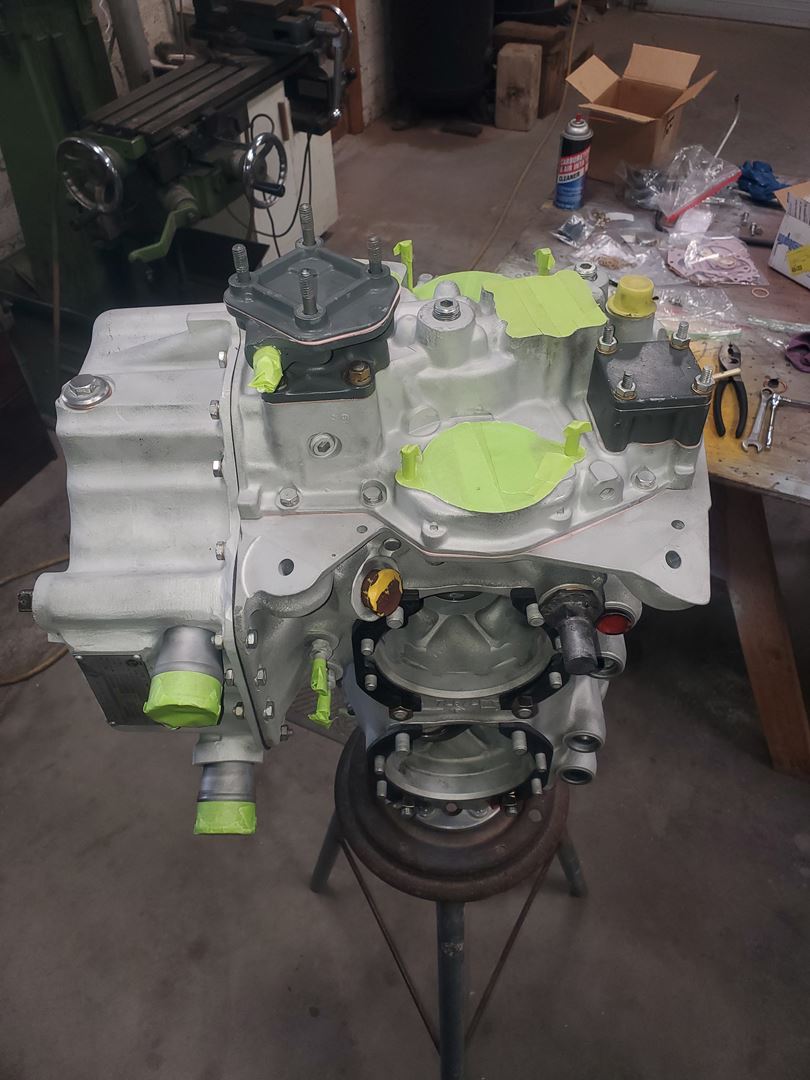
Everything that we don’t want paint on is masked, plugged & protected. This would be mating surfaces where other items are going to attach, holes, bolt threads, etc.
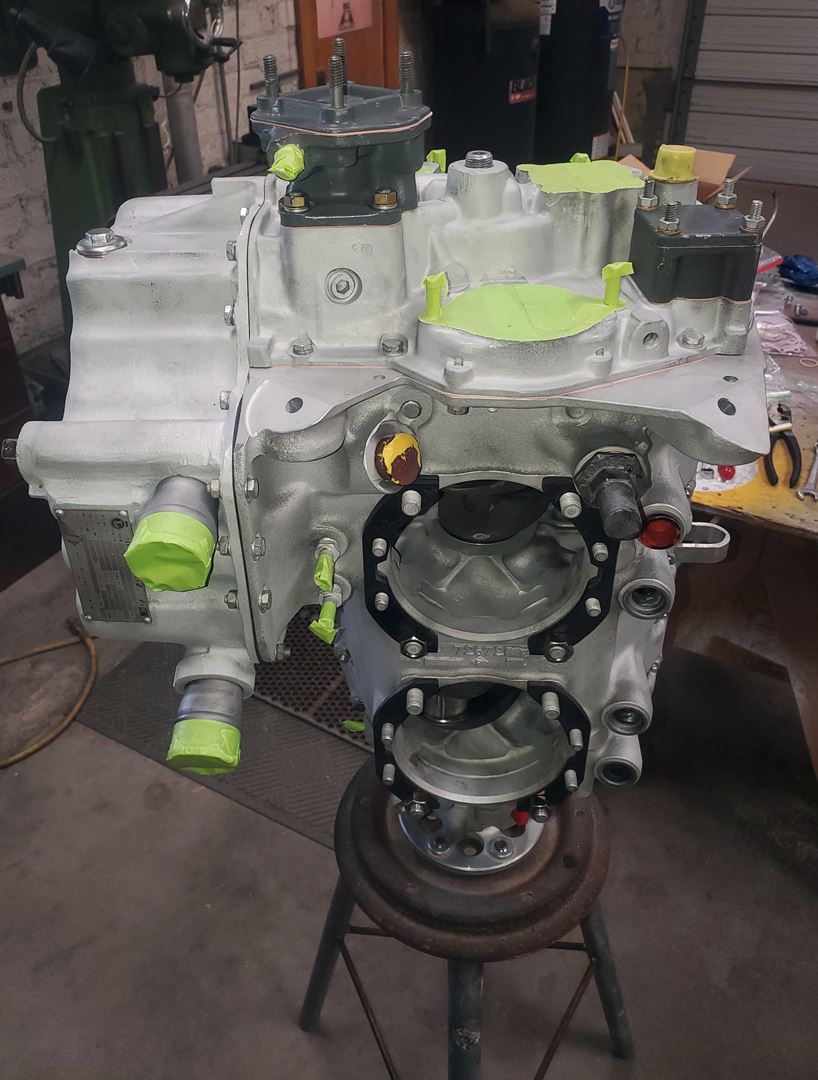
After paint – she is looking mighty fine!!
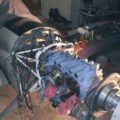
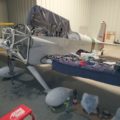
Sadly, it seems that I forgot to take a photo while still on the stand but here we are on the way to the airport (that’s the painted engine in the back of the Jeep).

Here it is hanging next to the airplane – thinking about bolting itself on.
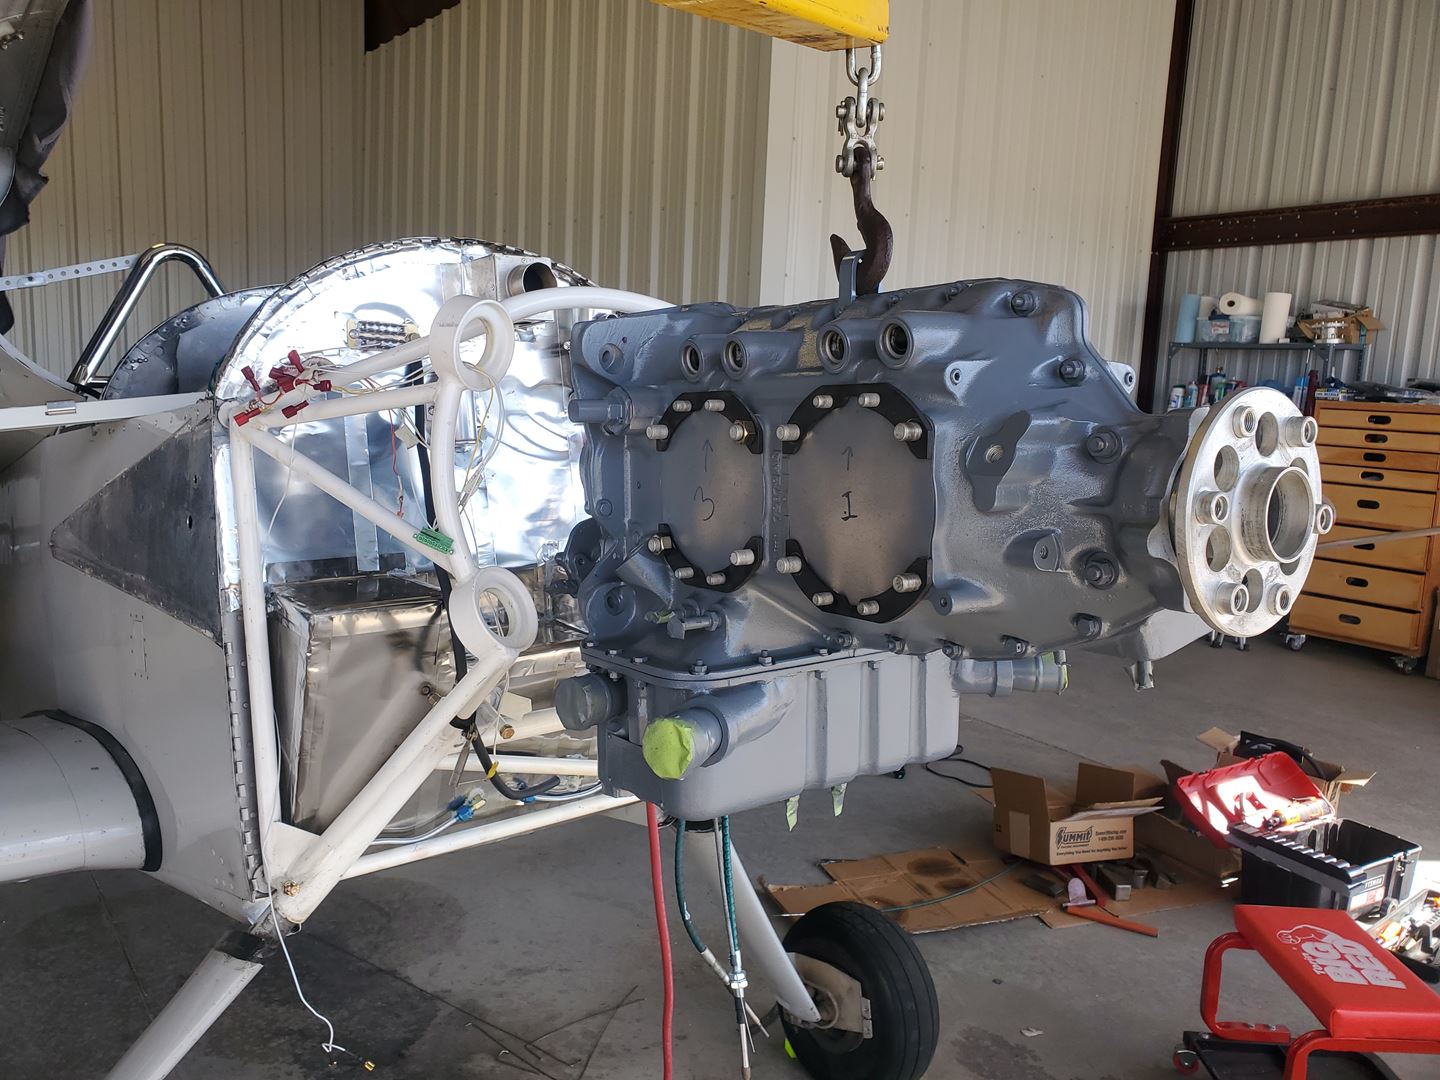
Obviously, loads of work remain!!
If it looks like a brand new engine… It must be!!! I bet you can’t wait to hear it hummmm!!!