A bike frame bag has become popular in recent years. I am speaking specifically of a compartment that attaches inside the frame tubes of a bicycle. Typically this is wasted space except for a water bottle or two. All sorts of stuff is carried in a frame bag by bikepackers and distance mountain bike travelers (Randonneur cycling). Since there is a huge variation in frame dimensions, you’ll likely need to have a bag custom made unless you have one of just a few real common frames. I like DIY projects so I constructed my own bike frame bag. Hopefully, this little how-to will be of assistance if you would like to build your own as well.
I nearly always learn a great deal from my first attempt at anything. Thus, my expectations were high that I was going to learn a lot about making a bike frame bag but low that my first completed product would be useable. I am neither a seamstress nor fashion designer and I usually make a lot of mistakes when sewing. However; it is all good fun and all a learning experience so I don’t get frustrated nor attempt to move too quickly (which always leads to more mistakes). Remember, the fun is in the journey not the destination.
I spent a lot of time studying the following links and I referred to them numerous times while constructing my bike frame bag. They were all very helpful – thank you to the authors!
http://forums.mtbr.com/general-discussion/diy-frame-bags-pic-heavy-595198.html
http://forums.mtbr.com/fat-bikes/how-sew-frame-bag-long-pic-heavy-596676.html
http://bikepathwarrior.blogspot.com/2010_02_01_archive.html
The first order of business is what material to use. That is tough considering the huge number of possibilities. If you want to spend lots of money and are into ultra-lightweight stuff, Cuben Fiber is probably for you. I picked 1000D Cordura Nylon fabric, T-70 Dabond Polyester thread, and water resistant #5 YKK zipper. I think the 1000D is a good choice but I’ll warn you, I am not into the ‘ultra-lightweight at any expense’ scene. It does not seem overly heavy but strikes me as being more than strong and wear resistant enough for this task (though only time will tell). It is also pretty easy to cut and sew.
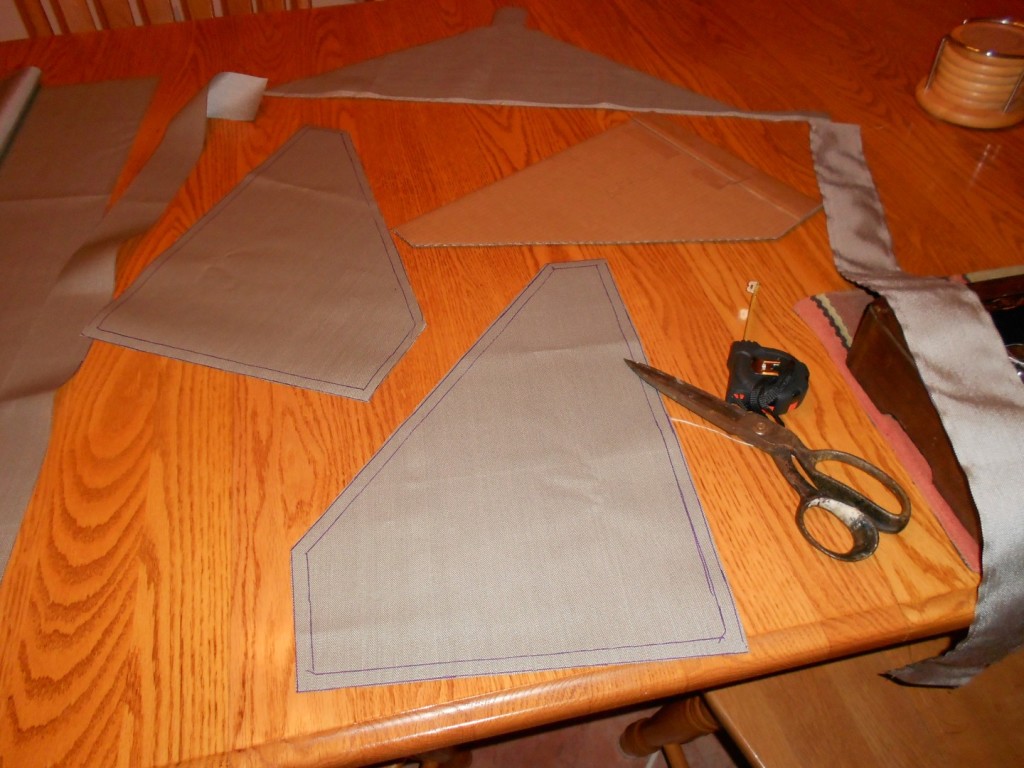
Using cardboard, cut out a template of your inner frame. I wasn’t exactly sure if the template should fit “inside” the frame or be slightly larger but I went with the “fit inside” option. Precision is not real important here as your sewing will have more to do with how the bag fits than this template (within reason).
How wide do you want your bike frame bag to be? My frame tubes vary in width so mine wasn’t an easy choice. I finally decided on two inches as that is the maximum width of the down tube on my Specialized and seemed like a reasonable number.
Cutout the frame sides from your material including 1/4″ to 3/8″ “extra” for the joints using your cardboard template. I went with the slightly larger option just to be safe. In hindsight, this was not necessary and 1/4″ would have been enough.
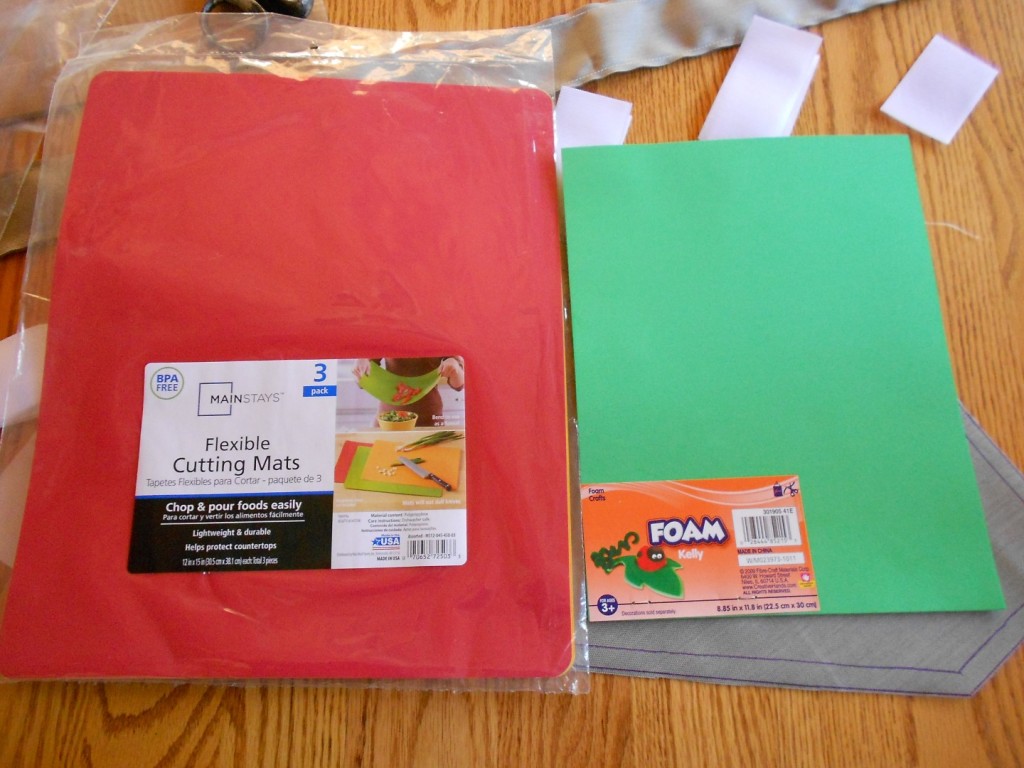
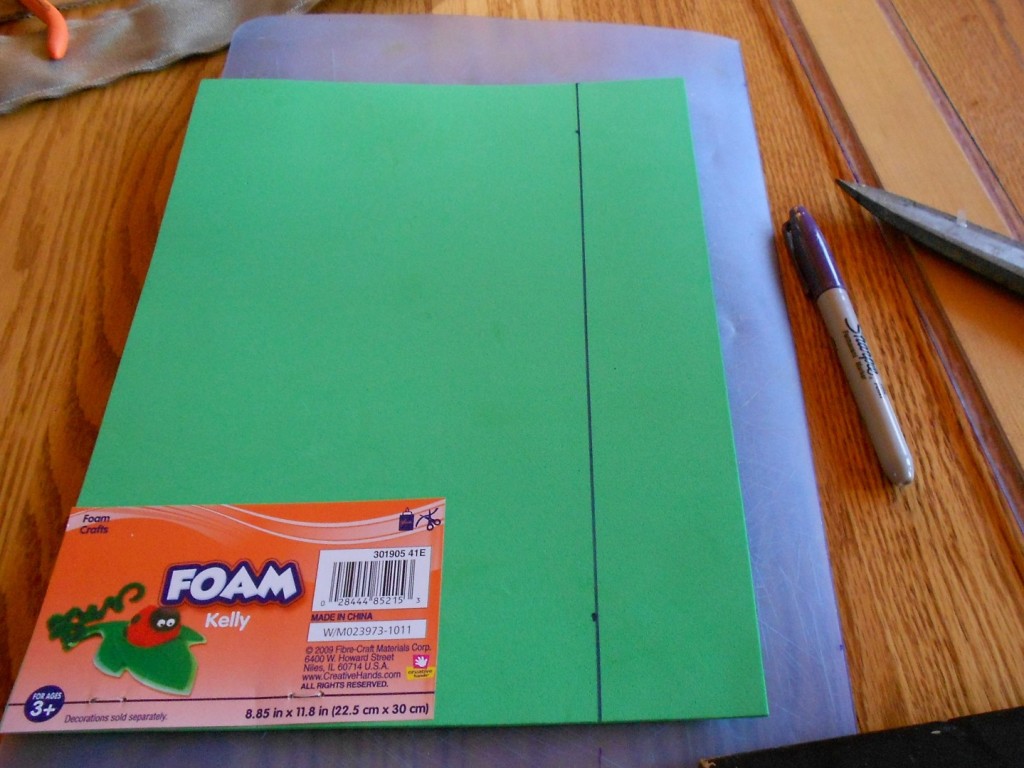
Next is the two inch top/bottom/front/rear sections. I really like the inserts that the second link (above) used so I did something similar. That is, I cut several lengths of 2.5″ wide material, put them back to back, and sewed them together at the edges (quarter inch seam). I then inserted a two inch wide strip of plastic from an old cutting board. The goal of the top insert is to provide some “structure” to the bag so the material used doesn’t matter too much but you do want something that is somewhat rigid and that won’t fall apart when it get’s wet. The goal of the insert on all other sections is to offer some padding for the frame (think car keys bouncing around inside the bag and tinging on the frame tube). For the latter, I found some thin foam in the craft section at Wal-Mart.
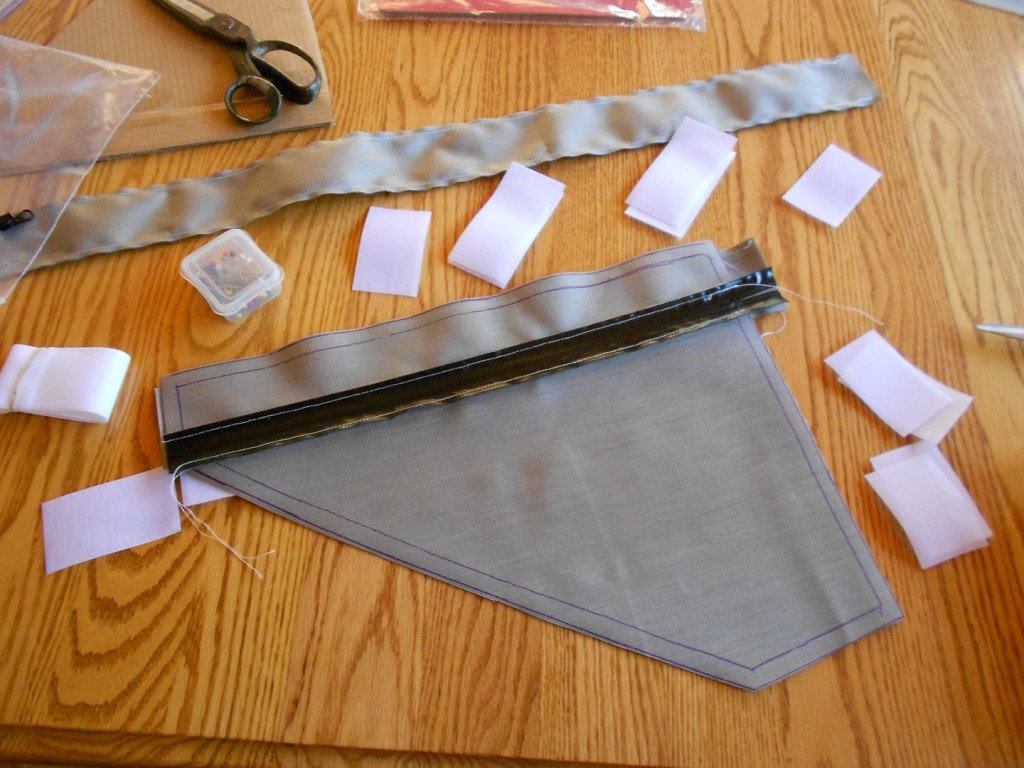
Next decide on the placement of your zipper. I went with relatively high on the right side. I’ve seen zippers placed in nearly every possible position so I believe it is purely a matter of choice. Cut the side panel and sew the zipper into place. Then, put your two side panels back to back and trim the overall size so they match. The correction you are making is to adjust for the addition of the zipper. In my case, the panel grew in height by about half an inch.
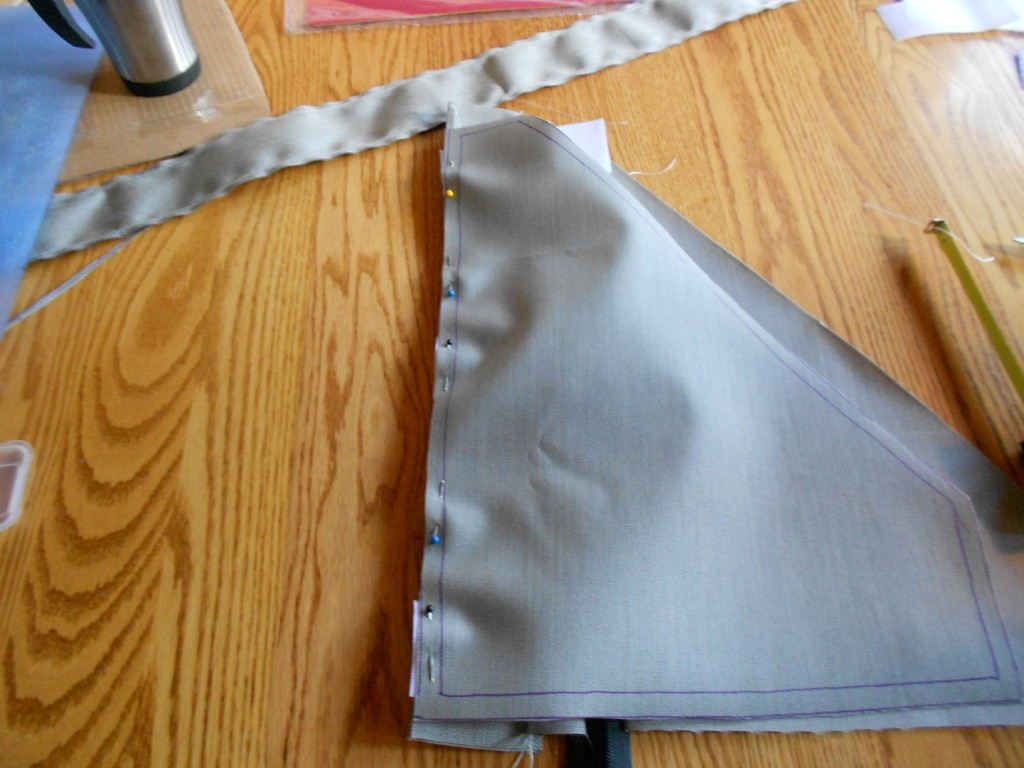
You are now ready to sew the whole thing together. I found it easiest to sew all the top/bottom/front/back sections onto one side panel first. There are two sorta tricky aspects to this. One is placing the Velcro strips so that they clear all frame components. The second is orienting the Velcro so, when you turn the bag inside-right, the hook and loop strips match up correctly. My brain had a hard time processing the inside-out “look” and I had to flip it inside-right several times to check that I had things correct. This is ok, it is better to spend a few minutes confirming that things are correct before sewing than spending lots of minutes ripping out stitches and doing it over again. If you are adding zipper pulls, do it before sewing.
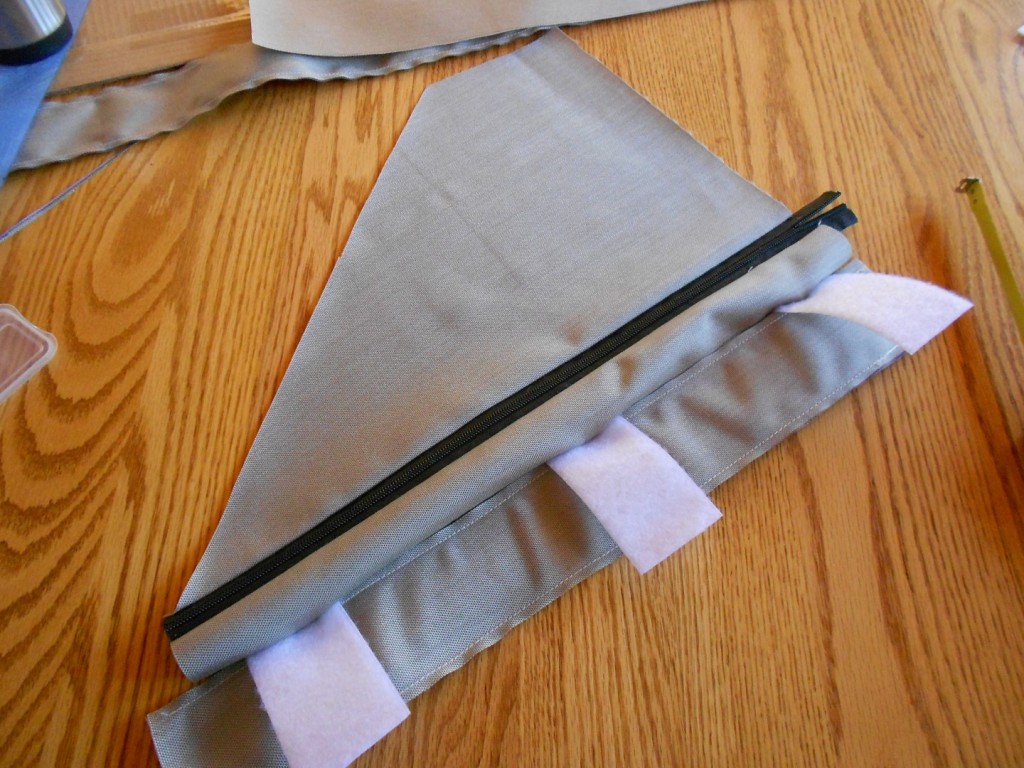
Once the first side is sewn, you are almost home! Sewing on the second side panel is about the same process as the first. It can be a little tricky to get the sewing machine around all the corners now as the bike frame bag is starting to have some structure/rigidity. Make sure to keep on eye on what you are sewing – material likes to double under and you sometimes end up sewing parts that you did not intend to. My sewing machine could not get into some of the corners very well so I resorted to a needle and hand sewing to finish these areas.
Once all of that is done, turn the bag inside-right and admire your work!!
Unless you are a seamstress, you’ll probably see a bunch of flaws. That’s ok – remember, the fun is in the learning!!
Bike Frame Bag Lessons:
- I could have went a bit wider with the bag. Two and a half inches probably would have looked/worked just fine and would hold more stuff.
- Orienting the Velcro straps is challenging. My mind could not visualize this with the bag turned inside-out so I had to keep partially turning the bag inside-right to confirm the orientation.
- The water resistant zipper is difficult to open/close (requires a rather hard pull). I am going to replace it as I cannot imagine that this thing will be exposed to that much water.
Tips:
- An excellent tip that I picked up somewhere is to check the local thrift stores for fabric. Specifically, check out their selection of old duffle bags, sleeping bags, blankets, etc… Often times a duffle/sports/computer bag can be had for a dollar or two and offers quiet a lot of nice fabric for the cost plus a little time to rip out the seams. I’m a real cheapskate, if you are not – don’t bother with this approach, just order nice new material.
Pack some junk into your new bike frame bag and go for a ride!!

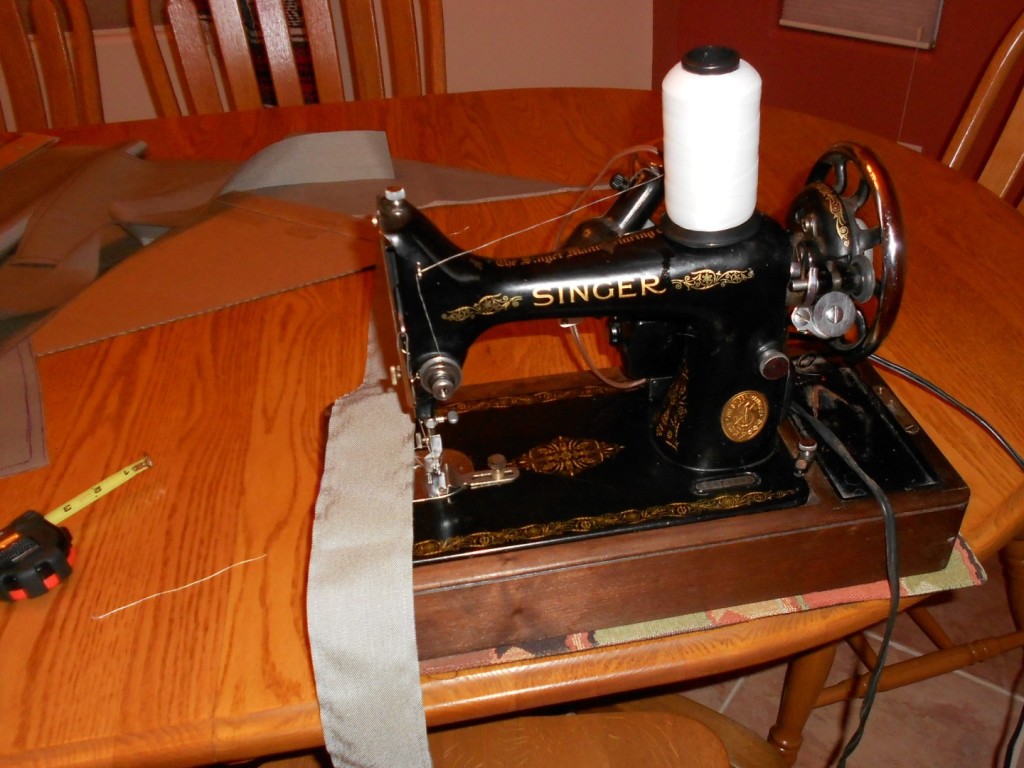
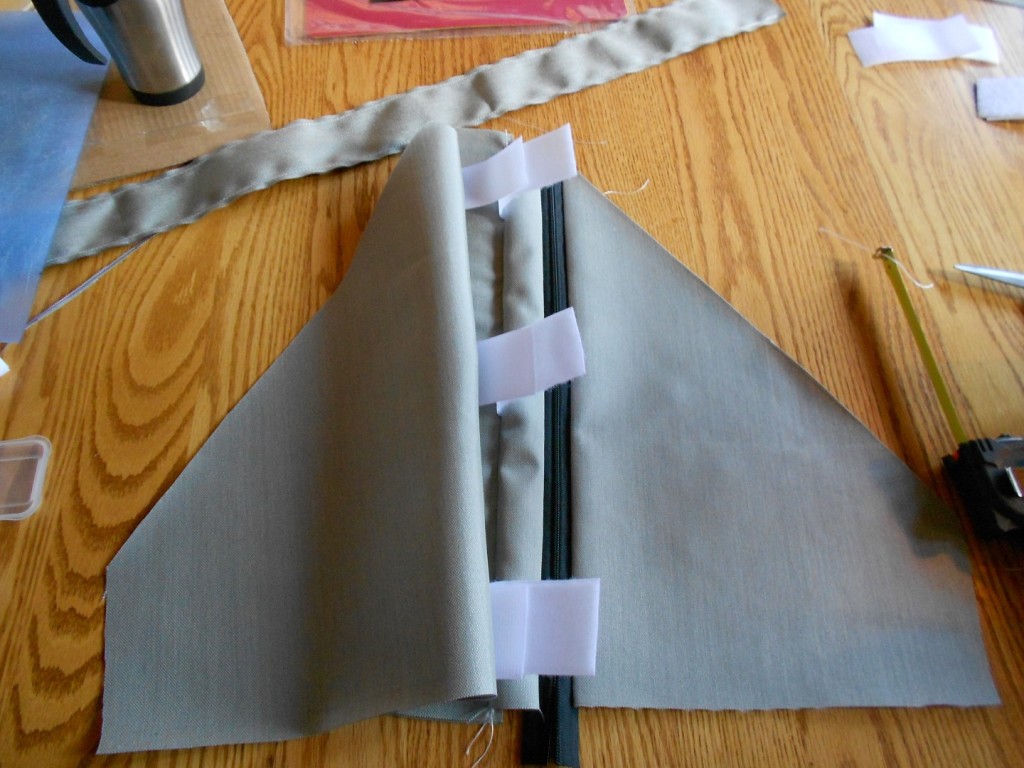
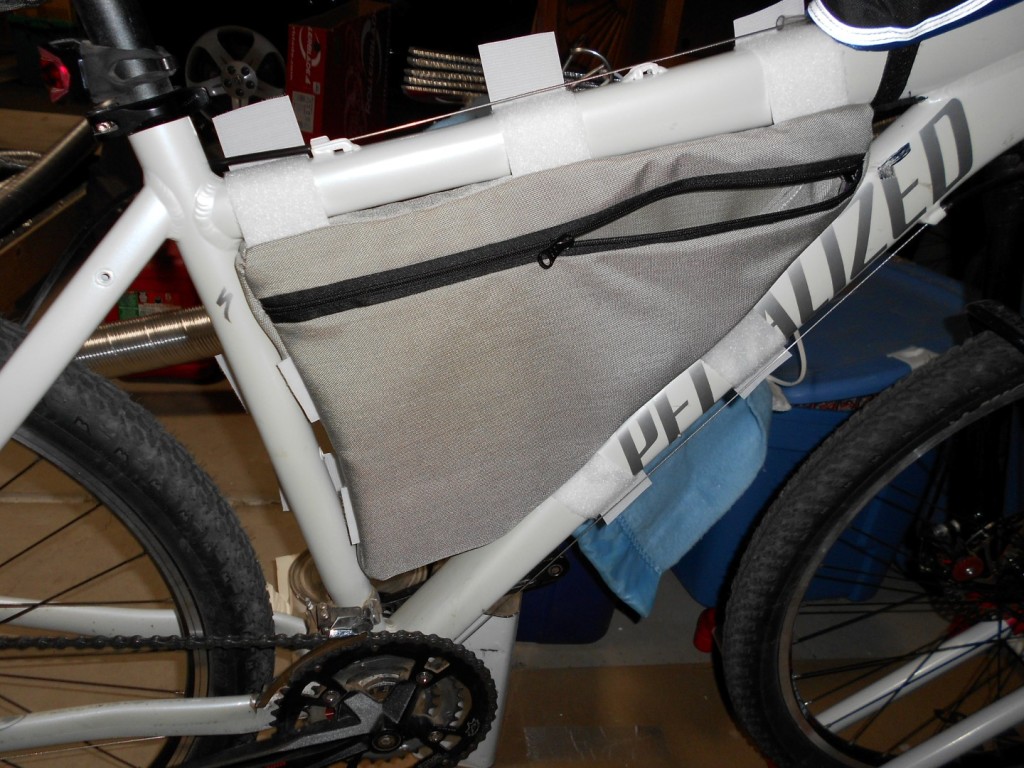
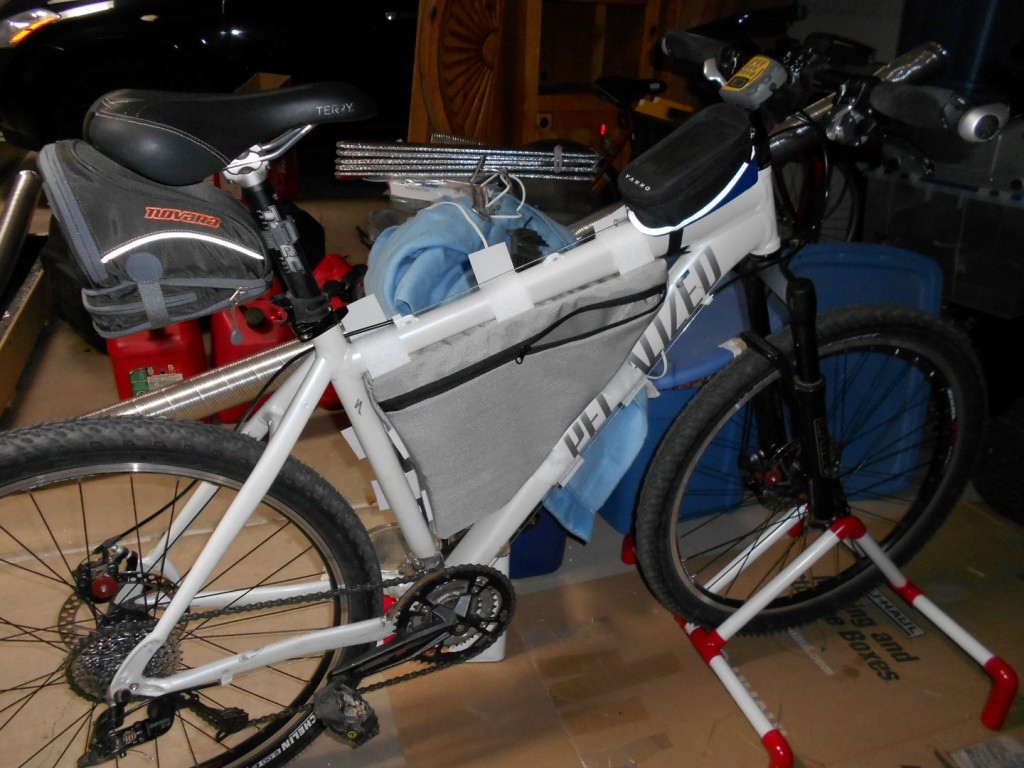
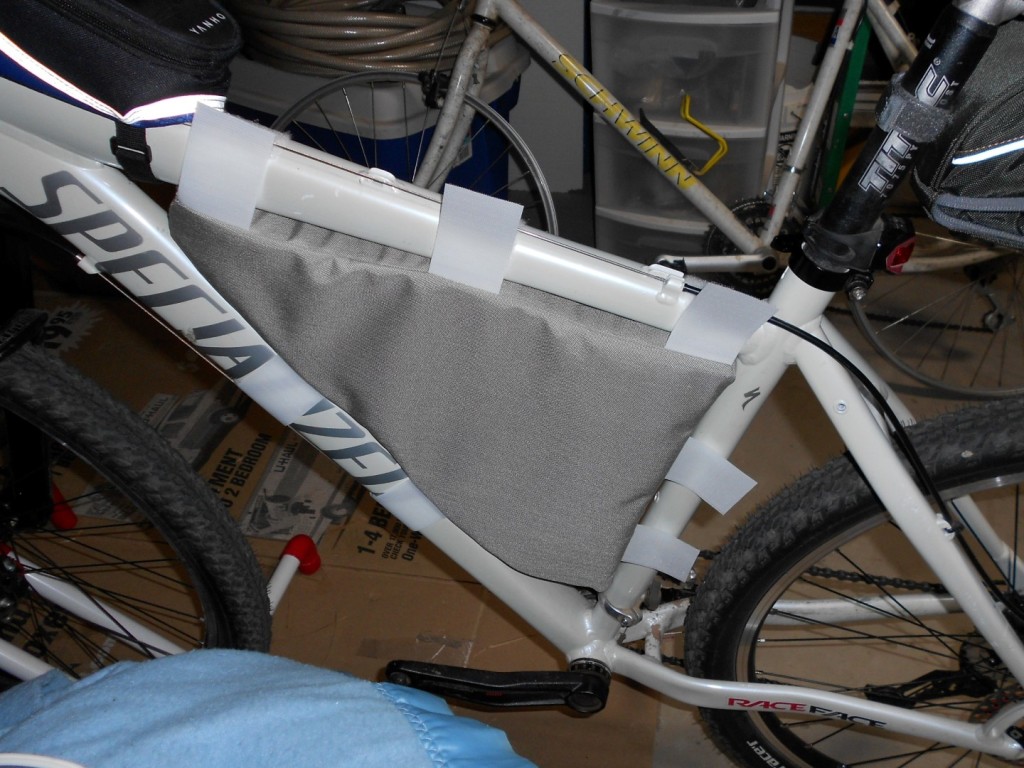
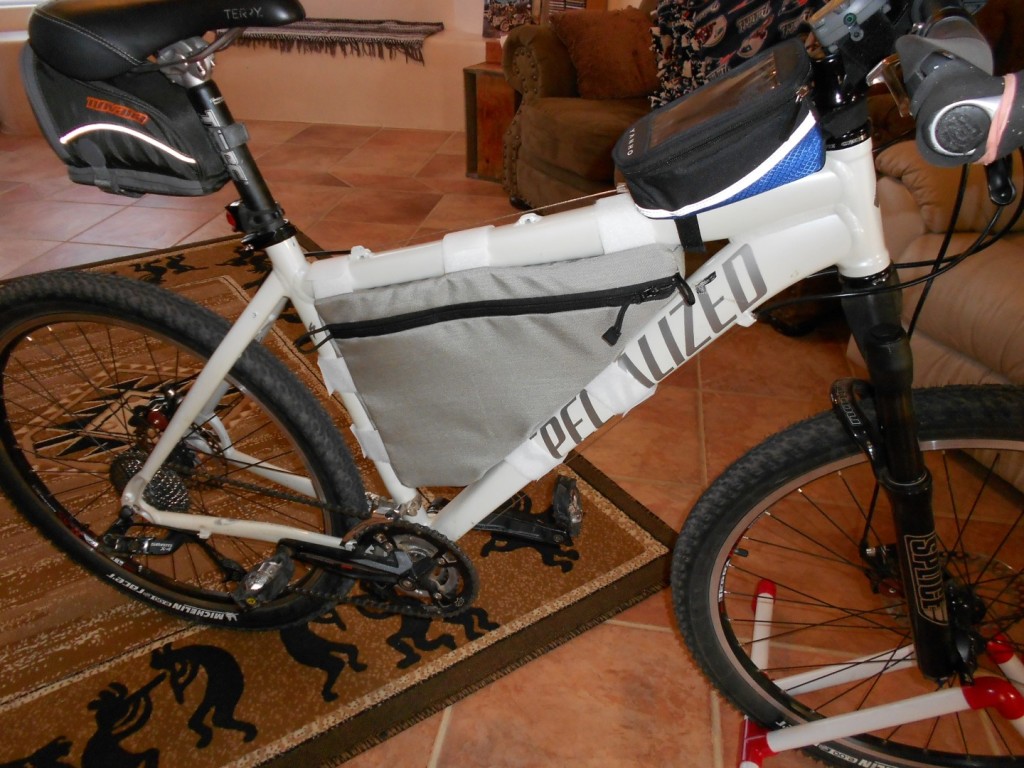
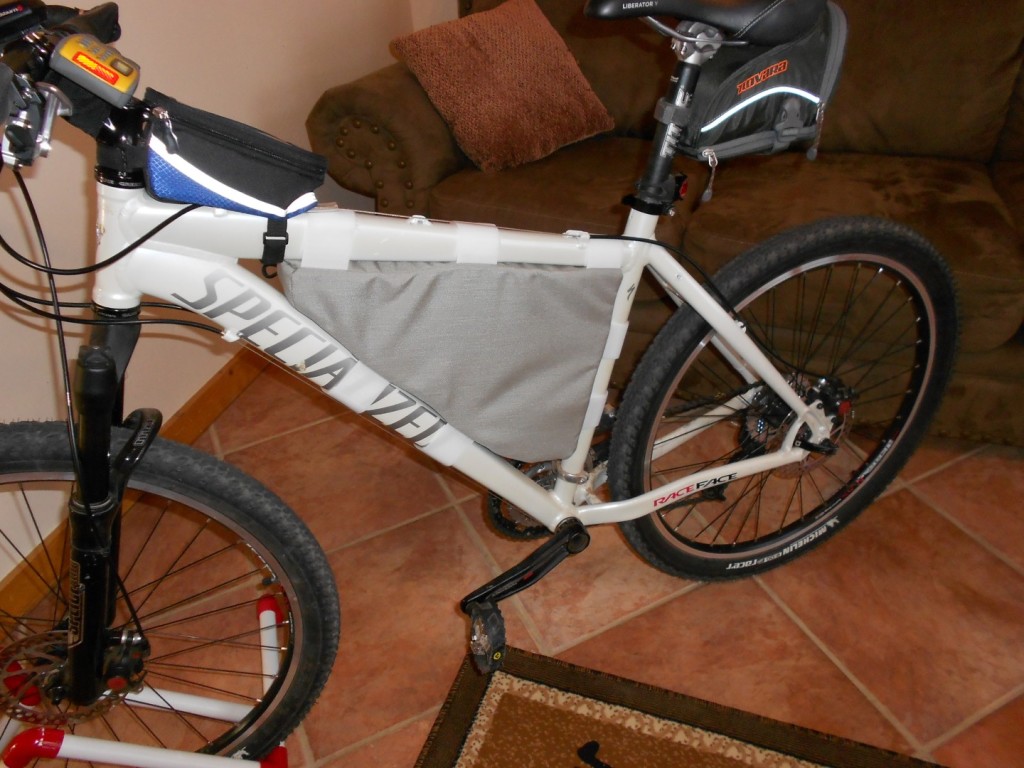
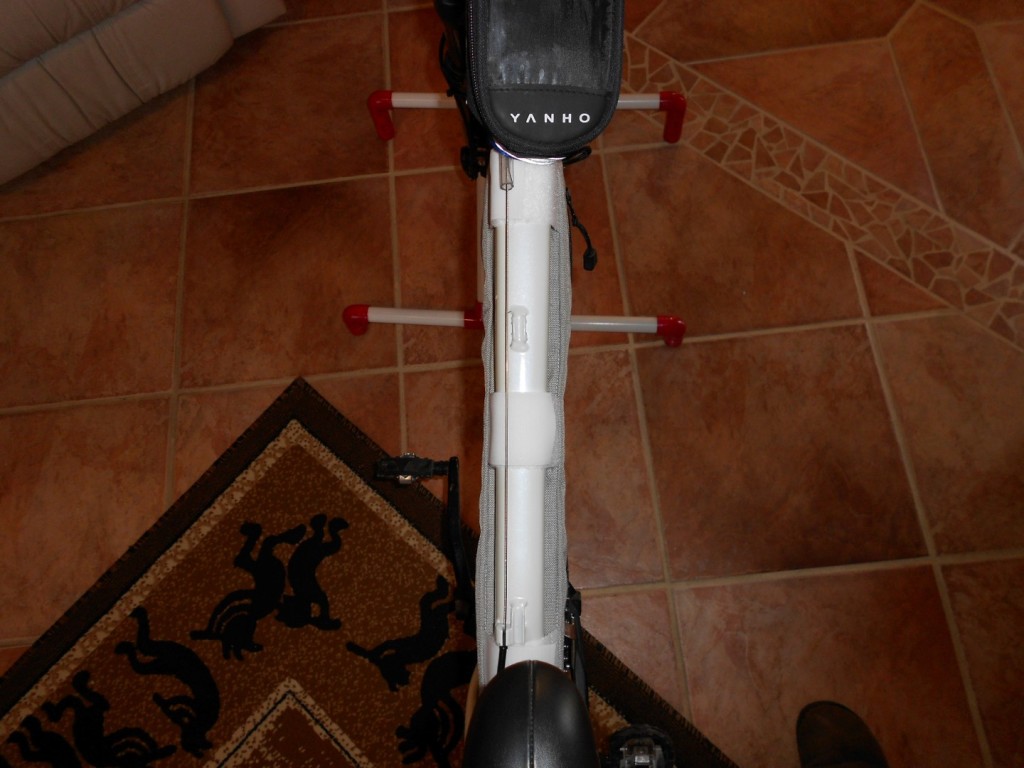

What I learned with the Velcro is that attaching the Velcro to its counterpart will guarantee you won’t get it backwards.
Hi Paul – the material/bag is inside out while being sewn, this makes it tricky!