Many motorhomes utilize an air bag suspension. Some are entirely air, some use air bags only to assist a more classic type of suspension.
My 1994 Fleetwood Pace Arrow uses air bags located inside the front coil springs to assist the coil spring load carrying capability. Of course, the air bags would not hold pressure when I purchased my project. I have a rather significant shaking in my steering column that must be fixed. This air bag replacement was the first step in that larger project. I was really, really hoping that this would resolve that problem.
A little research uncovered the fact that replacement air bags could be purchased from a variety of online vendors for less than one hundred dollars. All of the forum posts I read indicated that the air bag replacement was a swell DIY project. So, off I went.
In the following photo, you can just barely see the black air bag between the coils of the spring. The air hose is connected to the bottom of the bag.
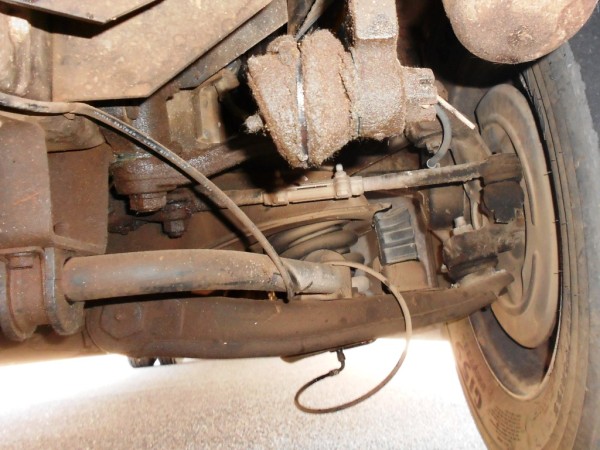
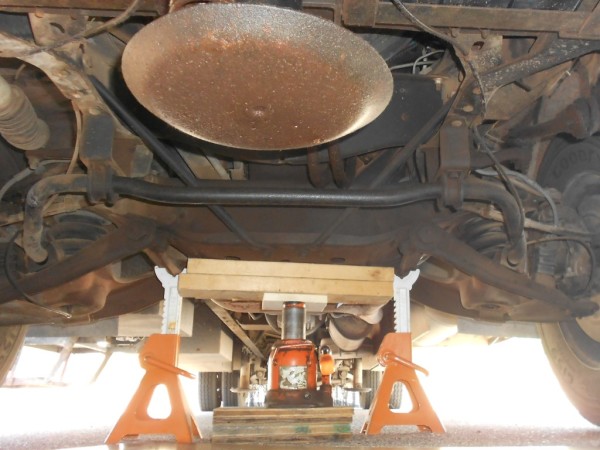
The first thing that can very challenging for some folks is just getting the motorhome jacked up with the front wheels off the ground. This is necessary to provide the maximum amount of space inside the coil spring to get the old air bags out and the new ones in. Most Class A motorhomes are pretty heavy so your typical 2 ton hydraulic jack won’t do the job. I just happened to have a 10 ton hydraulic jack and fairly heavy duty jack stands so was good to go.
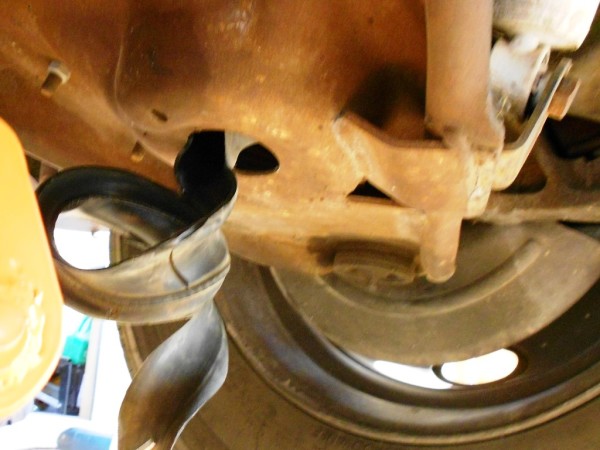
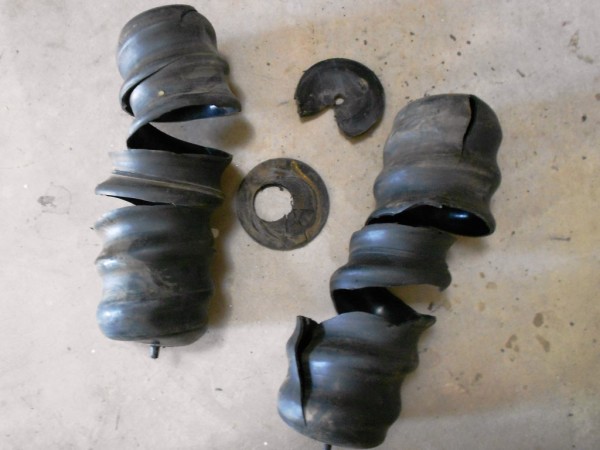
After getting the rig jacked up with the weight off the wheels and safely secured, the first task is to get the old air bags out. I read a few tips on this. One was to use a Sawzall to cut it to shreds and then fish out the remains another said to use soapy water to pull it out the bottom of the coil spring and A-arm. I don’t have a Sawzall and couldn’t imagine how the second would work so I mixed the two. I used a utility knife to cut the old air bag into a few pieces. I simply followed the gap in the coil spring and cut from top to bottom, around and around. The bag was then pretty easy to pull out thru the hole in the bottom of the A-arm. Some long nose vice-grips are very handy here. It takes lots of pulling and twisting and grunting but they do eventually come out.
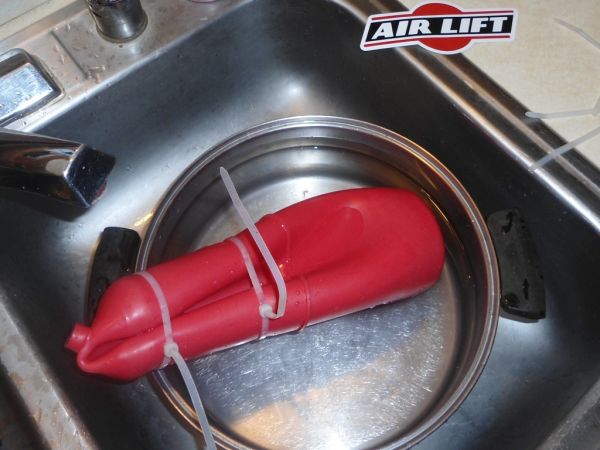
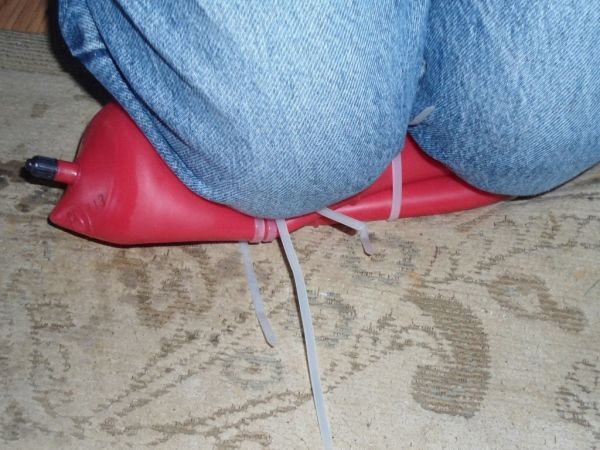
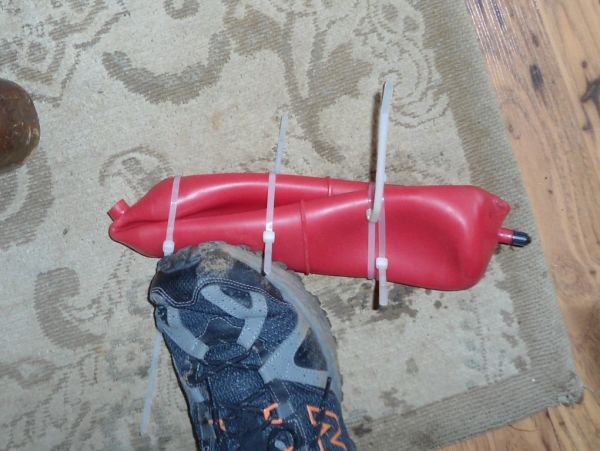
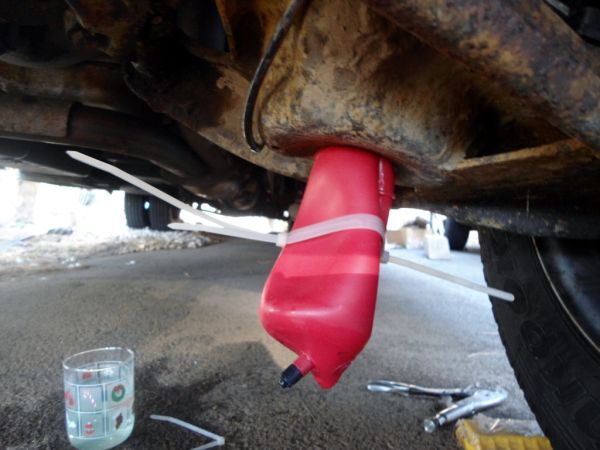
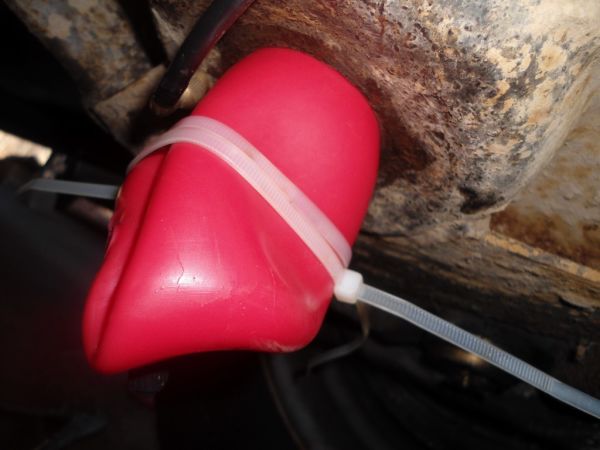
Next, you have to put the new air bag into a hole and space that is much smaller than the bag itself. It looks impossible. Once again, the forums gave me some ideas that really helped. I boiled a bunch of water and dropped the bag into this water. Once it was warmed up, it was much more pliable. I removed the Schrader air valve so all the air could escape. I was then able to fold and roll the air bag into a tall and skinny shape. I used zip ties to hold it in this shape and put the cap back on the air valve to prevent it from filling with air. Sorry, I forgot to take photos.
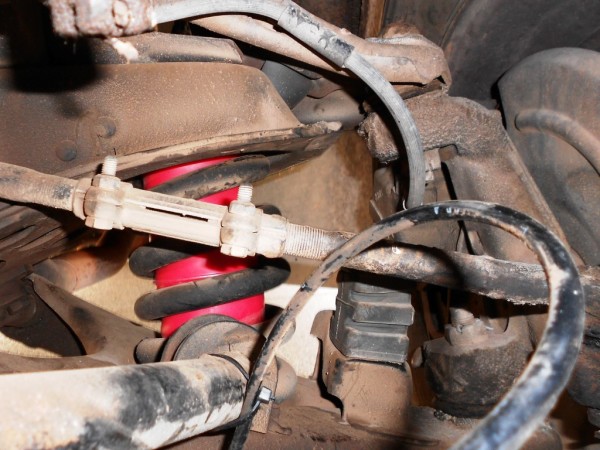
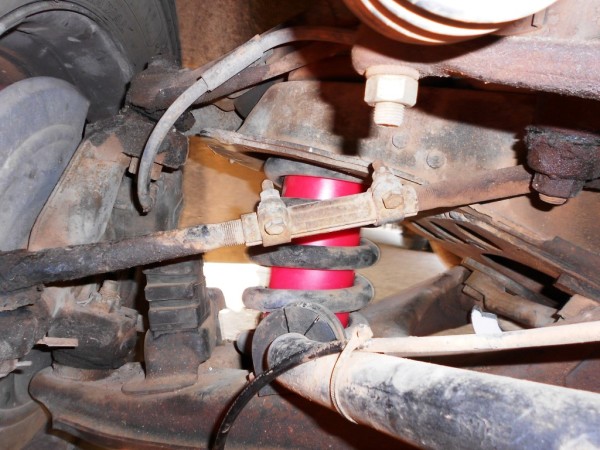
UPDATE!! A fellow RVer took some photos of his air bag replacement and sent them to me to post here to aid anyone else undertaking the same project. Thanks Tom!!
When you get the bag to this point (below), install the top spacer. If you put the bag all the way in without the spacer, you are in trouble.
You are then at the point of jamming the air bag into the hole in the lower A-arm and up into the coil spring. The zip ties that I used were to big to fit so I had to cut them as I pushed the bag up into the hole. Did I mention that the hole is just barely big enough to get the bag thru!?!?
A VERY IMPORTANT tip!! Make sure that you have the rubber spacer that goes above the air bag in place before pushing the final few inches of the bag into place. It is very hard to get this spacer into place if you wait to long – ask me how I know!!
After the bag is in place, the final task is to wrestle the lower rubber spacer into place. This isn’t terribly difficult but finding the right angles to push things around and thru takes a few minutes.
Now, repeat for the other side.
I have air tubing that connects both air bags to a common fill point and air gauge under the hood. So, re-connecting the tubing was then end of the work under the motorhome.
Thankfully, my bags filled and held air pressure without any further work. When you are smashing and poking and prying those bags into place, you can’t help but wonder if you are ruining them. So, seeing the pressure hold is a great feeling.
During the test drive, it was immediately obvious that the front suspension no longer bottomed out and the ride was much more firm (not so much bouncing). However; there was very little change to the shake in the steering column. Bummer! However; one item that needed fixed is now marked off the list and that always feels good!
This is a project that an average handyman can perform – no need to spend hundreds of dollars to have a shop do it.


I have to replace mine and will try this procedure.I also, was told to take the arm down and put it in the spring.
Thanks for the inf
Good day, I read your article about the air suspension replacement.. your suspension looks very similar to mine but mine is not connected to a fill point and gauge. Do you have a picture or do you know what I should look for to find that air gauge? Thanks.
Hi Ronald. I took a look but didn’t see any photos of that. It was seven years ago but seems like it was just a simple dial pressure gauge and shrader valve.
Just did this job on my 94 Southwind Storm and there is a far easier method take a look…
https://www.irv2.com/forums/f65/what-did-you-do-to-your-old-rv-today-133779-478.html#post6294631