Yes, the blog has been pretty quite.
However; I have been able to find the time to sneak a few small projects in.
Remember a LONG time ago (here) when I mentioned separating the bedroom/bathroom from the living area in Missy?
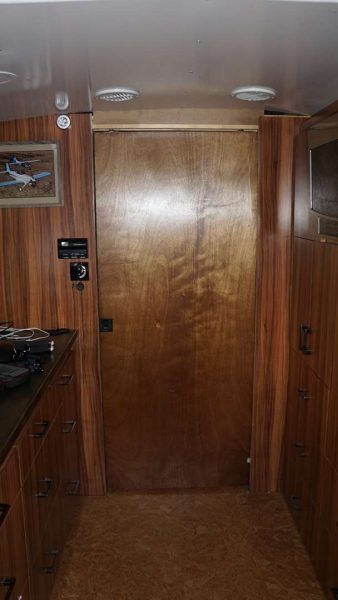
Well, Missy finally has not one but TWO pocket doors!!
As noted above, the first one is between the kitchen and bathroom. This nicely separates the living space. I installed this wall a very long time ago and actually closed it up. HINT for those building pocket doors – DO NOT close up the wall before the door is completely installed.
Ya, a bummer for me. I purchased this really spiffy soft open and soft close hardware for the door. However; to install the soft open portion, you have to have access to the end of the track that is buried inside the wall – much deeper than my short little arms will reach. So, sadly, it is only a soft close door now. At least until I decide to rip that wall apart!! 🙂 … or grow longer arms, obviously.
The door started life as a tree. I know, shocking. Next it was a standard 80″ tall x 30″ wide “hollow core slab door” (like this) sold by a local home improvement store.
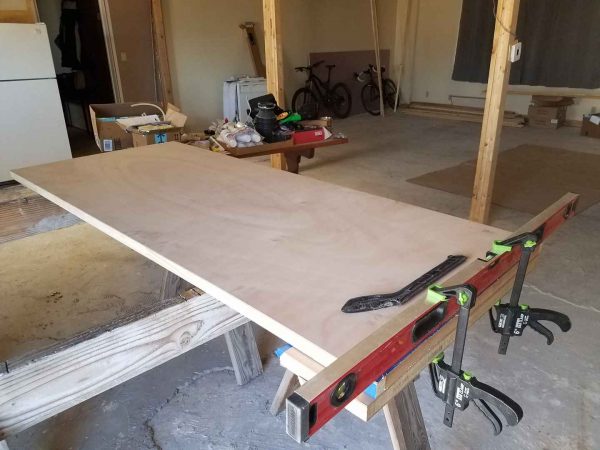
Of course, 80″ was much too tall for inside Missy. I had to cut the door down to the correct height and then glue a new bottom into the door. Easy enough.
Next was cutting a notch into the side of the door where the latch/pull is installed.
As you can see, the structural portion of the door is completely cut. I didn’t think this was a good idea so I installed a bit of reinforcement.
This is two pieces of wood, about an inch long to act as a spacer. Then a longer piece to bridge the gap – all glued together. This leaves enough space for the latch and, hopefully, does something to replace a bit of the structure that was removed.
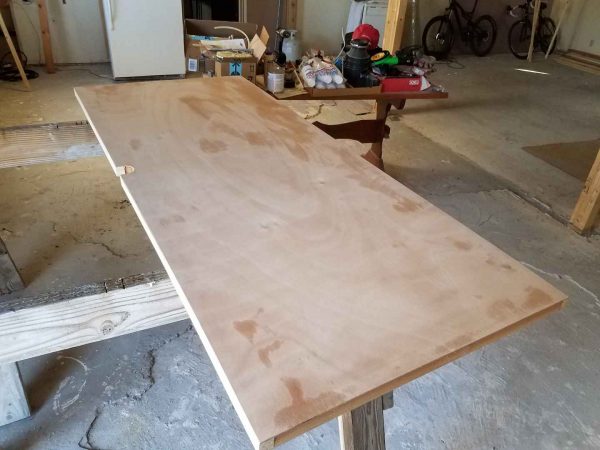
A quick bit of sanding and then stain.
That stain didn’t work quite the way I was hoping. I left the rear closet door alone but the kitchen to bathroom door was bugging me so I ended up also applying a coat of satin urethane. It is not a very good match so I’m not super happy with it. However; I gotta keep moving on this stuff and something about perfection being the enemy of good enough…
I didn’t take many photos of the pocket door hardware itself. Sorry about that. Here are the mounting points attached to the top of the door.
As usual, some adjustments ended up being necessary to get everything to fit but… it looks like this (minus trim).


Nice job!,, again you are making it sound easier than I bet it would be for me.
Thanks Sis!!
A lot of work but a great use of space. Nice to pass on tips. That bus is getting spiffy.
Thanks Thom! She is getting there… very, very slowly!! 🙂