I needed a coffee table.
Why??
Well… on which to put my coffee, of course. That is what a coffee table is for, right?
One can always buy a coffee table but I’m not really into that – at least at the moment. I wanted to build one – a DIY thing. My woodworking skills are poor, at best, and this seemed like a reasonable project in an effort to learn and improve.
I found a plan online that I liked. It is called the Rustic X Coffee Table by Ana White. Thanks Ana! Time to get to work.
Getting Started
The first thing was to get some lumber. When I purchased it from the local lumber yard – it was nearly dripping wet. It must have been sawn a few days prior, packaged up, and sent to the store. So, the first thing I did was stack it in my shop to dry.
Then I waited…
After about a month, it seemed dry enough to get to work. I started by just cutting most of the lumber to length. Then I let it sit for another week – drying a bit more.
Actually Getting Started
Ok… finally to actually getting to work – weeks later. The online plan is pretty simple but I still managed to go off plan. I didn’t really care for all the pocket screws that were used – especially considering the wet wood that I was using.
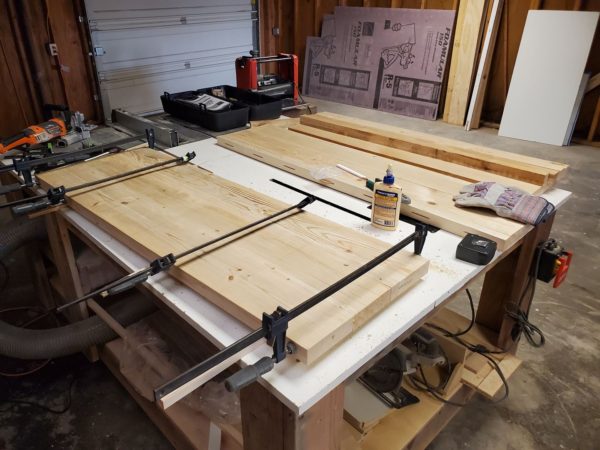
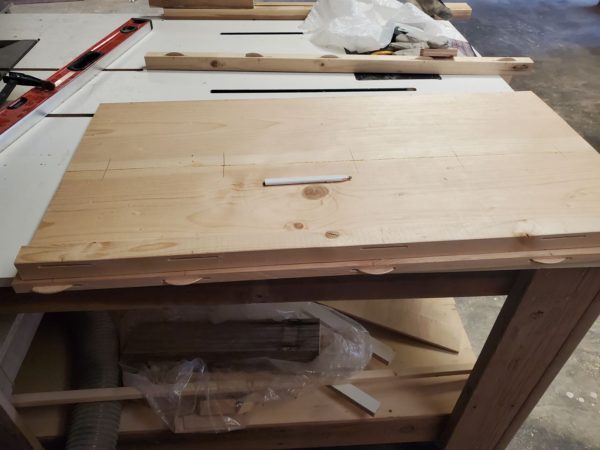
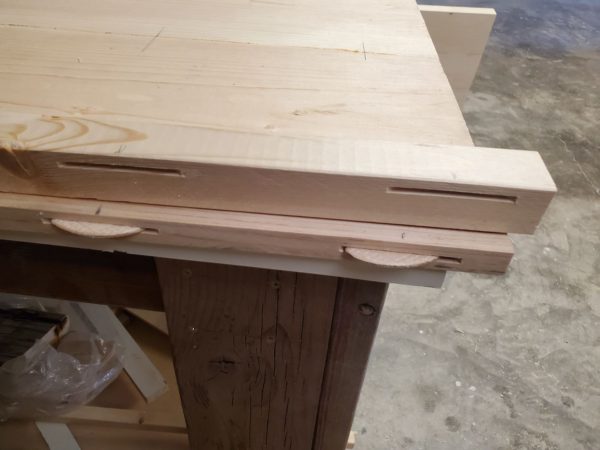
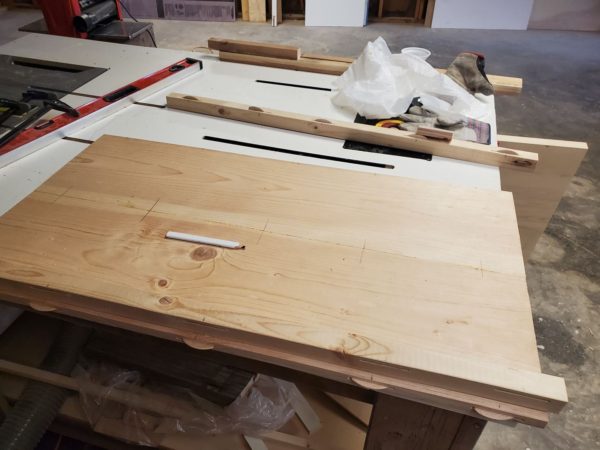
Instead, I milled the top boards flat/square, added biscuits for alignment, and glued them together. I have this Wen biscuit joiner and am very happy with it.
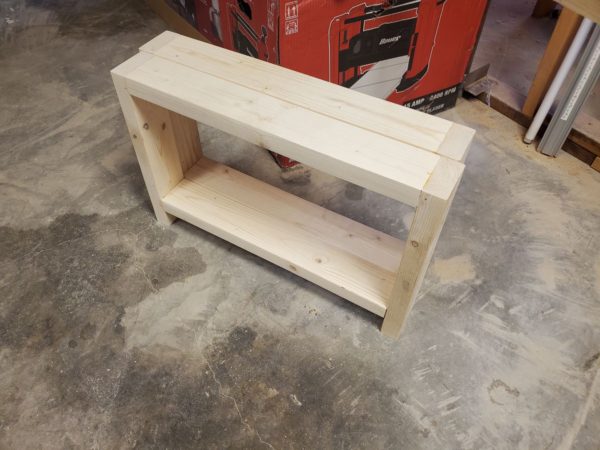
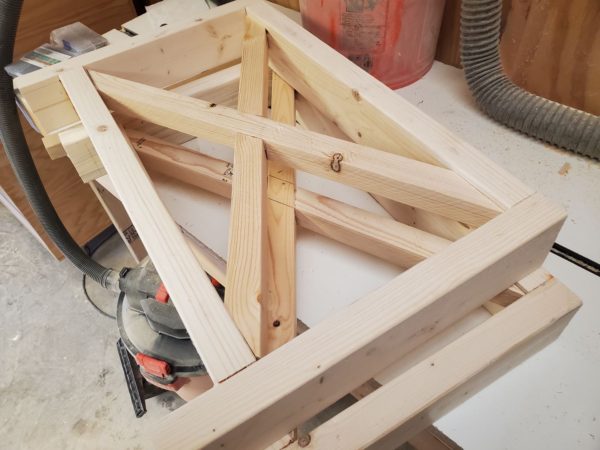
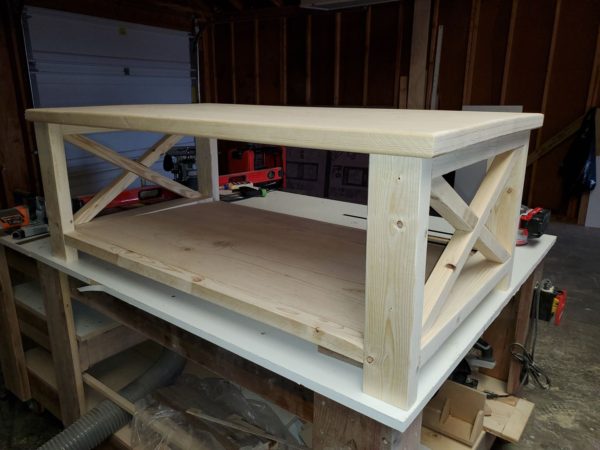
The base goes together about per plan but similar change. The bottom shelf boards were milled and glued it together using biscuits.
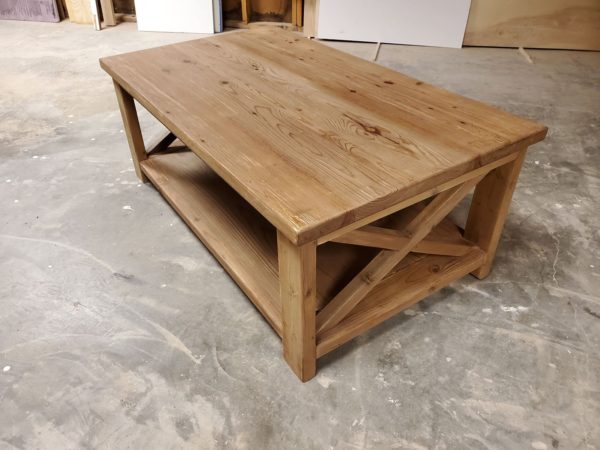
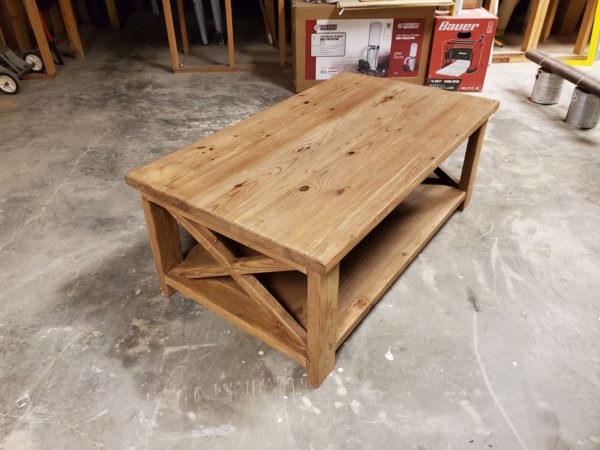
Getting these X boards cut correctly was another of the many learning curve items. I didn’t do a great job but sufficient. After all, it is only holding up coffee.
I attached the top to the base using Z clips from Amazon. Here again, I didn’t like the idea of screwing the top to the base as that creates stresses and leads to the top cracking/separating at the glue joints – or so I am told. I have no actual experience.
Finish
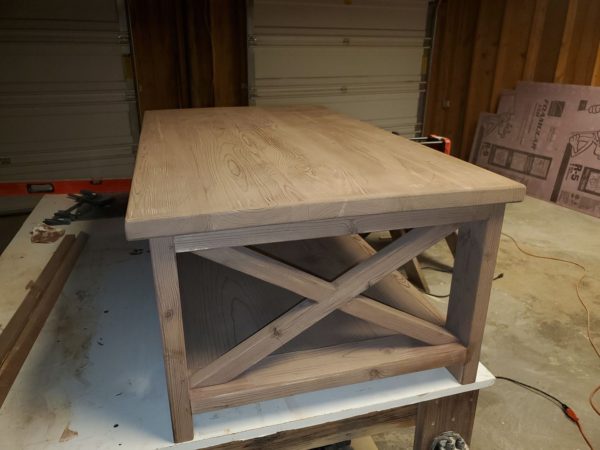
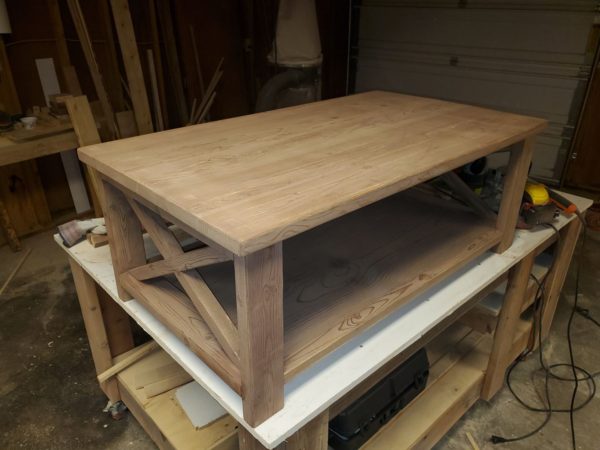
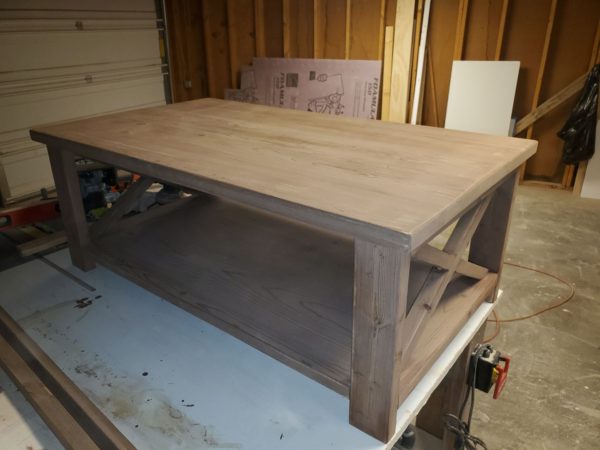
The plan offers an alternative finish which sounded appealing. The idea being to oxidize the wood instead of staining it. It is a three step process – black tea, vinegar & steel wool, and wax. I started by coating the wood with black tea. I know, sounds odd but seemed to work just fine. This adds tannins to the Pine wood which are necessary for the next step. The vinegar and steel wool mixture has to ‘stew’ for a few days so I got that started early. Applying it to the wood is kinda neat – the change is dramatic. My big mistake here, I think, was not thinning the mixture. My wood came out VERY dark and still looks rather chocolaty even after a good bit of sanding. Finally, rubbing on wax. Easy peezy…
Then it was a matter of assembling it and putting it to work!
The Big Reveal
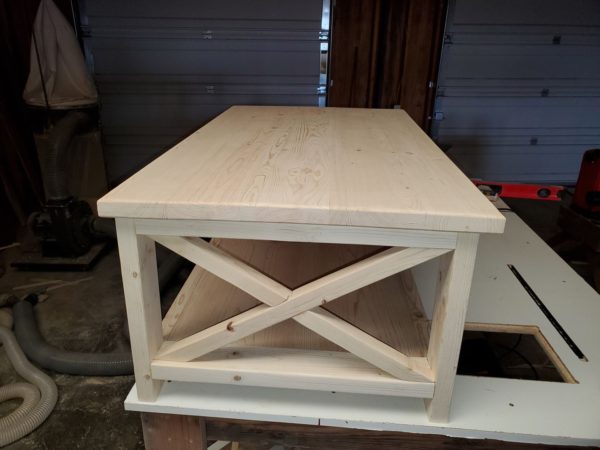
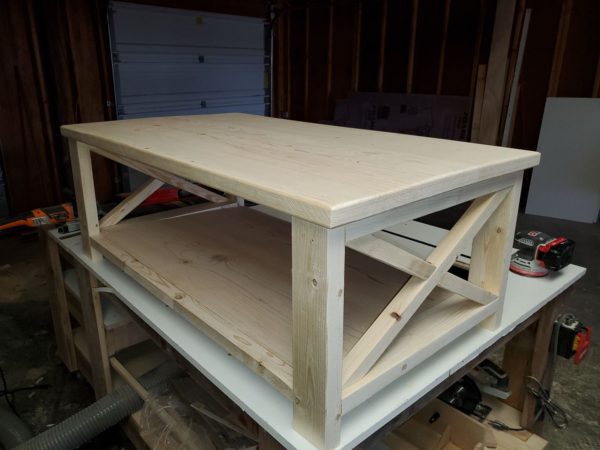
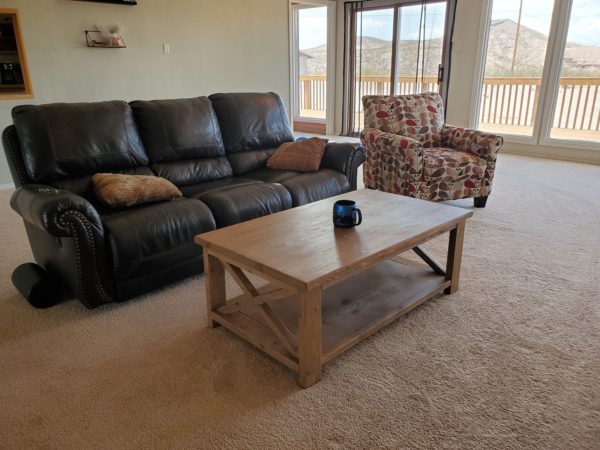
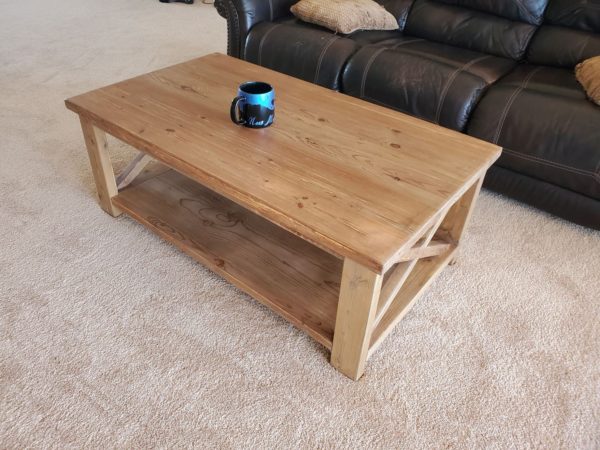
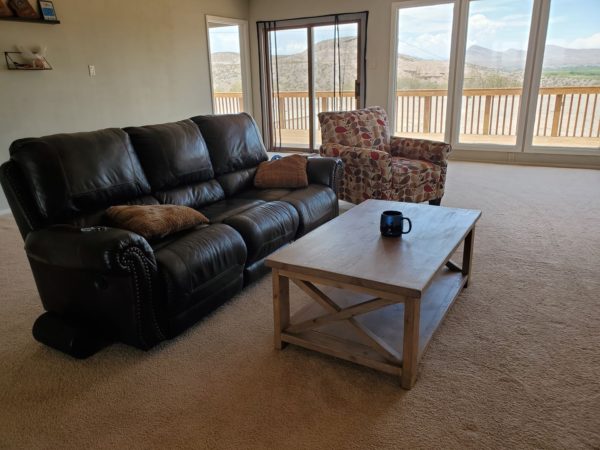
So, here is the final result. A table… drum roll… with coffee on it! Thus; a coffee table!!
Finally
If the goal was to learn and improve – it was a wild success!! I certainly learned a lot!! Like everything, there are a bunch of little bit of knowledge that one generally has to experience first-hand to learn. The coffee table is FAR from perfect but I’m pretty satisfied with it – so yay!


Nice work Jon! That turned out great!
Thanks Pete!
It looks great! Woodworking is in your future!
jd finley!!! That looks amazing! I had to giggle when I saw that tea, vinegar and steel wool was used. Harriet Ann did the same on all her cabinets one year! Beautiful job – Bravo!!
Thanks Carolyn!! I guess great minds really do think alike!!
Looks Great… even strong enough to support two cups of coffee!
Maybe! 🙂 I might have some company today and, if so, will conduct a test.
I need lessons, please!!