Note from JD: Long after the new headlight assemblies were installed, it occurred to me that the removal and installation would have been really easy if I had just slid the front clip/generator out. Hopefully this little idea will help someone!!
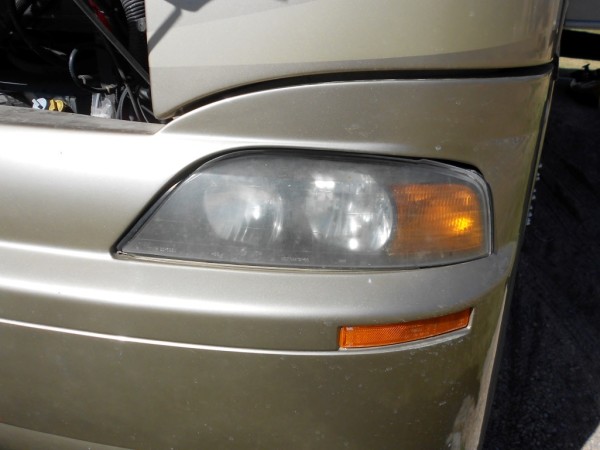
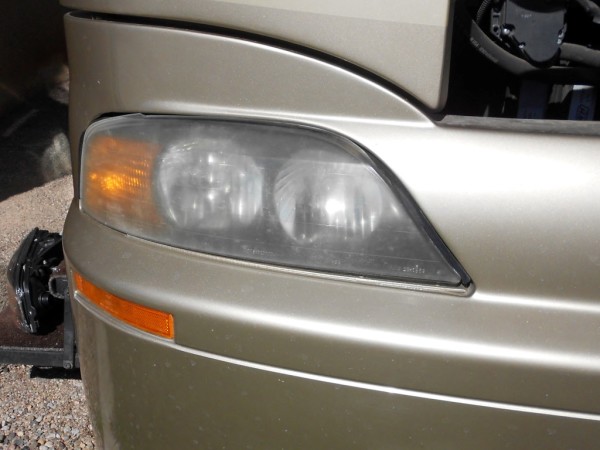
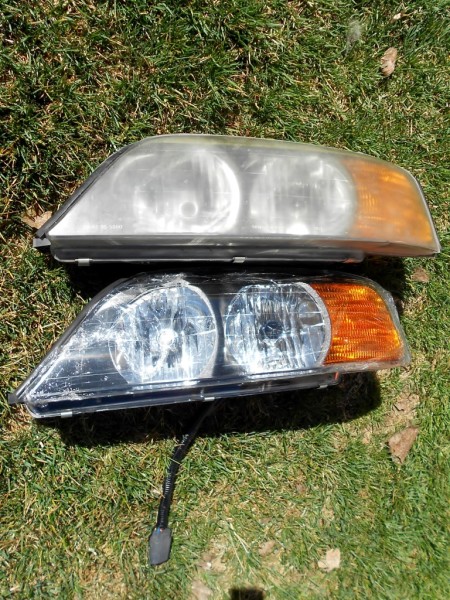
The headlight assemblies on my motorhome (JBAM) were not in the best of condition. They were pretty well fogged up but not scratched too badly. The light they produced was very poor. How poor came to light (pun intended) during my last drive thru Phoenix at night. The light from passing cars would overpower my headlights before the passing cars even got alongside of me. I also found myself looking for other cars to follow so I could better see ahead. It was time for improvement.
I made a halfhearted attempt to clean them up about a year ago (and it did help a bit). This time, a more serious effort was required.
Looking around on eBay and Amazon I found some pretty good prices and order a set of the DEPO brand headlight assemblies.
I receiving them in short order and they looked to be good.
I then did some forum searches on tips for replacement. It was then that I found some posts warning people away from this particular brand of headlight. Ugh…. Oh well…. They were sitting in my lap at this point so might as well give them a shot – couldn’t be any worse… Right???
Installing them was nearly straightforward. The first obvious issue is that the wiring harness connector on the new headlight assemblies did not exist in the motorhome. However; unplugging the harness at the light bulbs appeared to be the solution.
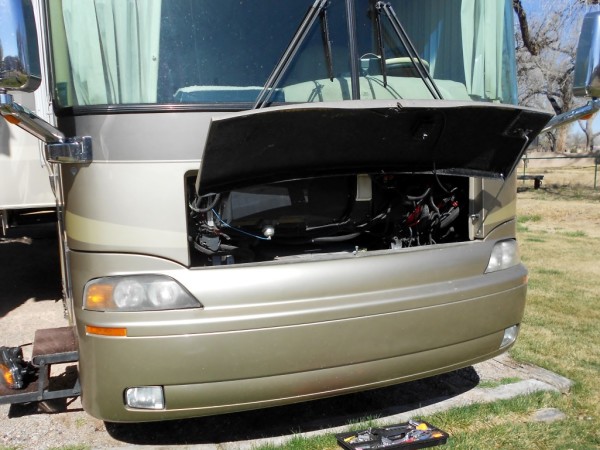
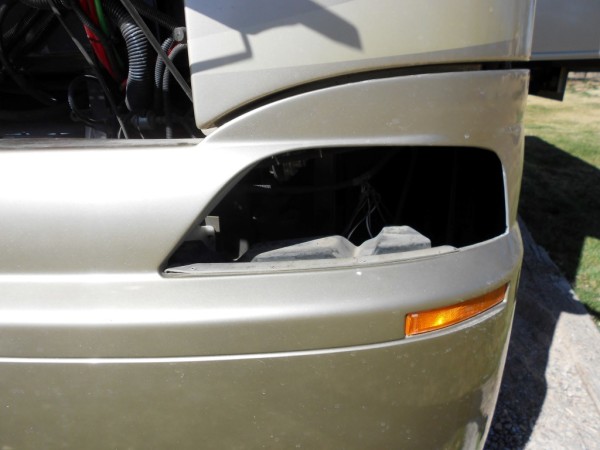
Getting the old assemblies out wasn’t terribly difficult but you have to kind of find the route thru which they will fit – out the bottom of the front cap. A bit of a puzzle.
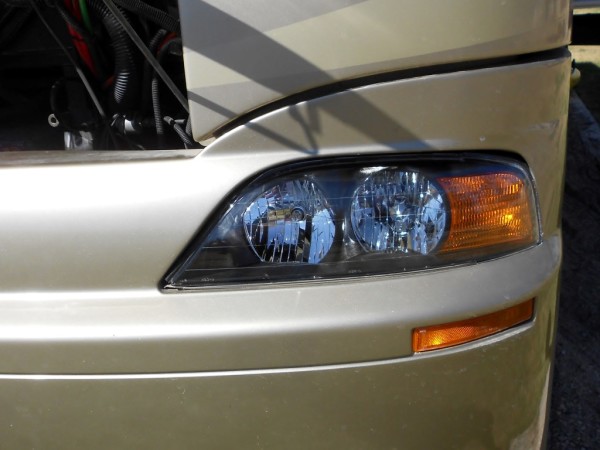
Putting the new assemblies in place using the same path worked just fine. However; I then discovered that the inside most bolt hole (in the headlight assembly) was in a slightly different place. Looking at the old assemblies, I noted that Newmar had drilled a new hole in the assembly. So, I duplicated this on the new headlight assemblies and bolted everything in place. With the new assemblies in, I noticed that one of my existing light bulbs had a lot of “crud” on it. Hmm… this may have been part of the lack of light problem!
So, I decided to clean up the old bulbs and install them in the new headlight assemblies. This is test number one! The new assemblies have very clear (and shiny!!) “glass” cover so I am hoping that I have significantly improved things. If not, I will try the new light bulbs in the place of the old.
Of course, a smarter person, or least more frugal, would simply get serious about polishing the existing headlight assemblies. I have done that before (on my old Nissan Murano) and it worked pretty well. However; I just wasn’t in the mood for the hours of time that this required. Call me lazy!
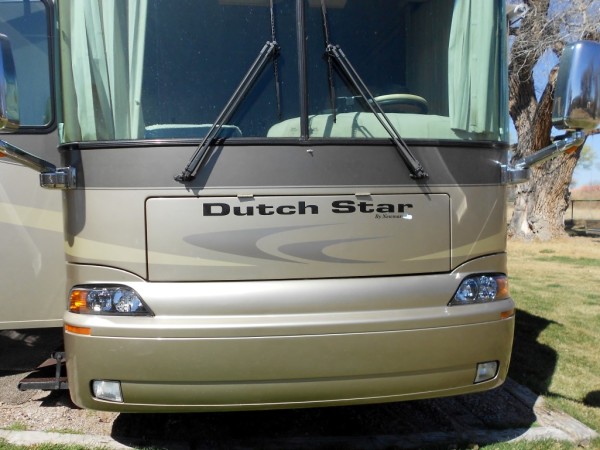
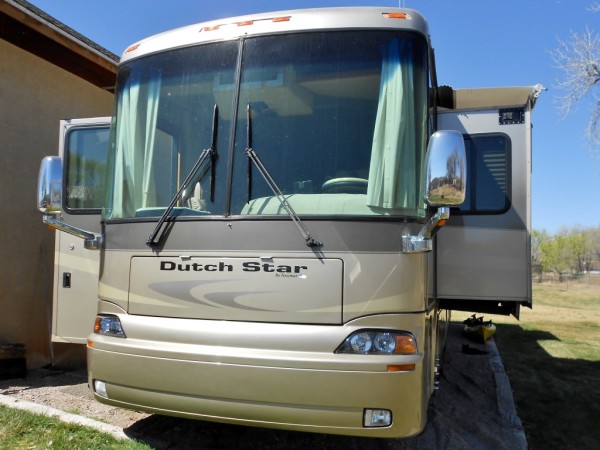
I really like the new look!
Actual tests to follow.


Hi JD,
I am really enjoying your web site. I have been laid up due to back surgery so I had time on my hands to check out solar for our 2005 34’Country Coach Allure. I have printed all your article outs for ref…GOOD STUFF for a new guy to learn from..
I also have the same head lights on our coach and I did purchase the Eagle Eye brand on the web so i will be switching mine out soon.
Our son is a Col in the Air Force and has been deployed 3 times so I understand your concern and thankfulness for his safe return..Enjoy the visit!
Thanks,
George “Gunner” Anderson
USMC 66-69
Thank you for your service George!!
Thanks for the kind words – it is always good to hear that someone is finding some value in this!
We are so happy we read your instructions. Made it a very easy project. Pulled out the generator as suggested and made it a lot easier. We also had to drill new holes. Our ordered included bulbs but no turn signal bulbs. We did it in less than 2 hours and both are over 70. Very happy with the new lights. It would have been nice if the bolts where included so keep your old ones.
That is great to hear Don!! I’m glad it helped. Thanks for the feedback.