Missy’s entryway and stairs are DONE!
Well… wait… “Done” might be a bit strong. How about “Done, for now…” or “substantially complete” – for now – instead?? 🙂
The entryway project begins here and continues here. We left off with some finish work remaining on the stairs.
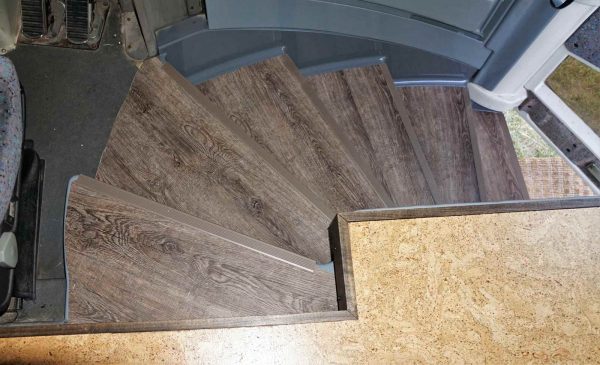
Staircase
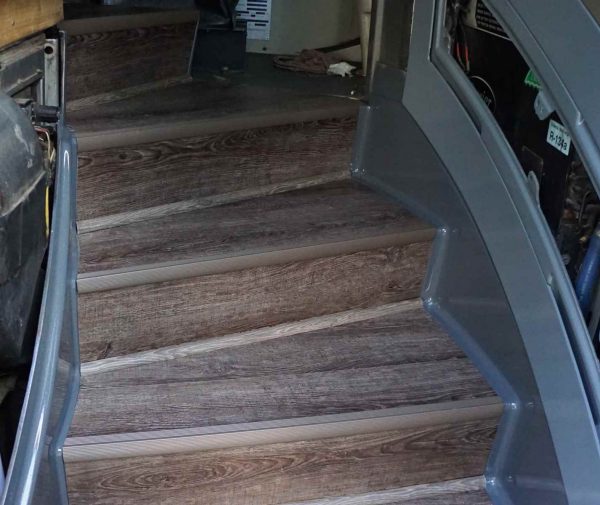
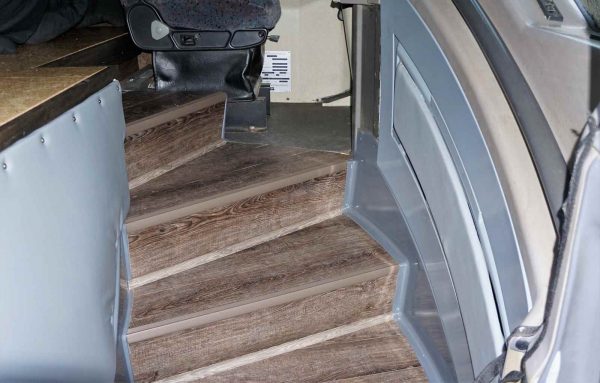
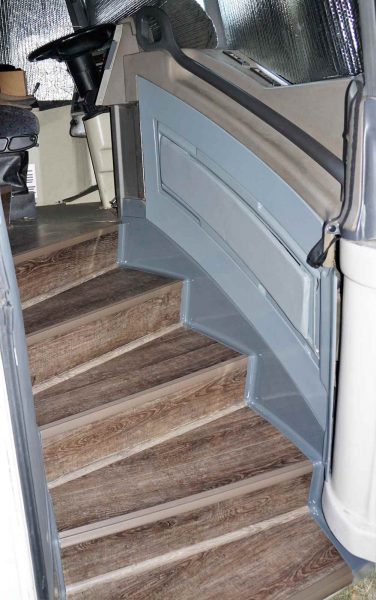
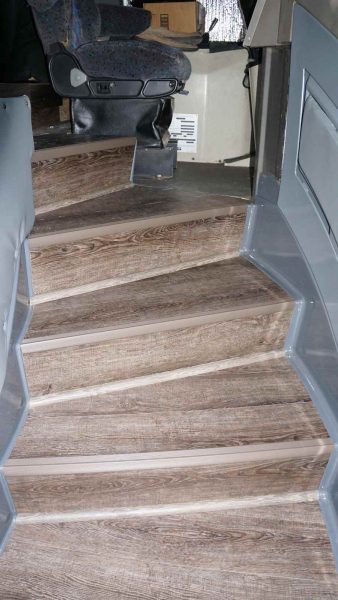
That finish work was primarily the “nose” for each of the stair steps and the trim on the inside corner between the stair tread and the riser.
The stair nose is generally a milled piece of wood. Laminate flooring offers a variety of interesting options. However; few of those would work for Missy as she has a molded fiberglass staircase. I had to get a bit creative.
I really wanted something that blended with the flooring but that was not to be, at least not this time around. I’ll keep my eyes open for a product that has the look I’m after and does it affordably. For now, something was needed to cover the outside ninety degree angle. The vinyl would not stick to such a tight radius. Even if it did, it would have looked silly – wood grain doesn’t bend around corners like that. I chose a “spice” colored aluminum stair edging. It is a attached with 3M VHB double sided tape. I used two strips of that tape for ‘extra’ holding power – on the two edges.
The inside corner between the tread and riser presented the same challenges. With a bit of help, I found some quarter-round trim that was “nearly” a match for the flooring.
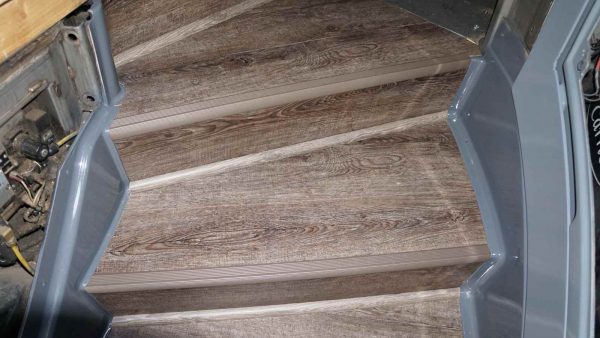
This edging and trim – like the flooring itself – took some time to fit properly since every step is different. Different lengths and different angles. It eventually came together though. My approach to this type of thing is to make many very small adjustments/cuts and then not be afraid to throw a piece away when I go to far. Not exactly science!! 🙂
The flooring under/behind/beside the driver seat, pedals, and steering column was left as-is. It is that ugly, industrial looking, hard rubber stuff. However; it is very tough! I think a piece of carefully fit and edged carpet in this area might be the answer. Obviously that’ll hide the ugly stuff but also provide some sound deadening and warmth. I admit, removing the existing and replacing with something else looked like a BIG project (including removing the drivers seat) and I’m nearing my limit for flooring work this year. Plus, there are plenty of other things to do that will have a much larger impact. Maybe when I get around to replacing that drivers seat with a real captains chair. I know, I hate to lose that sexy “Las Vegas” fabric…
Entryway wall panels were next.
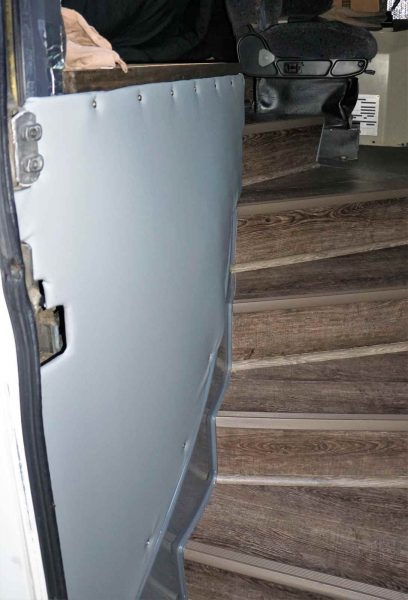
The original wall panel on the side opposite the dash went away a long time ago as it just wouldn’t work with the new floor and all the other changes. Making a replacement panel out of fiberglass would be the ideal solution. I’ve worked with fiberglass enough to know I was not excited about that project. So… I’ve put it off for a couple years.
Several weeks ago, I was perusing the local home improvement store – I do that like some folks visit the antique store or Bed, Bath, and Beyond… I know…. Anyway, I found a panel that caught my attention. It is a fairly thin fiber material that had some flex to it.
I decided to buy one, cut it up, and see if it could be used in Missy.
My goal was a panel that would flex enough to work around the protrusions as well as fit snugly at the edges. If I can make that work, I’ll then upholster the panel with something for a finished look. Maybe a nice Italian cow… or some cheap knock off…
The negative to this approach is the panel rubbing on the parts that poke out. The good news is that those parts are pretty smooth and rounded. Time will tell….
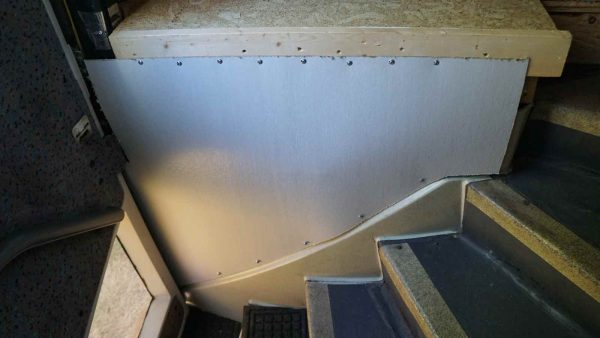
To fit the panel, I had to decide what I was going to do with the edge of the house floor (top of the staircase). The photos show my first experiment.
It is simply a pine 2×4 that has a notch cut in it to match with the cork flooring (and sub-floor).
Fast forward a few weeks. I left the panel hanging in the entryway and it hasn’t complained. Not that I expected it to but it needed tested anyway. With some fancy foam from Amazon, gray faux leather vinyl from Amazon, and spray-on contact cement – obviously also from Amazon – I was off and running.
I hope none of you think I order EVERYTHING from Amazon. Trust me, the local home improvement stores get PLENTY of business from me!! Living in a rural area – I just don’t have a lot of store options – unless I want to drive into the big city… and I don’t. Two days and someone drops off to me – hard to beat!!
I’m not very good with contact cement. You are supposed to spray/brush it on each surface and let it dry for awhile before sticking the parts together. I’m too much like a two-year old – gotta stick it together NOW and see if it works!!
Of course, it doesn’t.
Instead, I should have been taking some photographs. But, I wasn’t… I was messing with wet contact cement… and trying to rub it off my fingers…
Eventually, it all stuck together (the vinyl, not my fingers). The result?? It’s ok – not mind-bending spectacular or even wildly beautiful but it is certainly an improvement.
I was planning to use 1/8″ foam like is typically used under upholstery. Instead, I ended up with 1/4″ thick foam. I figured that would be ok as foam is pretty… well… foamy. However; what I got is quite firm. So, it doesn’t squish as much as I’d hoped and the panel ended up looking kinda ‘thick’ – not the end of the world.
I can imagine if I had done about 400 panels before this one it would look really great. I haven’t.
Oh, one little trick I tried… The top edge of the panel wanted to buckle or bow out slightly between the screws – before I covered it. To prevent this, I glued a strip of 1″ wide steel – maybe 1/8″ thick – to the top edge. The mounting screws go thru this strip (holes drilled before covering) and that holds the edge down nicely.
The 2×4 board flooring edge trim experiment worked reasonably well so I evolved that concept just a bit. The result being 1×4 stained Poplar (cause Oak was too expensive!!) with a custom sized spacer between it and the floor boards. I was lazy, I admit it… I wanted to get the router out and round the edges of that wood. However; I really didn’t feel like making a huge mess (routers send wood dust everywhere). So, I didn’t. It is easy enough to do later if I choose. The stain used on my kitchen counter was used again here. It just happens to match the vinyl flooring used on the stairs.
On the dash side of the entryway, there is only a small section that needed upholstered – the rest was painted gray. Similar process with that panel. I’m currently using velcro to hold it in place but that is not going to work long term. Currently looking for a neat way to more permanently attach it – that doesn’t include anything visible. The foam that is too thick is very evident on this panel. I imagine a Mulligan (do-over) is in the very near future.
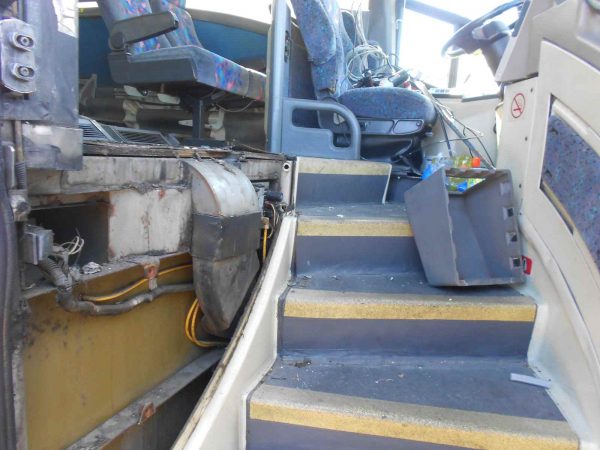
As a reminder, this was the starting point…
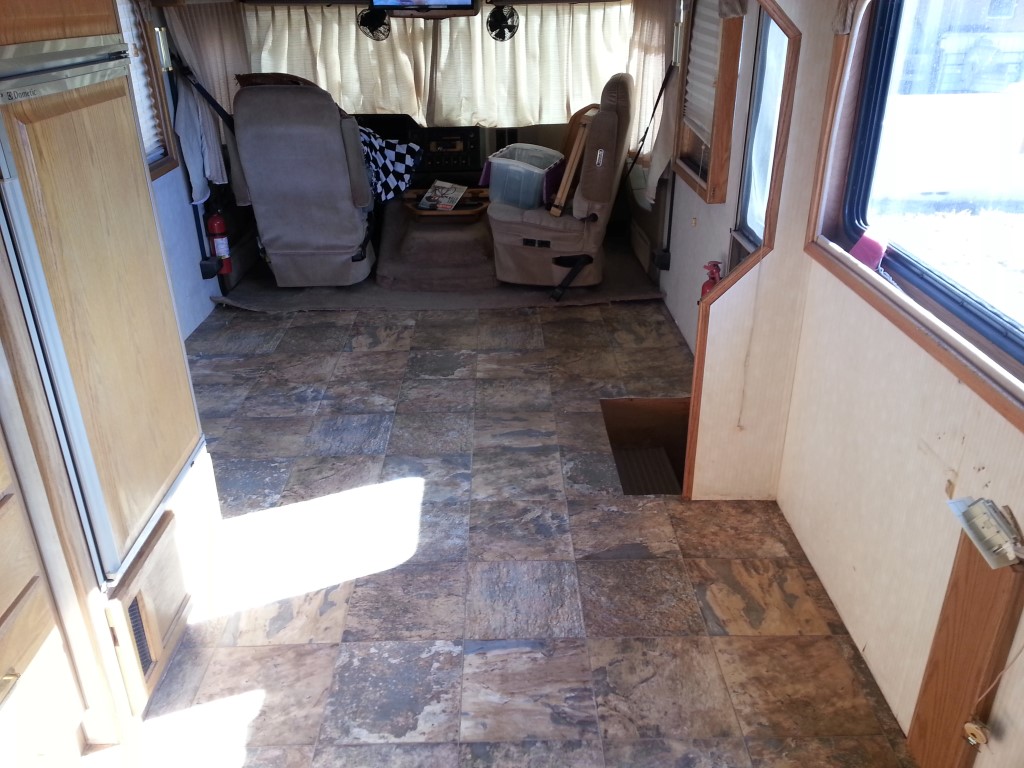
And now…
Entryway looking GOOD!
The whole entryway looks SO MUCH BETTER than they did previously. Most definitely an improvement! There is still a pretty stark contrast between some of the old (brownish dash, puke white panels near the drivers legs, white door, Las Vegas upholstery material on door, etc.) and the new but all of that is on the to-do list.

Looks great!
They look great!!
Really looking good! I can’t imagine the hours you’ve put into sizing… measuring… fitting… cutting… visualizing… and everything else! And like you say… maybe some revising at a later time. Do you have all the ‘bug’ worked out of her performance? Formerly, I know you had detected and repaired/fixed several.
wondering what that giant duct is on the back wall? did you remove it?
Hi Gary! I think you are talking about the duct next to the steps. That is part of the A/C and heating duct work. The very large duct on the very back wall of the coach is the engine air inlet. It draws air from way up high on the drivers side.