Note from JD: I’ve now (May, 2017) moved onto another motorhome and have installed 1.7Kw (1,700 watts) of solar panels on it – details here.
I documented the installation of 650 watts of solar (Morningstar TriStar MPPT 45 charge controller and two SunPower E20 327 watts panels) on my last motorhome here. When I traded for a new coach, the solar system was of no value to the dealer, so I arranged to remove it. My plan was to re-install it on my new coach because I love it so much! I really can’t hype an adequate solar system on any RV enough! It is SO COOL to not run the generator for weeks on end while living “normally”.
Note from JD: If you are new to the whole solar charging thing, you might have a look at this “Is Solar Power for You” post to get more information about the what’s and how’s. Possibly also of interest is the energy audit I did for my Newmar Dutch Star.
The process started by ordering a 50′ length of PV array cable, 3M 5200 adhesive, and a chunk of 4″ x 2″ x 48″ aluminum angle. Amazon Prime is pretty amazing! Possibly even dangerous. I love being able to order this and that without having to worry about shipping charges and then actually getting the things in only two days. Impressive!
The installation on my new 2005 Newmar Dutch Star was either much easier than on the Pace Arrow or I learned a lot on the first install because this time around it was VERY easy. Getting the array cables routed down thru the refrigerator vent stack has twice proven to be the hardest task of the install. I used an electrical snake and tried, tried, tried, and tried again… Eventually finding a good route that offered enough space for the two array cables. These cables were then run down thru the floor of the refrigerator vent stack and into the furnace space. More holes were drilled from this space into the basement. All of these holes were filled with caulking to avoid air leaks and locations thru which critters could stage an invasion.

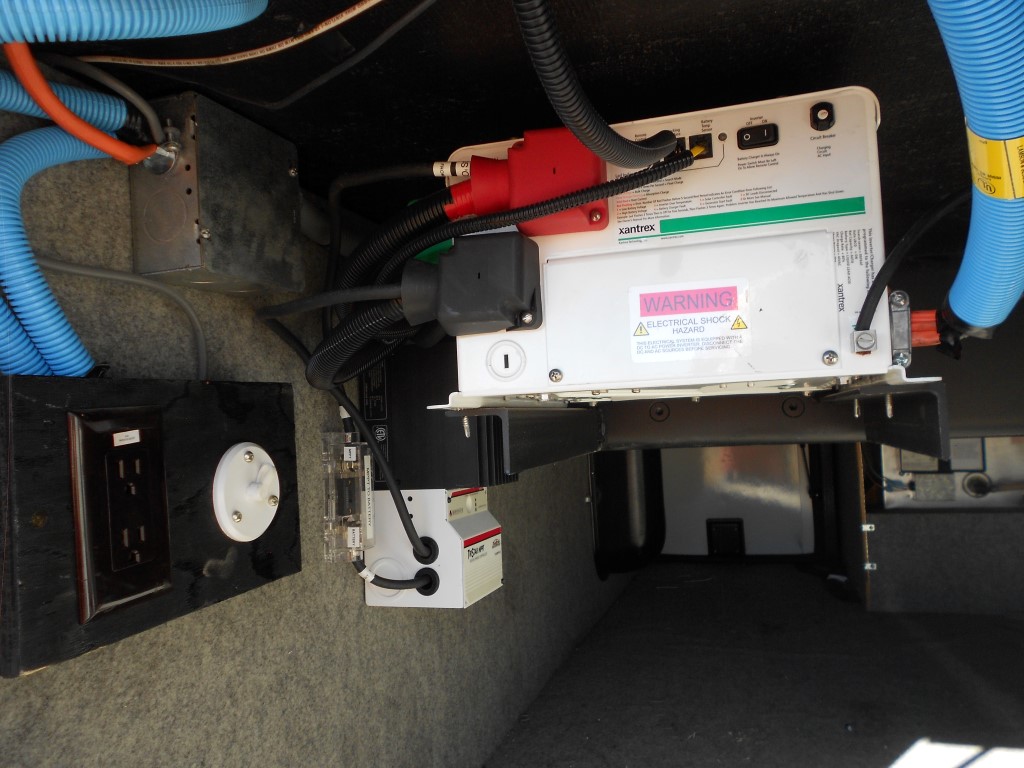
I mounted the MorningStar MPPT charge controller in the basement, on the wall near the inverter. This made for VERY easy access – much easier than working on my head under the refrigerator in the Pace Arrow. It also allowed for a very short cable run to the DC input power terminals on the inverter (which run to the batteries via very thick cables. Of course, I reinstalled the large fuses between the array and charge controller and another between the charge controller and battery bank (inverter input cables, in my case).

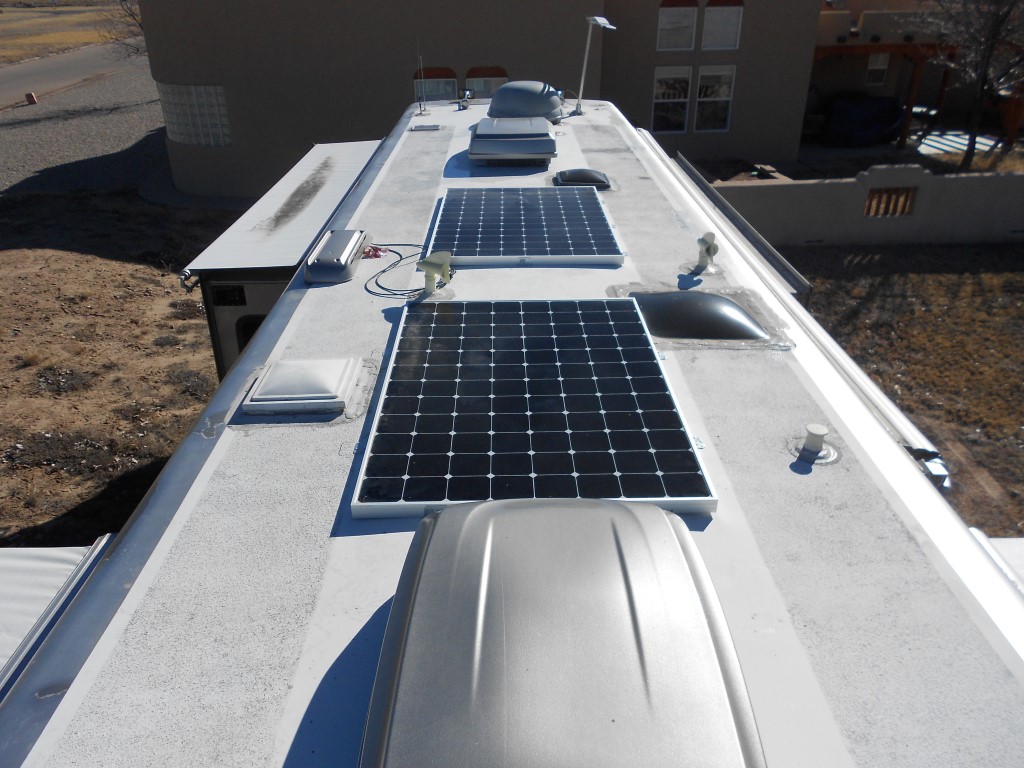
I was going to make panel mounting tabs using 2″ x 4″ aluminum angle. However; a trip to the home improvement store was productive and I found some nice 2″ x 3″ galvanized sheet metal L-brackets in the joist/construction section. I drilled a number of additional holes in the feet of these brackets and roughened the ‘feet’ with sandpaper to provide additional “bite” for the adhesive. I did some research and the 5200 documentation reports that it has better holding power with galvanized steel than aluminum so I was comfortable with this bracket choice. The roof of the Dutch Star is flat which makes the panel install VERY simple – I simply laid the panels on the roof and marked the bracket attach points. I then scratched up the surface of the bracket and the roof where the brackets will mount and cleaned it all with acetone. A nice layer of 3M 5200 adhesive was put on the bracket feet and they were laid in place to cure – a total of 12 brackets per panel. The standard 5200 adhesive requires a week to cure – I probably should have ordered the quick cure version but I didn’t. So, let’s hope for no high wind events over the next few days!! 🙂
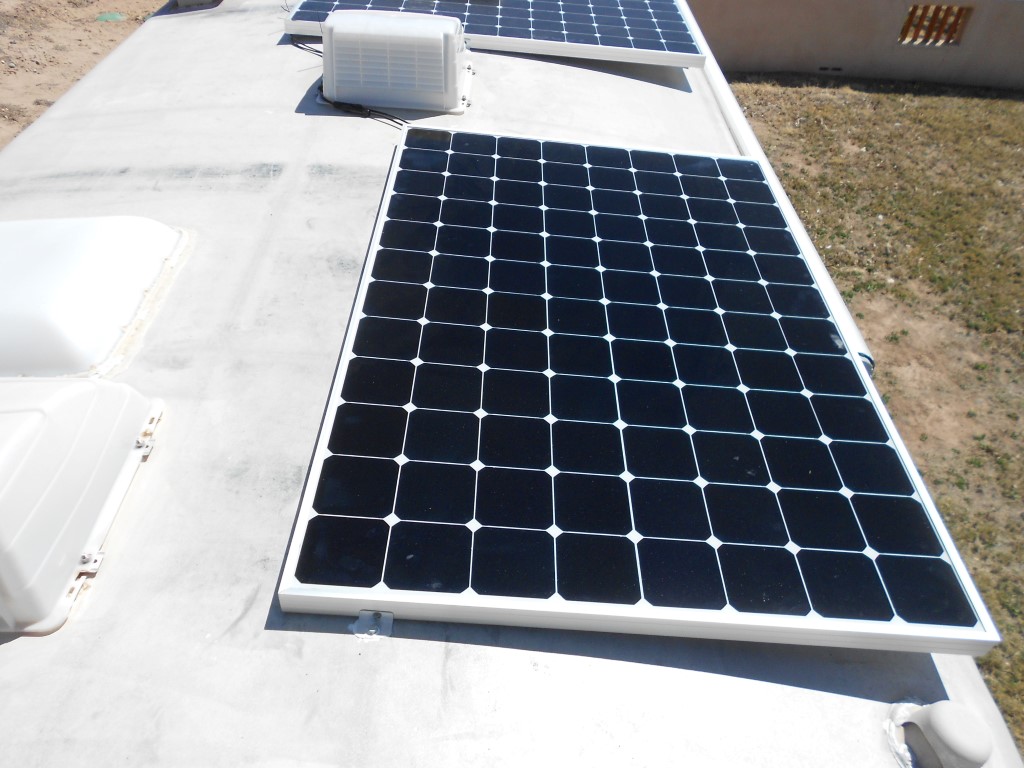
Before attaching the panels to the brackets, I inserted several 1″ x 2″ boards under the panel to raise it up off the roof. Some amount of air circulation on the underside of the panel is a good thing for cooling. I then used some fairly large self tapping screws to attach the L brackets to the aluminum PV panel frame.
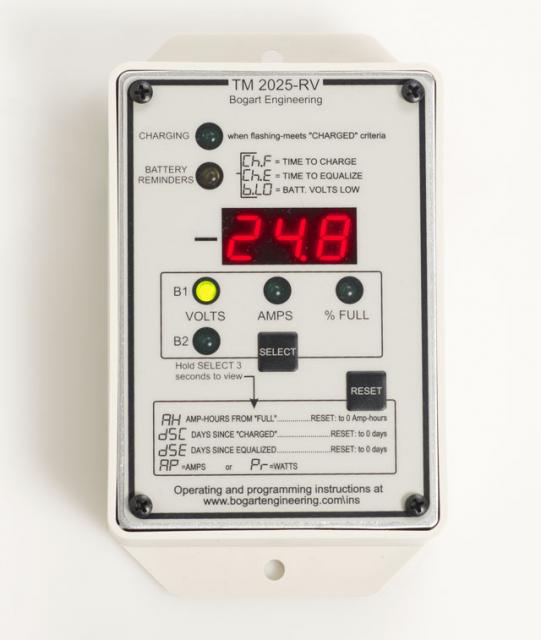
Upon connecting the wires, the charge controller started pumping juice into the batteries! It is a marvel to behold. Speaking of which, I did not retain my Trimetric Battery Monitor (here) which I also loved. I sorely need to buy and install one. The Dutch Star remote inverter control panel has a “battery full” gauge but it is based on voltage so is terribly inaccurate/misleading.
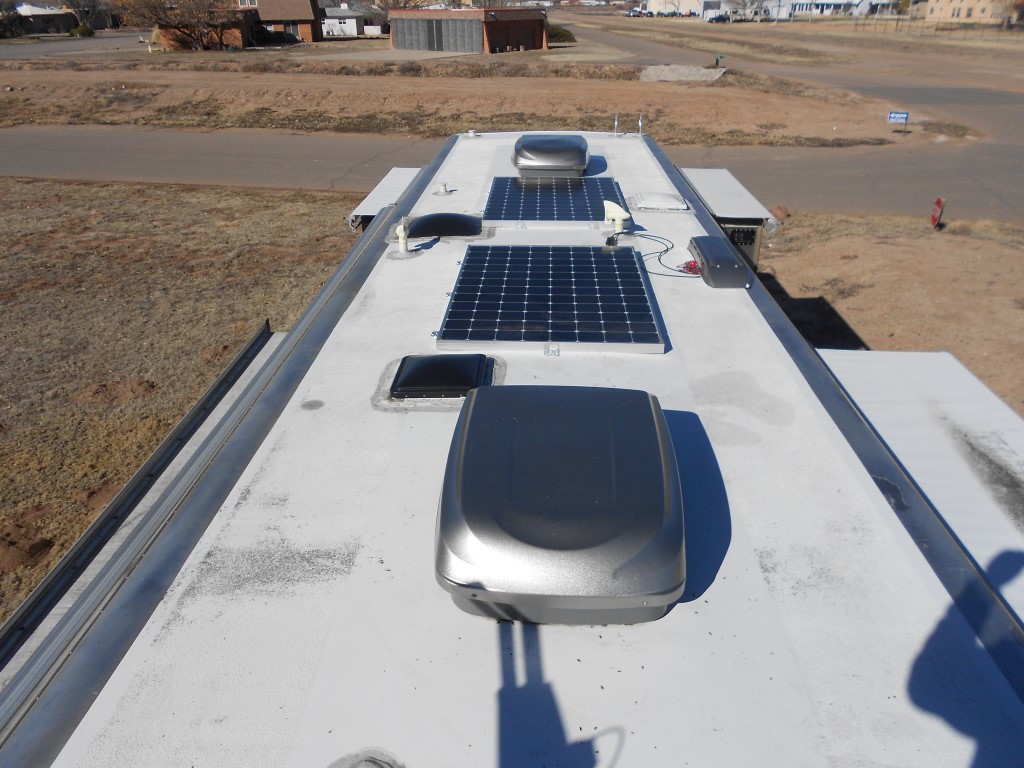
I am excited to see that there is a lot of space remaining on the roof so the addition of another panel or two is possible! 1000 watts or more – wouldn’t that be neat!!!
The cost?? A common question. As noted here, the cost for the installation on my last motorhome was $1,200.00. I spent about $100 on additional cables and brackets when I installed on the Dutch Star (and did not use some of the old parts). So, total cost was about $1,250.00.
Do you have any pictures you could send me of your mounting system? Have you had any problem with the 5200? Thanks
Hi Dick – I just added a new post (here) with lots of photos and some additional detail.
Hope that helps!
Nice system- how much did this all cost?
Thanks Taylor – I just added the cost to the post – about $1,250.00.