In initial post on this topic (here), I warned you what was coming. In this post, I show the results!!
The scenario: Wake up in my own bed, notice that the skies are clear, the ski resort has fresh snow, and the forecast is for no wind all day.
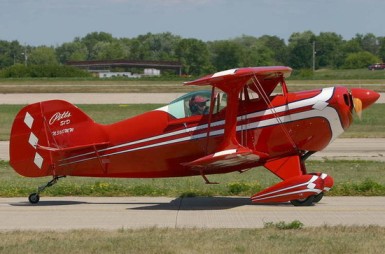
The goal: Load my ski equipment into the RV-3, fly to the ski resort, enjoy a beautiful day of skiing, fly home in the afternoon, sit in my own hot tub that evening, and climb into my own bed that night.
Sounds pretty great, eh?? I think so too! The ski hill that I normally frequent do is about a four hour drive each way, because of this, I only get to ski a couple times each year and not once last year. I have a friend that keeps a car at the airport at Pagosa Springs, CO (which is near the Wolf Creek ski resort) so that issue is… well… not an issue.
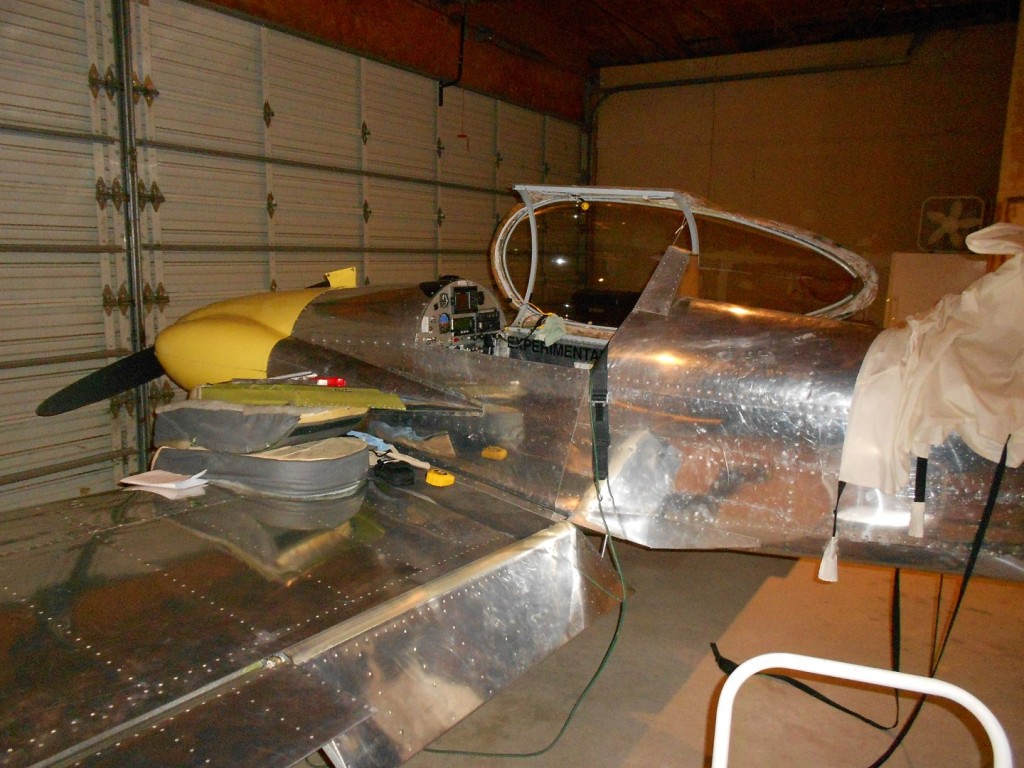
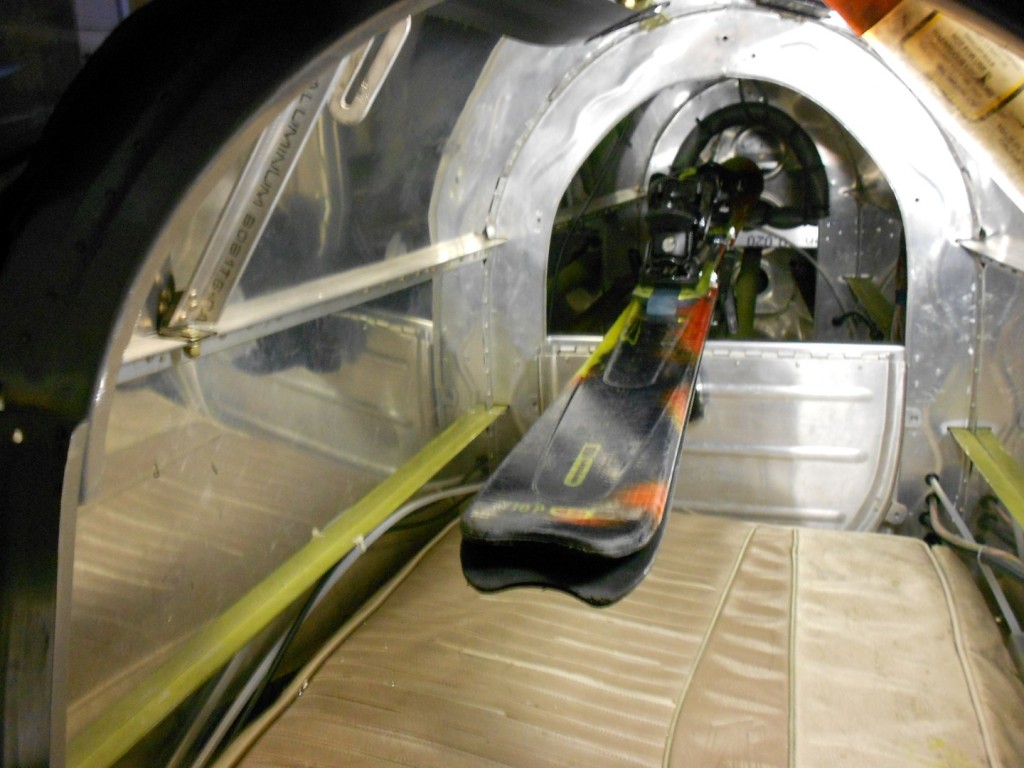
The challenge was getting my skis into my aircraft. Ski’s are not all that heavy but they are kinda long (even though I have a short set) and bumpy (bindings). The only place they fit is into the tail section of the fuselage. My aircraft has a baggage compartment behind the pilot seat but it is square-ish – skis won’t fit. I took the hint from several others that have made similar modifications for golf clubs, fishing poles, etc…
The BIG challenge (pun intended) was getting my lard butt into the tail section to make the necessary modifications. I removed the seat upholstery, seat back, and everything that might possibly be in the way. Then I laid down several layers of relatively thin Styrofoam, thin board-like material, and then some padding and blankets. The goal was to avoid pressure points on the aluminum skin. In hindsight, the seat pan and baggage compartment floor are pretty strong so my approach was probably overkill. However; I didn’t damage anything so I will not do anything different the next time I need to get back there.
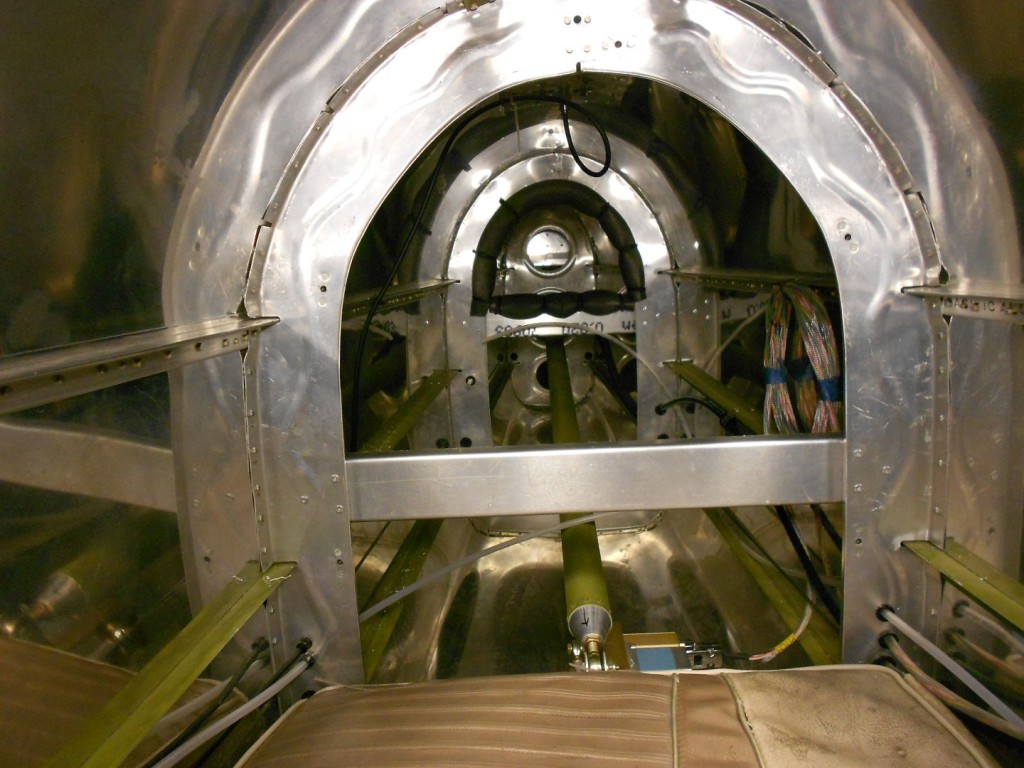
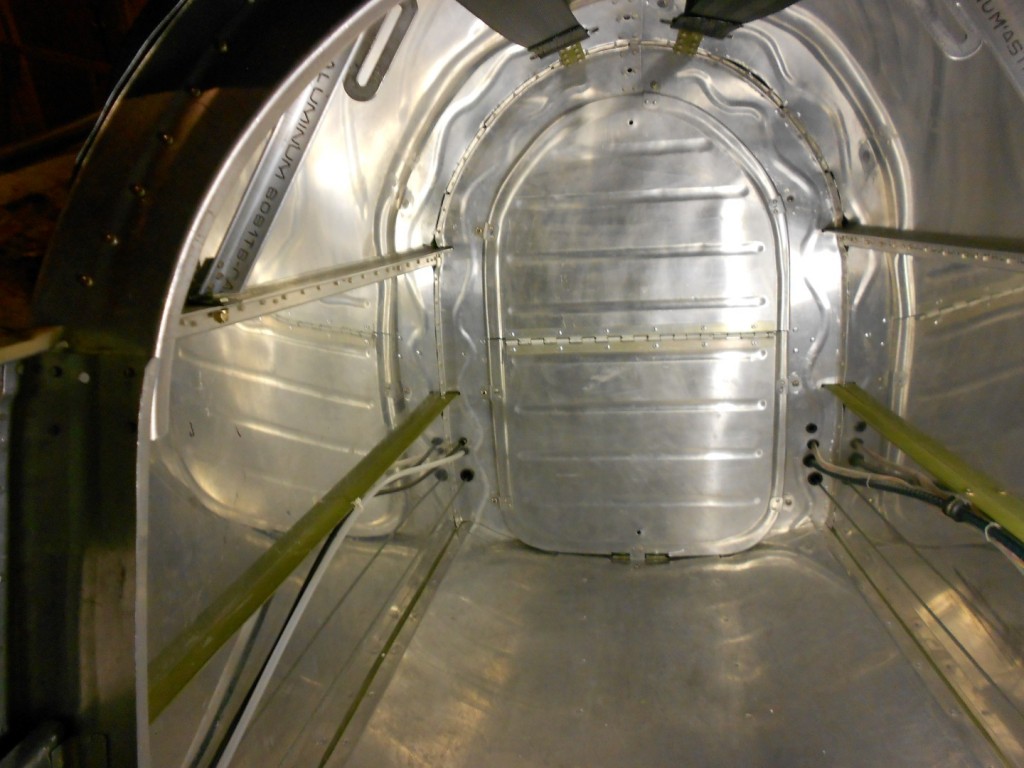
The first change is to install a horizontal U-channel on two of the tail section bulkheads. The elevator pushrod runs along the bottom of the fuselage and this must be cleared. Getting something tangled up with this control could make for a really bad day. So, the U-channel’s are installed high enough to avoid any possible conflict with this control. The “hole” that is now formed in the aft most bulkhead is padded. The forward end of the skis will be placed in this “hole” and the padding prevents noise, scratches, etc…
Working in the tail section requires some pre-planning. I took every tool and part that I could imagine needing when I went in. Thanks to this approach, I only had to get out three times to retrieve something I didn’t have!! I imagine this would have been twenty times without all my careful planning. 🙂
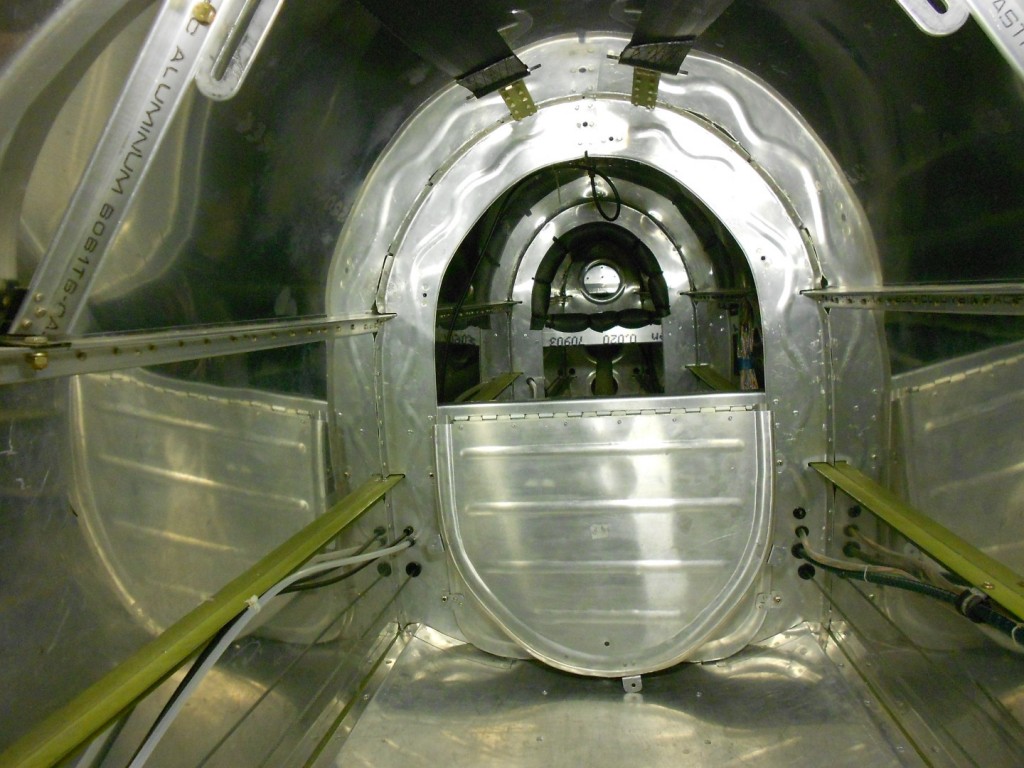
The forward most bulkhead is a little more challenging. This is the bulkhead to which the aft baggage compartment “wall” is attached. Mine is attached with screws into plate nuts. I decided to hinge this “wall” instead of remove it when carrying long objects. The purpose is to protect the elevator control and it’s linkages from stuff getting back there and causing that bad day that I mentioned. No padding is installed here to prevent interference when closing the door that has been created. However; after thinking about this for a few days, I may return and add a little something.
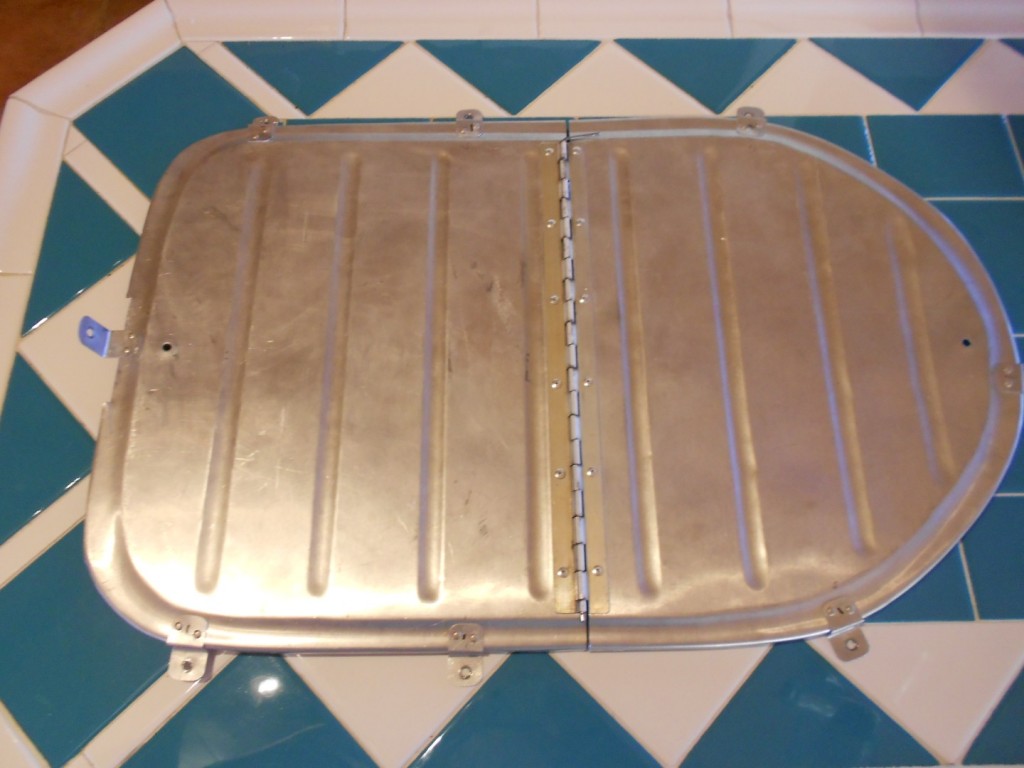
The U-channel is riveted to each bulkhead is pretty stout once permanently attached.
As you can see from the photos, there is loads of space and the skis fit just fine. Barely visible at the top are a couple of tied down rings that I added so the skis can be securely tied in place and will not move about when flying. Obviously, interference with the control system would be a very, very bad thing so that a great deal of caution needs to be excercised to ensure that does not happen.
Now, we wait for the snow to fall and the ski resort to open!!


[…] and downhill skiing (Ski Truck) and reported setting up my aircraft to carry my downhill snow skis (Ski Truck Epilogue), last week I got the chance to give the setup a […]