Golly! It’s been a while since my last engine update. I have been VERY busy on that project.
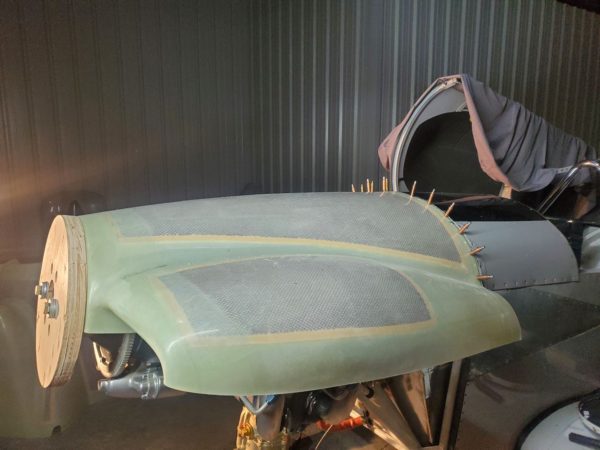
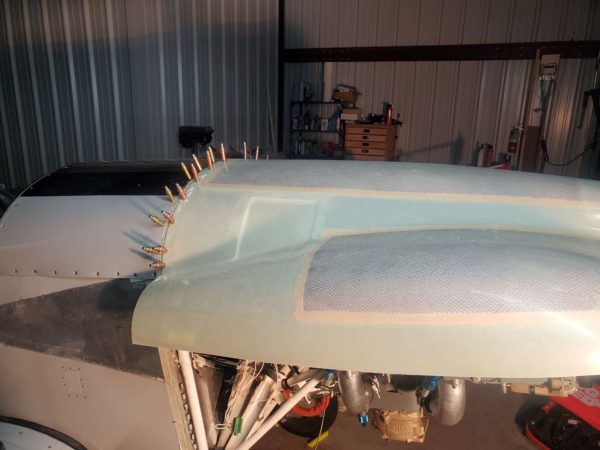
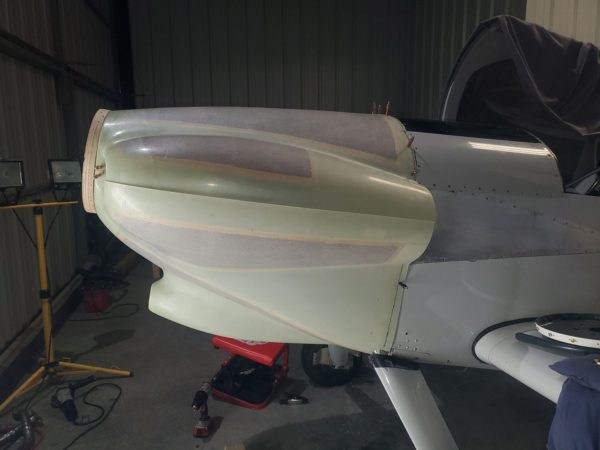
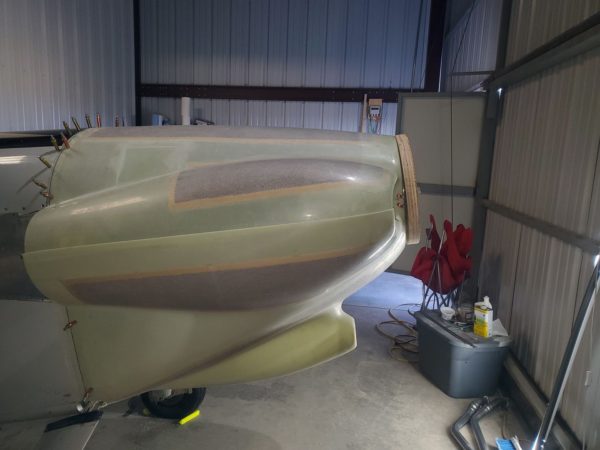
Fitting the new cowling was next. That is a BIG task.
The cowling comes in a relatively raw form – fiberglass. It is oversize and doesn’t have any hardware installed – all that is left to the builder.
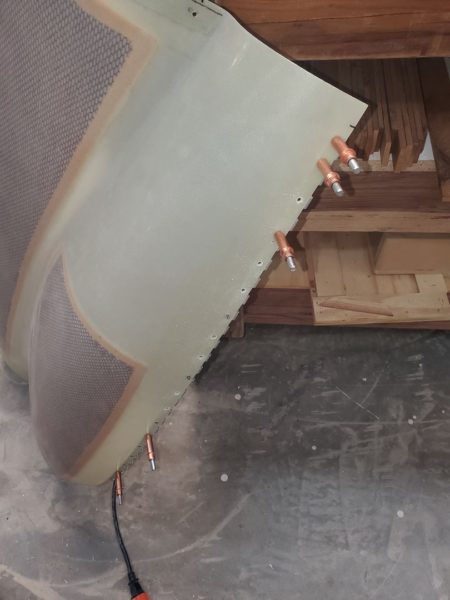
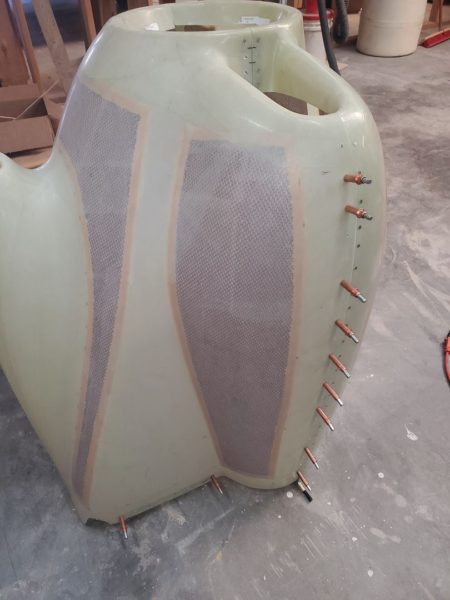
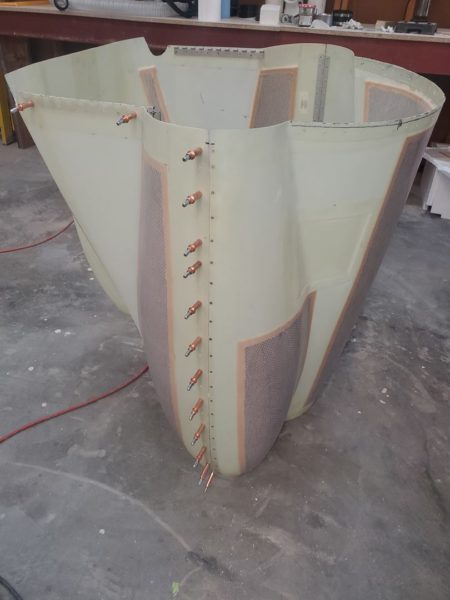
Getting this big complex shape with a whole bunch of angles to line up as desired is one of those things could drive a person insane. It is basically a process of attempting to put it all together and slowly trimming a little here and there – about a thousand times. The goal, of course, is not to trim too much from any one spot. To make it really interesting, moving one edge just a hair, causes all the other edges to move!! Mind numbing stuff!! 😮
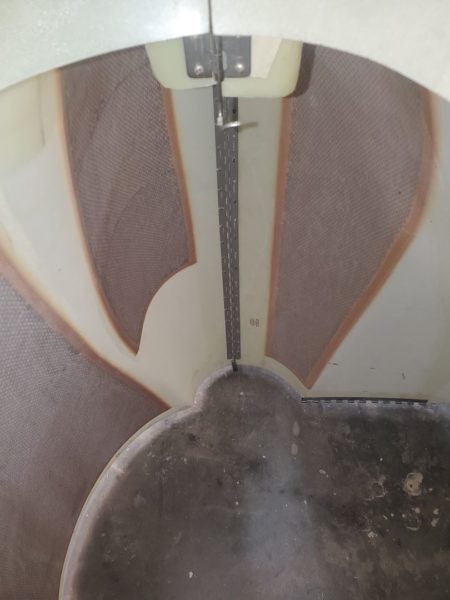
During this process, one also has to figure out where to mount the stainless steel piano hinges that serve as the attachment mechanism (to the fuselage).
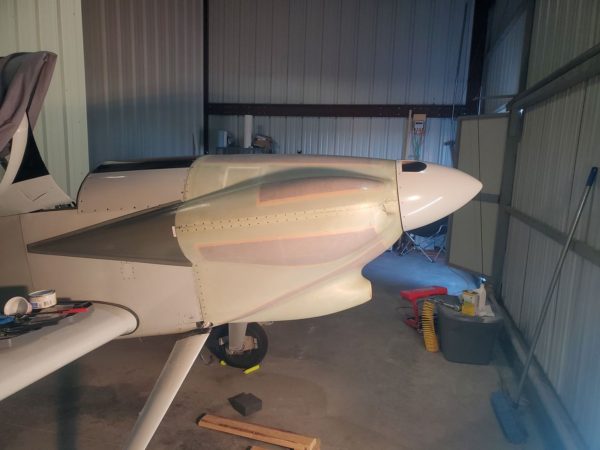
In these photos, you can see that process. The front of the top cowling is secured to a wood ring mounted to the prop hub that serves to anchor that end.
It’s difficult to see in these photos but the cowl is still oversize and overlapping onto the fuselage.
Once it was trimmed, the hardware needed to be installed.
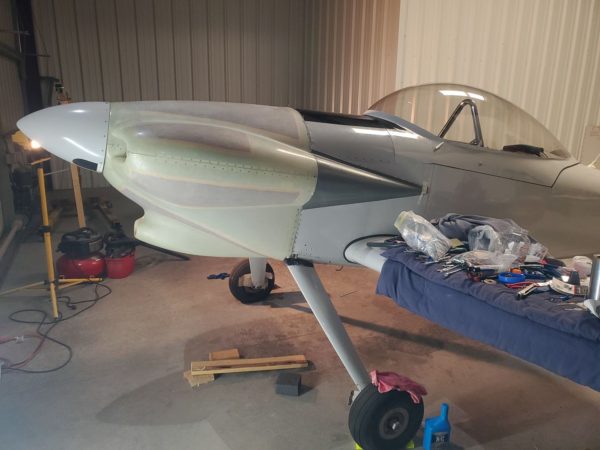
And then we could start to get a look at what it might look like in the near future!
In these photos, half of the piano hinge has been riveted to the fuselage and the other half to the cowling – to secure it to the fuselage. The top and bottom of the cowl is joined in the same way.
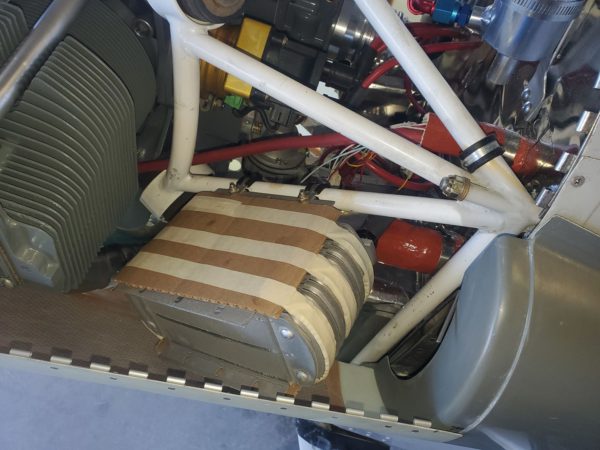
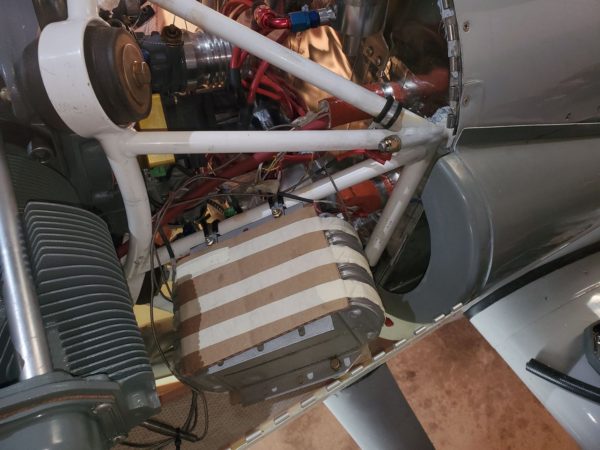
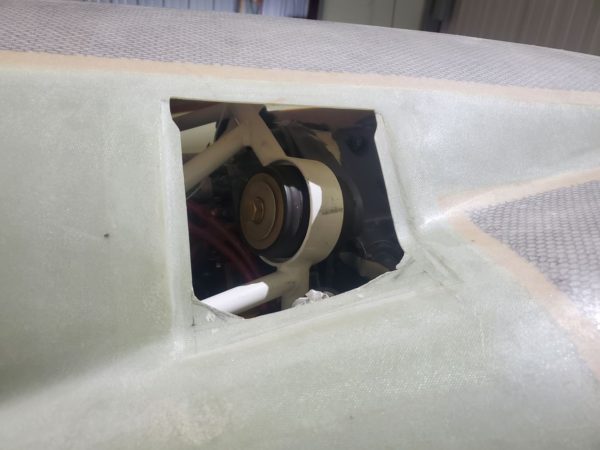
Once the cowl was in place, we could finally find a spot for the oil cooler. This is an oversize cooler (ten row) and I think I found a nice spot for it.
By the way… it is covered with cardboard because I have a condition that causes me to drop heavy and sharp tools on fragile things – like oil cooler cooling fins. So… playing it safe.
Of course, nothing is easy – the cowling was far from done.
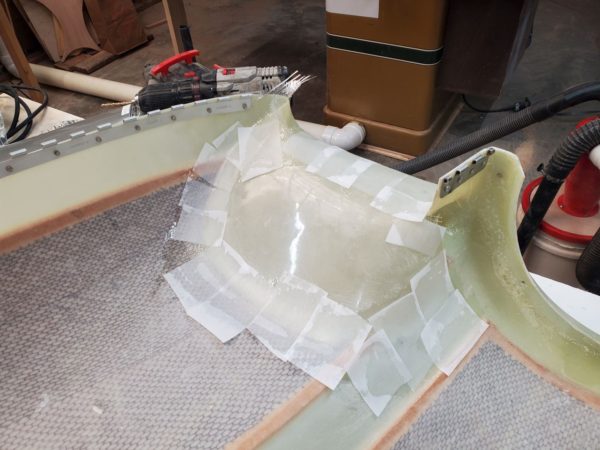
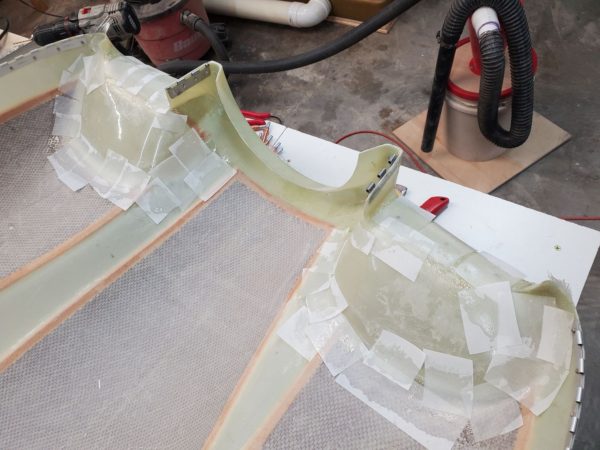
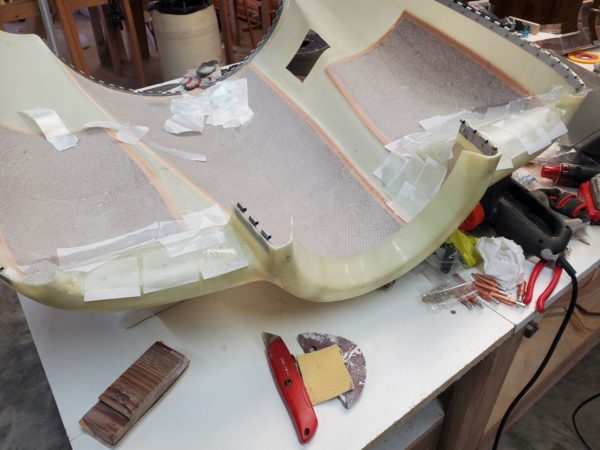
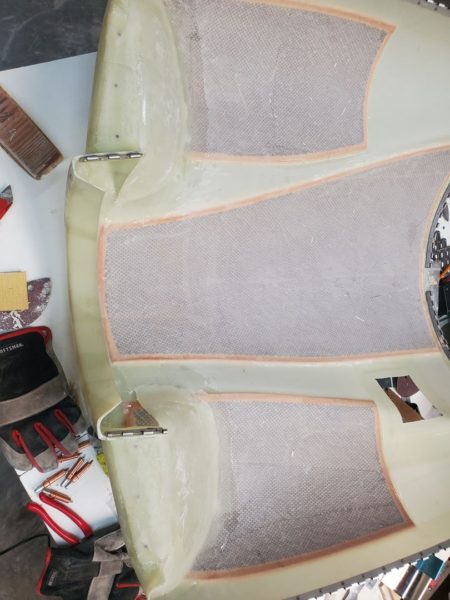
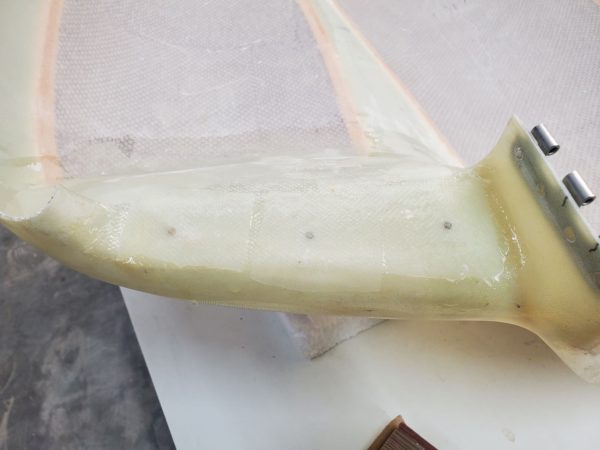
There are some airflow ‘ramps’ on the top inside that needed to be fiberglassed in.
The strips of white material is peel-ply (polyester fabric). This is removed after the epoxy cures and leaves a nice finish behind that additional glass or filler can be applied to without having to sand.
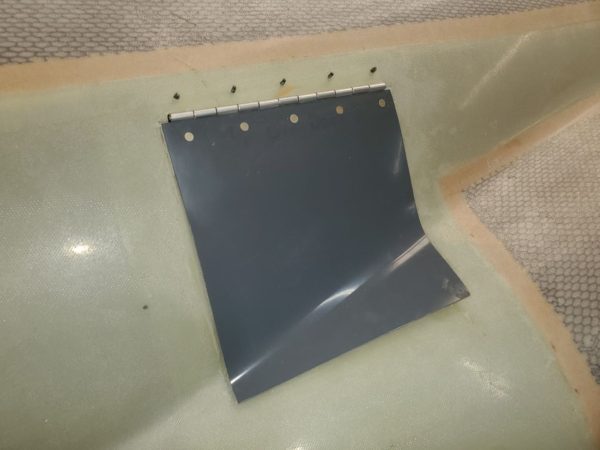
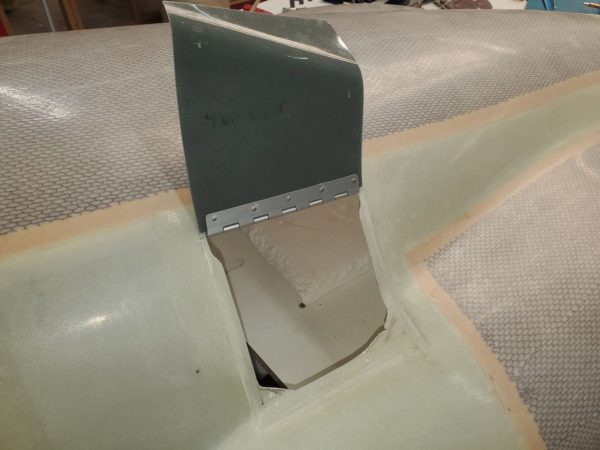
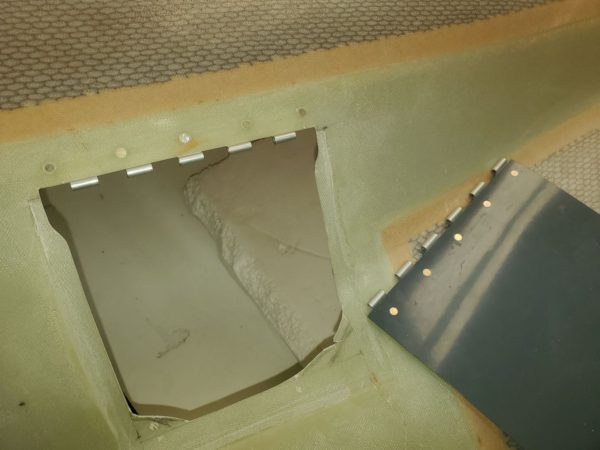
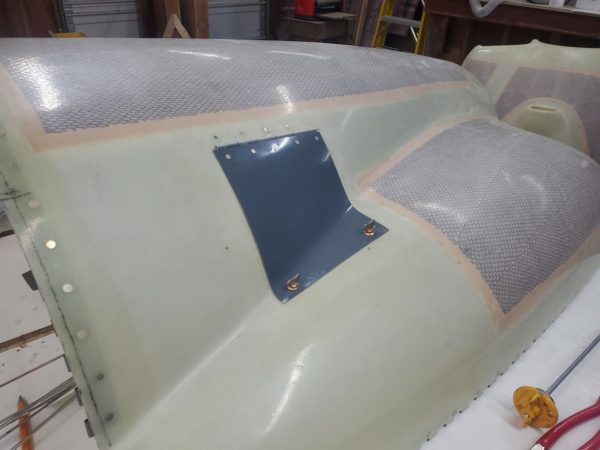
And then the little door used to check the engine oil level had to be cut and installed.
Hard to believe but those few things sucked up loads and loads of hours!! Good thing I’m not getting paid by the hour!!


Nice job on the cowling! I came across your page from Skoolie.net and have enjoyed all the posts about the MCI bus build. I bought a 1999 MCI E coach last year and am converting it. Thanks for taking the time to document your bus build, very good information for someone doing the same conversion!
Thank you Mike! I’ve sent you a couple emails (to your gmail). Suspect you are not receiving them.
Doing serious airplane work during the Spring cuts into some of your best time of the year of flying!
In your work description, sometimes you say “we” did… Did you have help through most of the work?
Hi Roger! I know – it’s killing me!! 😁
Yes, for the engine case, I had a local engine guy go thru it with me to be sure it was done right!! Otherwise; it’s just been me and the voices in my head. 😉