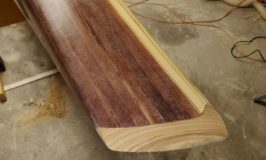
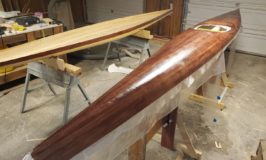
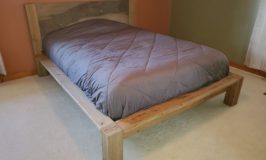
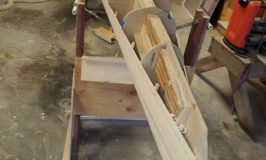
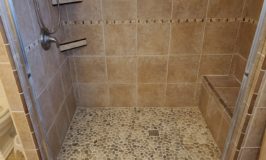
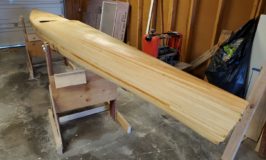
As you may recall, we last completed fiberglassing the inner part line of the kayak. Now time to work on the outside. Ideally, this line would be intirely invisible after the kayak is complete. Something told me that I probably wasn’t going to achieve that. Still… we try. This all starts with a bunch of… [Read More]
The Two Shall Become One
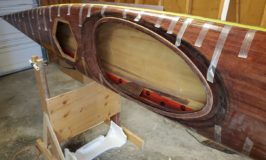
After all the progress in the previous post, it was time to join the two halves of the kayak together!! This process is a bit tedious – especially for a beginner like me!! A number of little mistakes kind of came to a head at this point. Getting the two halves to line up “perfectly”… [Read More]
More Kayak Bits
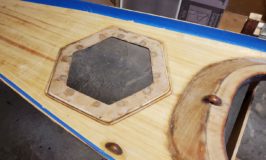
There sure are a lot of bits for such a simple boat!!! 🙂 If you remember, we last worked on all these bits and now we have more. Specifically, the skeg control box or “enclosure” and the hatch for the rear of the boat. It seems that I forgot to take photos while constructing the… [Read More]
Early Morning Flight over the Foggy River
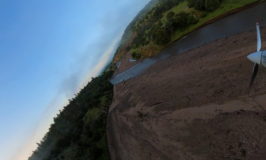
This was a really fantastic morning! The views and scenery were amazing and the fog really added another dimension. Hope you enjoy it as much as I did!! https://www.youtube.com/watch?v=UvkDH62Vef4
Kayak Coaming and other bits
Last time (here), we added a layer of fiberglass to the exterior of the kayak. Before doing the same to the interior, we have some tasks to complete – specifically the coaming. The coaming is the riser and lip around the cockpit. It provides a good bit of strength around the opening but also creates… [Read More]
Chunky Queen Bed Frame DIY
In Missy, I constructed a built in bed frame. When I moved into the house, I moved the queen sized mattress but I needed a frame. So… I went to work building one. For reasons that are beyond my limited mental capacity, I’m kinda into the rustic look these days. I started looking around the… [Read More]
Adding Kayak Color
When we last saw our hero, he was fairing and sanding the kayak interior. However; the kayak exterior is the first to be fiberglassed. So, focus was changed and off we went fairing and sanding the exterior… After a great deal of scraping, planing, fairing and sanding – it looked pretty good. Photos of that… [Read More]
Splitting the Kayak
After the cockpit coaming was installed and the exterior was faired (here), it was time to see what was underneath all the woodwork! I previously mentioned the split line – it was time for it to leap into action. With a bit of persuasion, the hull was carefully lifted free of the forms and strongback…. [Read More]
Pebble Shower Floor
The shower in my master bath was all tile and it looked ok. Sadly, the person that installed it apparently didn’t know what they were doing. Having been thru the lesson of tearing a house apart to the studs because not everything was ‘perfect’ – I tried REALLY, REALLY hard to leave this shower alone…. [Read More]
Kayak Cockpit and Fairing
After completing the stripping of the kayak hull and deck (here, here, here and here), it was time to think about the cockpit. This kayak design incorporates a recessed coaming. The coaming is the lip to which a spray skirt is attached. The spray skirt is something you wear and then attach to the kayak… [Read More]
- « Previous Page
- 1
- 2
- 3
- 4
- 5
- …
- 84
- Next Page »

