You guys had some excellent guesses about my next project (here)!
Two of you guessed a balance beam – but only one of you took it to mean that I was making a run at an Olympic gold medal in women’s gymnastics!! While that’s always been a dream… that’s not the direction I’m headed… yet. 😉
So… what it is it?
I’ve always admired cedar strip kayaks. With plenty of space now available, I decided there was no time like now.
The kayak design that I selected is by Nick Schade of Guillemot Kayaks and is called the microBootlegger Sport. Nick sells plans and has a very impressive array of videos on his YouTube channel detailing the construction process. It was all those videos that convinced me to give this a try. I tend to worry about the details and Nick does a great job addressing all of them in his videos. Definitely worth a watch if if interested. The overview of this particular design follows. As you can see, Nick is a craftsman and artist!! I will be pleased if my kayak ends up looking half as good as his!
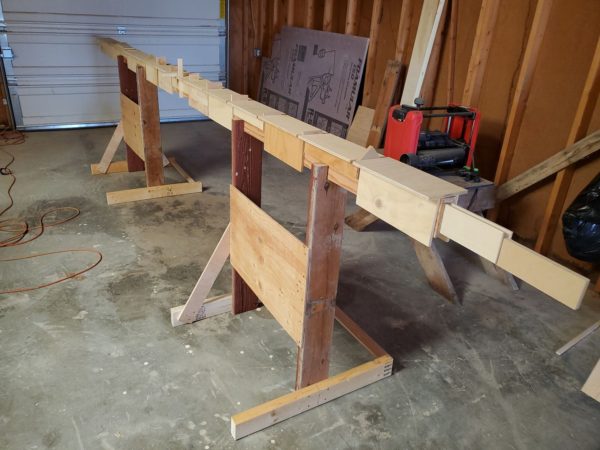
The photos from my last post are of what is called the “strongback”. It is the frame on which the kayak is built.
First, I had to build a bunch of these spacers. They fit snuggly on the strongback and located and hold the forms in place.
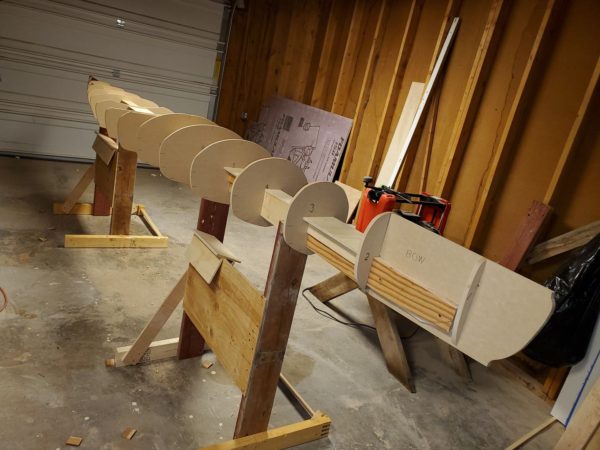
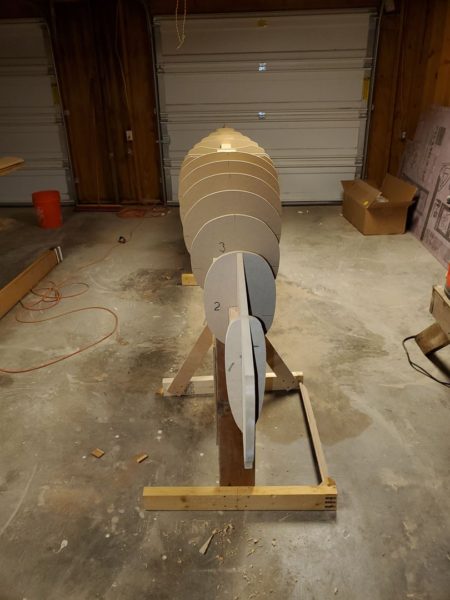
Then the forms go on. In this photo, the kayak is right side up. I’ll flip it over and start on the bottom.
It looks a bit like a torpedo!
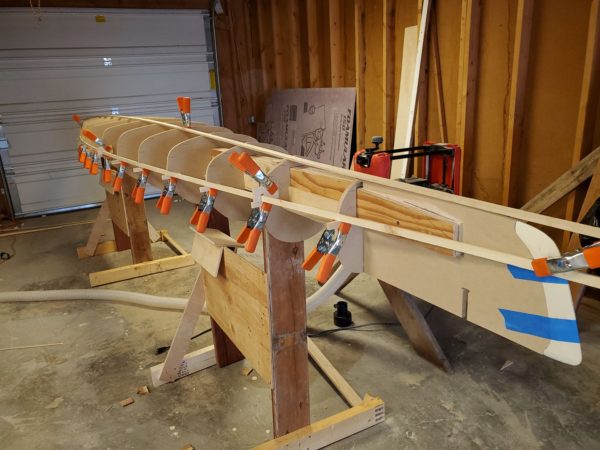
And finally… it is time to start installing wood strips. These strips are eventually smoothed and coating of fiberglass and epoxy goes on to make for a nice strong and waterproof boat. Of course, the strongback and forms come out before the top and bottom are fiberglassed together. 😉
New Mexico isn’t a hotbed of woodworking and finding Western Red Cedar and Alaskan Yellow Cedar boards locally is a bit difficult. If you hadn’t noticed, shipping anything is rediculously expensive right now. So, I made due with what I could find locally. That was spruce which is far from ideal. However; I figured my learning curve would be very steep and the first product might be deserving of a bonfire. Why use expensive wood for a bonfire?!?!
It is now upside down with the bottom facing up.
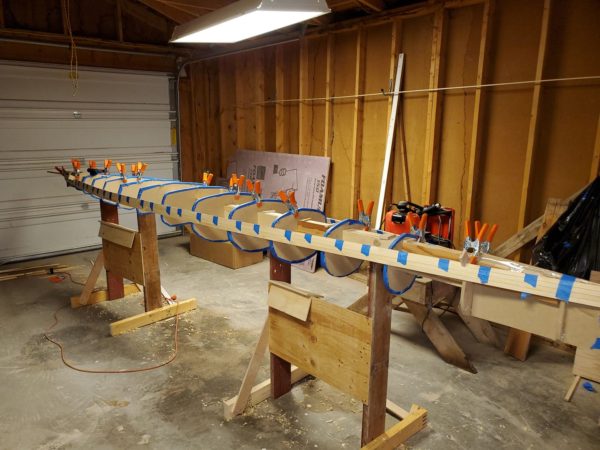
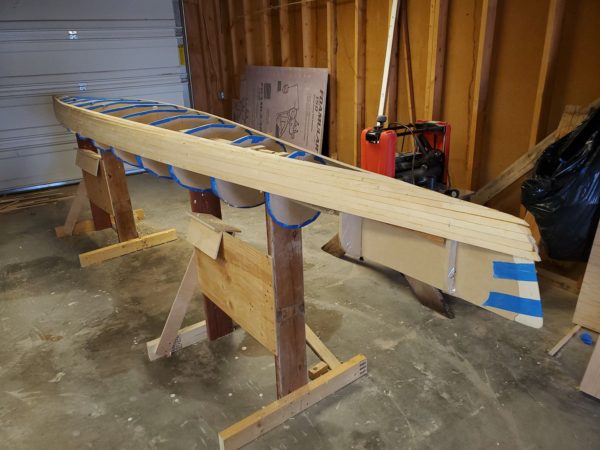
And more strips go on. It is a fairly long process of gluing a strip on, waiting for it to dry, planing its edge so the next strip is a perfect fit, and then gluing the next strip on. Repeat over and over. This involves a bunch of clamps and tape to apply pressure while the glue dries.
With enough strips installed, it starts to look like a boat.
A long ways to go yet and this is a fun, low priority project. I’ll keep the updates coming.



I was very close with canoe!! Can’t wait to see the finished project and a shot from your drone as you navigate the water in it!
You were very close!! No doubt, actually putting it to use will be exciting. For now, the fun is in the journey (construction). Working with wood like this has a zen-like quality and is really enjoyable!!
The work you are doing looks really great. AND, in the end, some balance may still be required!
Thanks Pete!! Very true! 😉