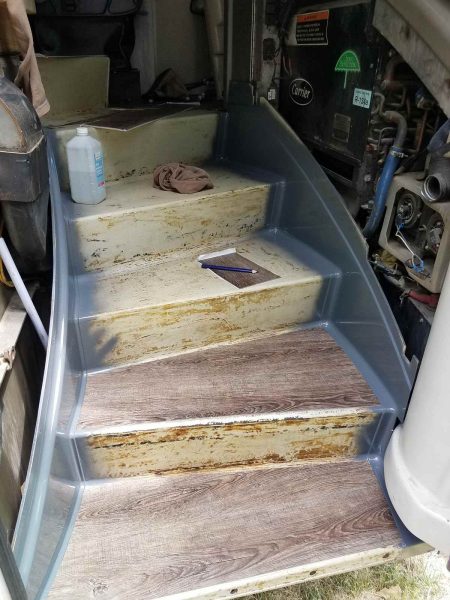
After cleaning up the old covering and left over adhesive from Missy’s fiberglass staircase (here), it was time to get busy covering them up.
Selecting the flooring
Attempt number one was with an inexpensive wood laminate called Tavern Oak.
I spent some time cutting and fitting the panels for one stair step. Sadly, I just couldn’t get happy with the fit and it took a long time – especially running back and forth to the saws (table and jig saws). My thinking was to affix the laminate with adhesive. The look was good but the work to make it all fit and the final ‘fit’ wasn’t what I hoped for. A rethink was in order…
I went back to the store and looked more closely at the peel and stick vinyl plank options. One was found that sorta looked ok but was darker than I thought I wanted. Finding trim to match was a requirement and they did have a quarter round that seemed to match – at least to my eye. I asked a lady that was standing there and she thought so too. However; no matching stair nose molding. However; they did have a some of that metal stair nose protector stuff in a color that seemed to work.
So, I decided to take a chance on it, bought a couple boxes, and prepared for attempt #2. This time “Grey Ash”.
Fitting the flooring
Two of these really slick “angulizer” thingies from Amazon were purchased. I put the parts from the two of them together into a single unit. This made it large enough to layout each step. Transferring the rough shape onto the laminate was then pretty easy.
The good news is that vinyl is pretty easy to cut. The bad news is that vinyl is really easy to cut incorrectly. 🙁
Nonetheless; eventually some pieces were semi-rough fit and looking pretty good. I think I will be very good at this once I get the staircase completed. 🙂
I eventually figured out that the laminate cuts nicely with big scissors – except big scissors don’t cut a straight line very well – at at least the hand holding the big scissors… So, there was a bit of a learning curve involved and technique to be perfected.
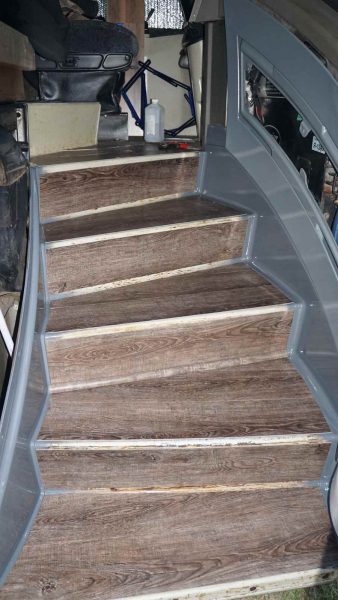
A bit more work and I had this look going. At the point these photos were taken, none of the flooring was permanently installed. The little strips of white are the backing paper on the back of the vinyl – that won’t be there in the end. I let this sit for a few days to see if my brain rejected it or decided it liked the look.
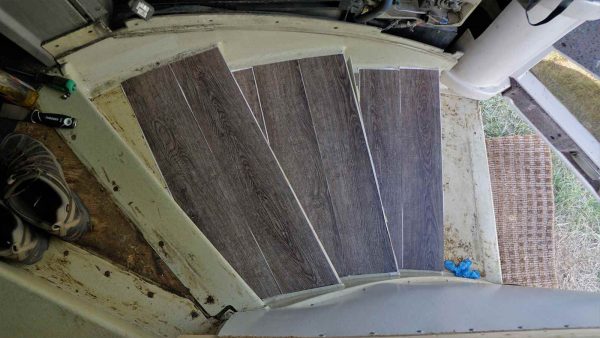
Eventually, my brain gave its nod of approval so I kept going.
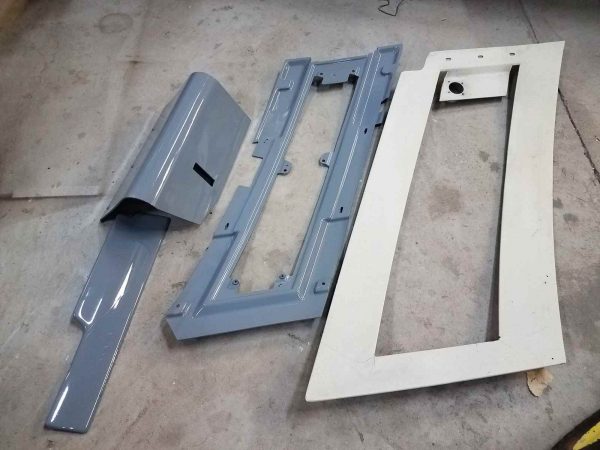
All of the fiberglass panels in this area were “puke white” – very nasty. That had to go. The “dash” panels were sanded and painted first – a lighter-dark gray. They turned out pretty nice.
Next was the edges of the staircase. Sanding in tight corners is not my forte but it got done. I used a darker-dark gray on them.
Installing the flooring
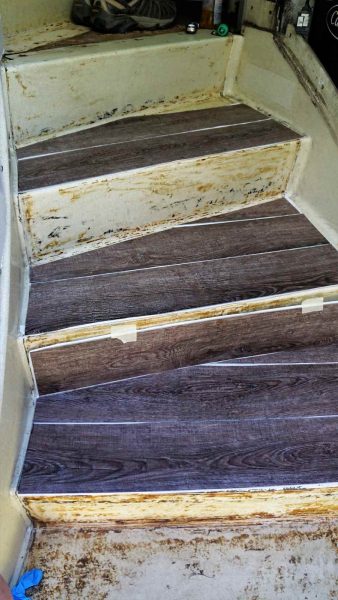
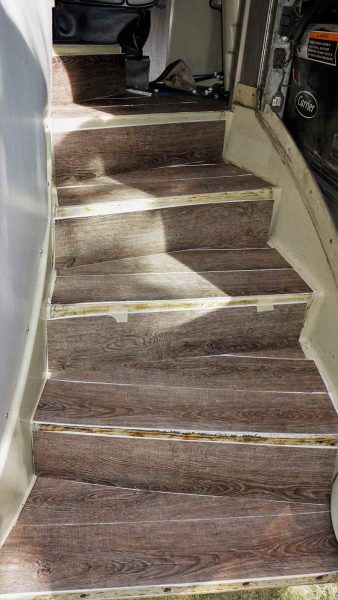
Then, I went to work finish fitting the vinyl flooring to the step treads and risers. Nothing hard about that… just details – slow and steady.
The staircase now looks really nice – in my opinion!
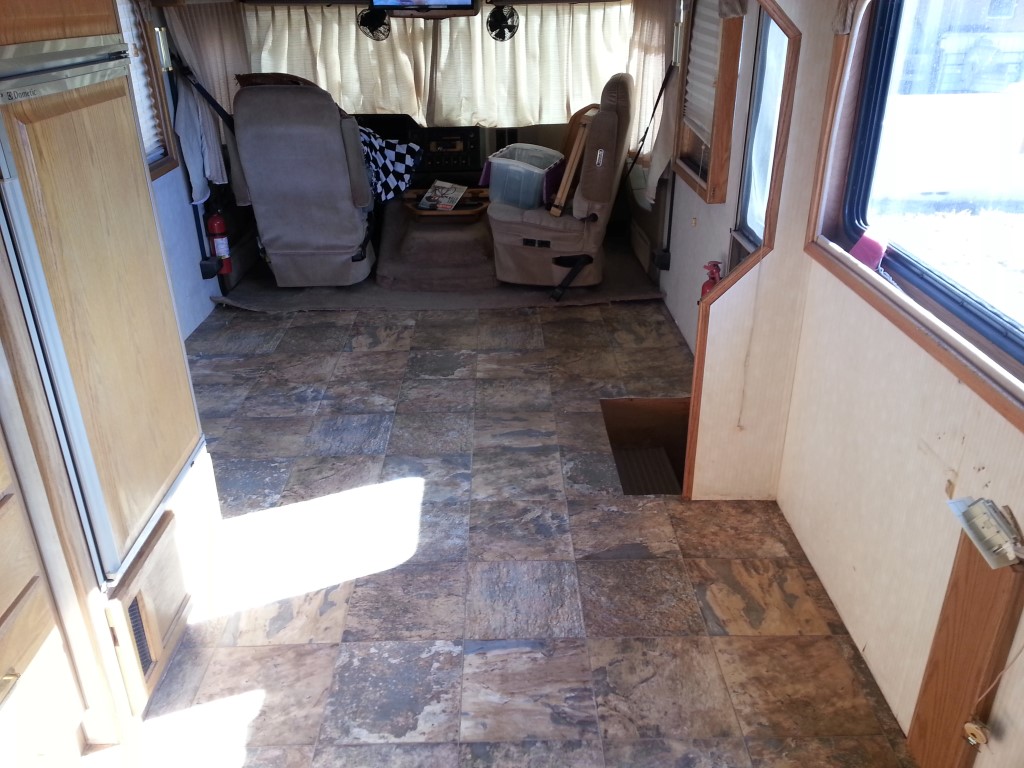
The photos show one step having the quarter-round trim fit to the inside corner of one stair but none of the step noses installed. The painted “dash” panel is also hanging loosely in place. The center of that panel will have an upholstered panel in the area that is open in the photo above.
Liking the flooring
I think it is a very nice improvement!!
More work to do but it is coming along nicely.
Hopefully the team that routinely performs inspections on Missy will also be impressed!!

I agree! It looks great. I really like the way the gray turned out! Nice job!
Thanks Pete!
Wow! Really nice! Awesome work, Jon! Can’t wait to see ”Missy” and you again in person!
Nannette