There sure are a lot of bits for such a simple boat!!! 🙂
If you remember, we last worked on all these bits and now we have more. Specifically, the skeg control box or “enclosure” and the hatch for the rear of the boat.
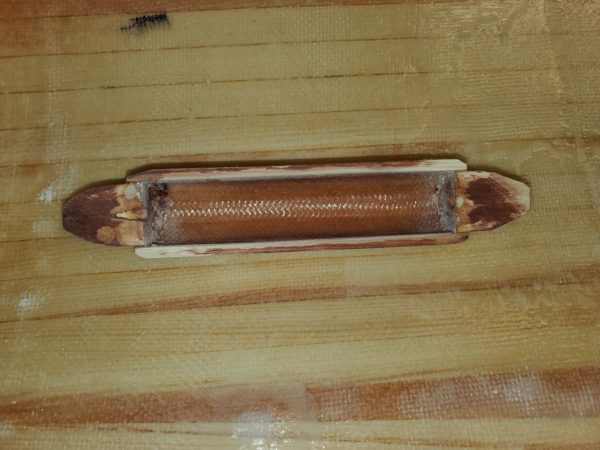
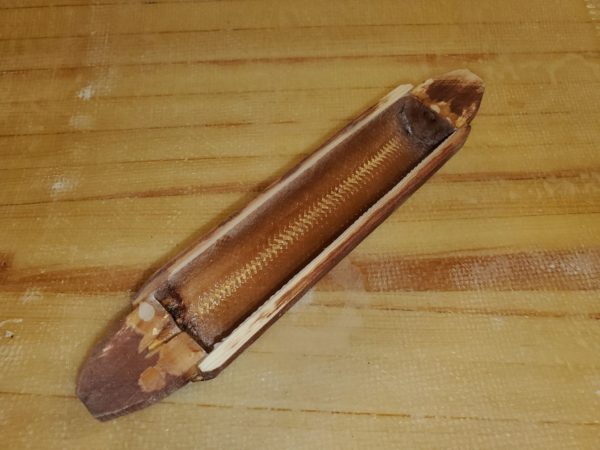
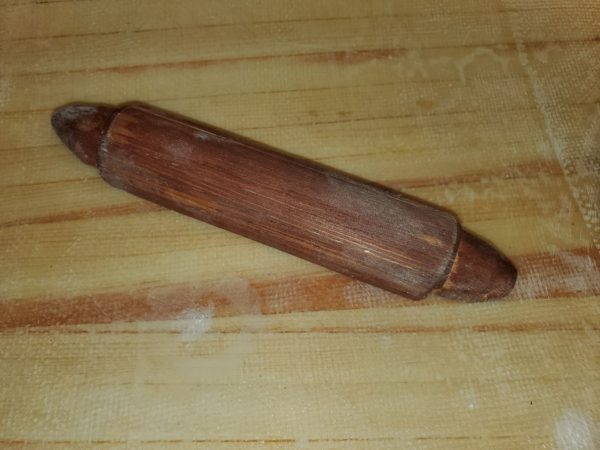
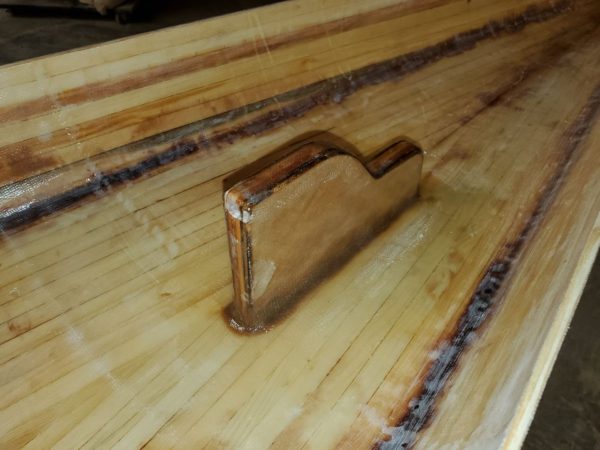
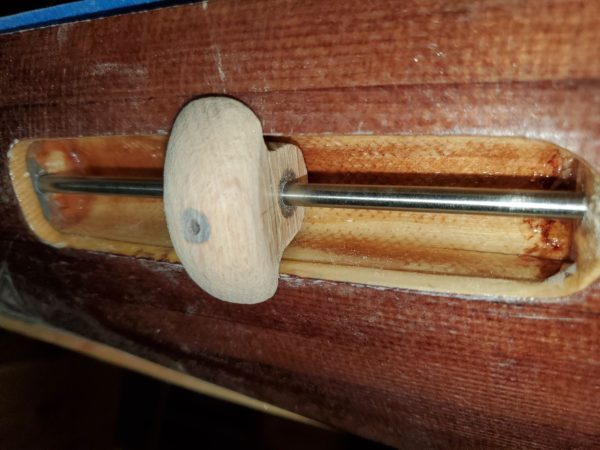
It seems that I forgot to take photos while constructing the skeg control box but here it is in its final form. This allows for the fitment of a sliding ‘knob’ that is connected to the skeg and allows you to move it up and down.
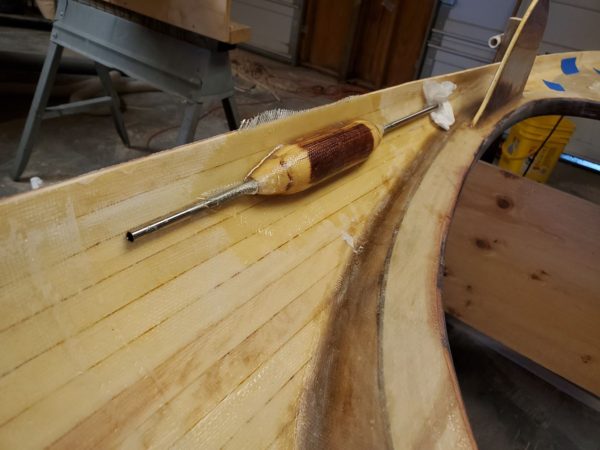
The control box is fiberglassed to the inside of the deck near the cockpit opening.
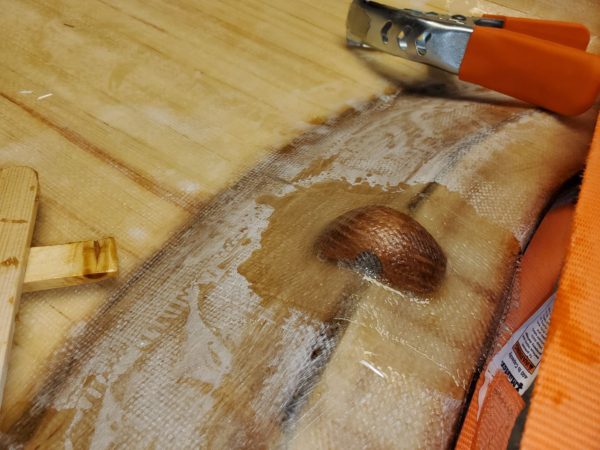
Also needed a fitting on the inside of the deck, just behind the cockpit to attach a backrest stay. This helps to maintain the backrest in the correct position.
And another layer of fiberglass on the skeg box.
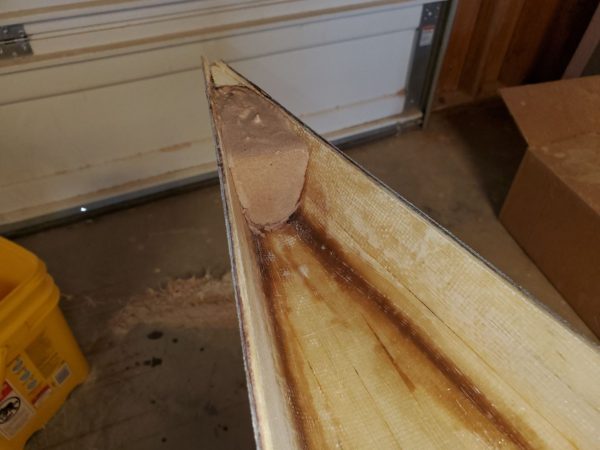
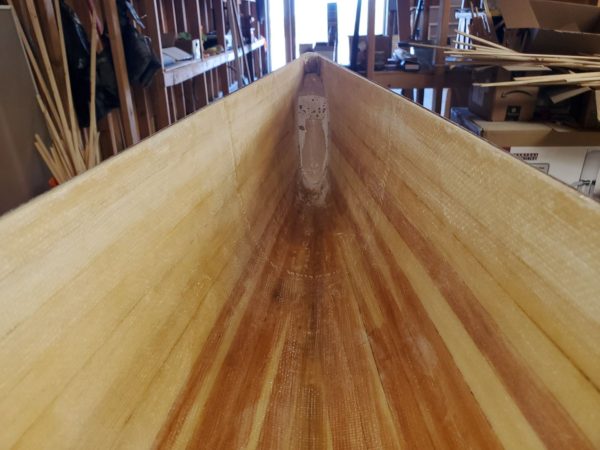
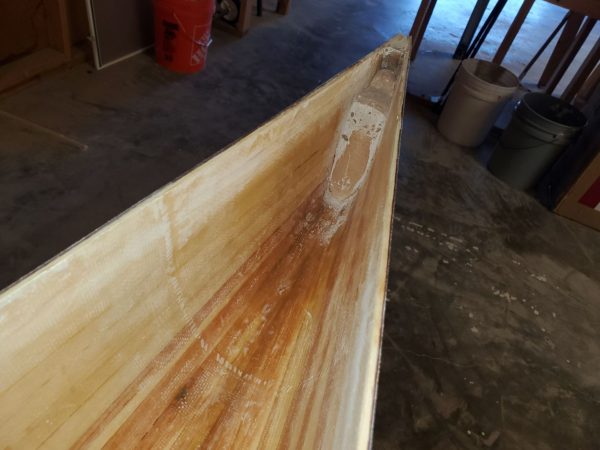
The ends of the kayak get a thick poor of epoxy resin thickened with micro balloons and sawdust. A large hole is later drilled to allow a rope handle to be mounted to each end.
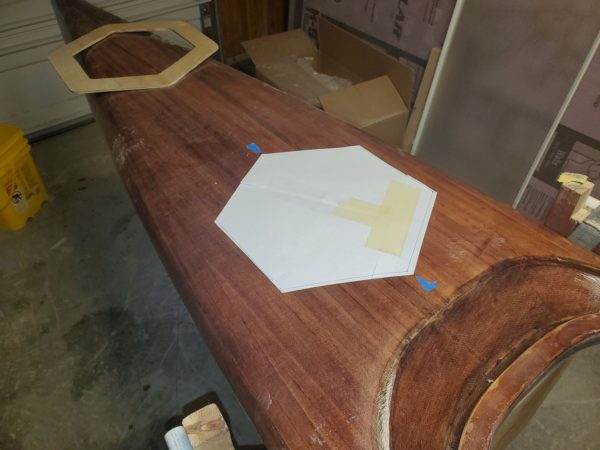
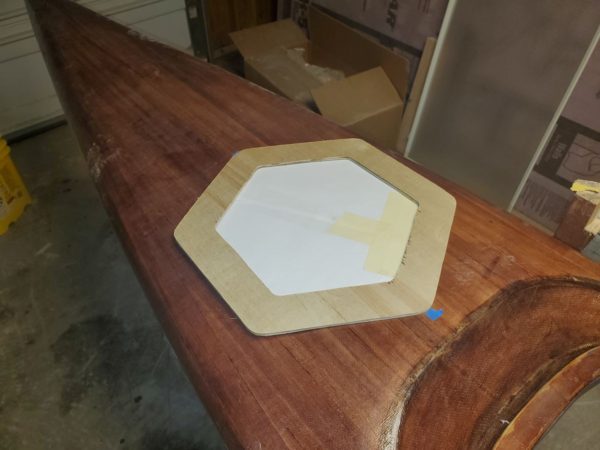
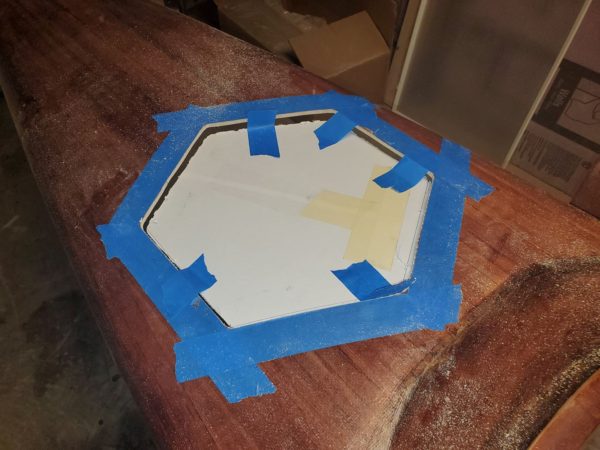
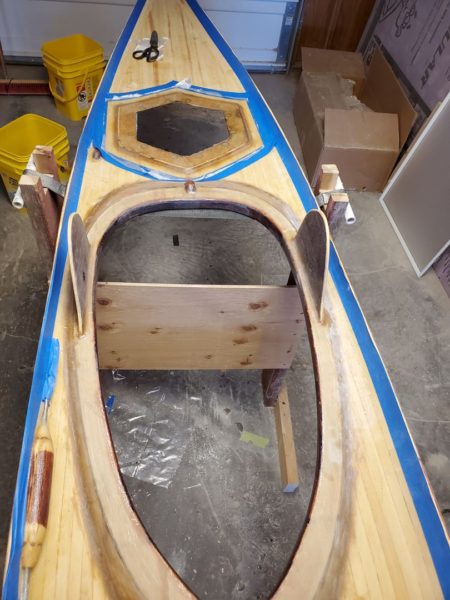
One of my friends started asking about a hatch – you know who you are!! I had been hoping to avoid that because of the additional complexity but knew that access to the rear of the boat was necessary – for installation of the skeg controls, general maintenance, and some storage. After convincing myself that I was convinced…. I went to work. Finding the best shape was the first problem. After a bit of testing, I decide on the octogon style.
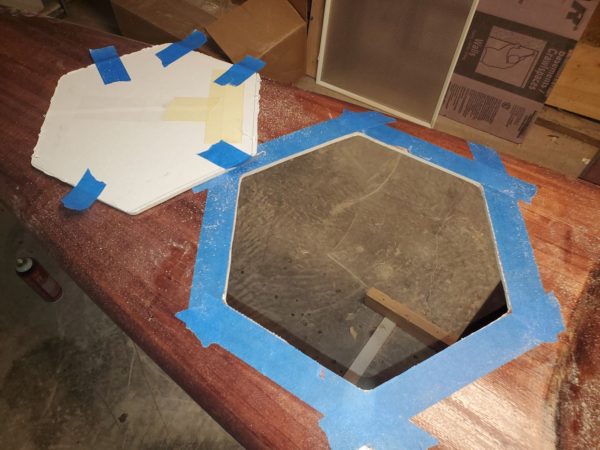
The moment BEFORE cutting into my hard work….
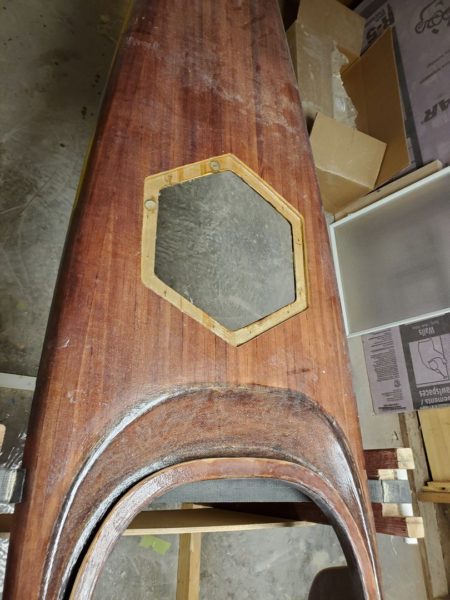
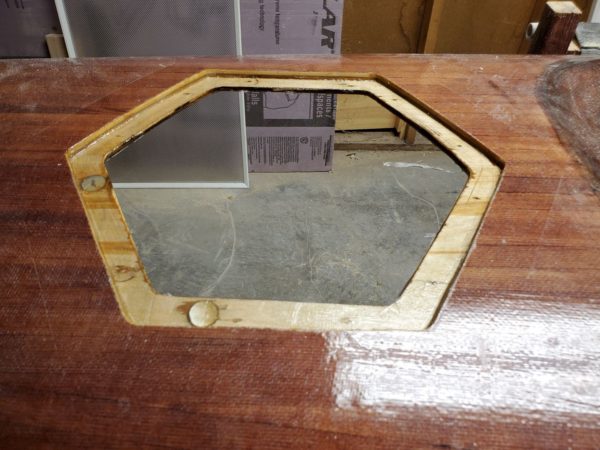
The completed cut – no turning back now.
Yep… a hole in my brand new boat…
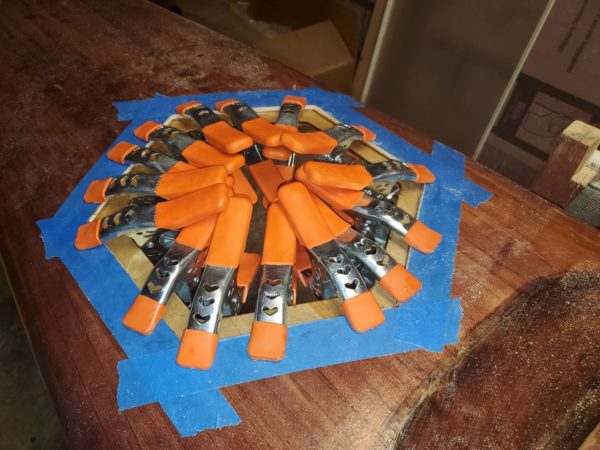
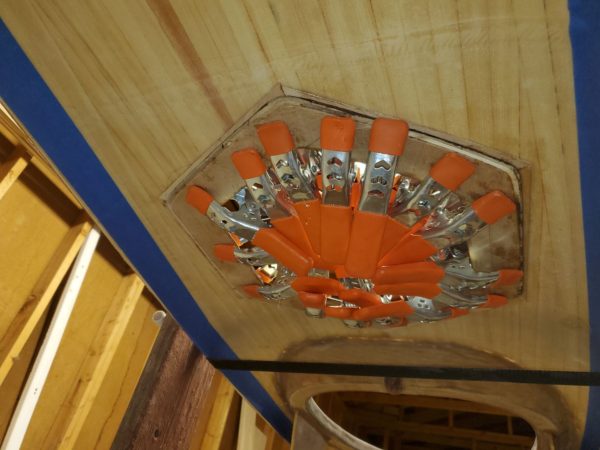
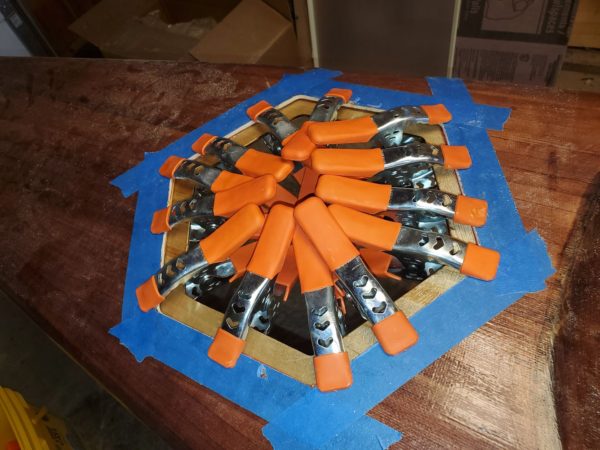
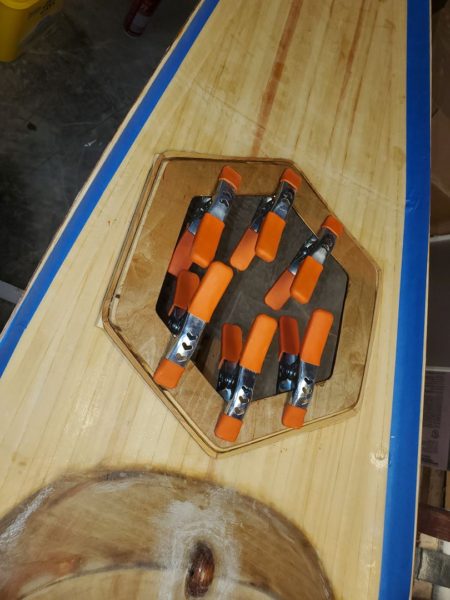
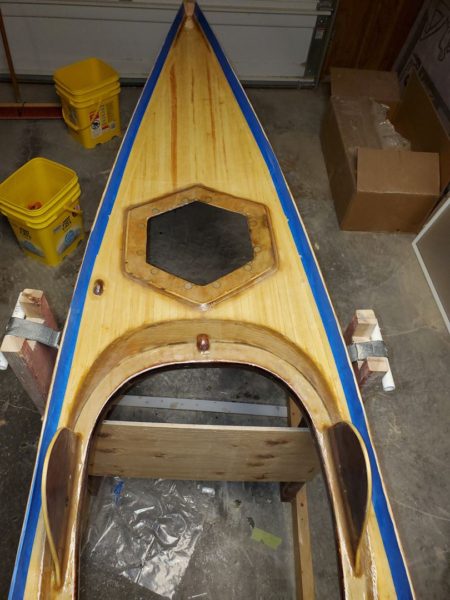
An inner flange was cut and here it is being glued to the inside of the deck.
The hatch also needed one of those little stays or padeyes so it could be secured to the boat with a line.
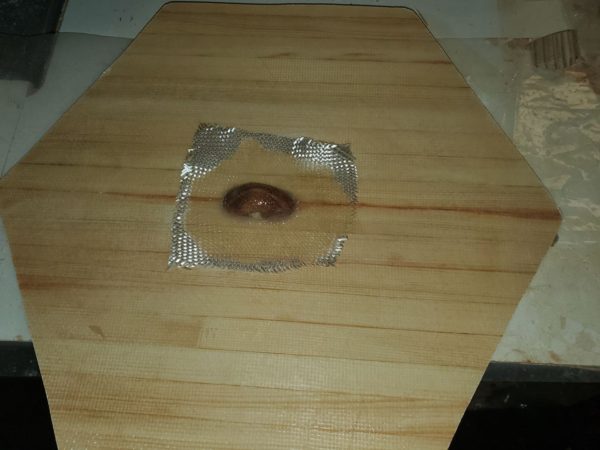
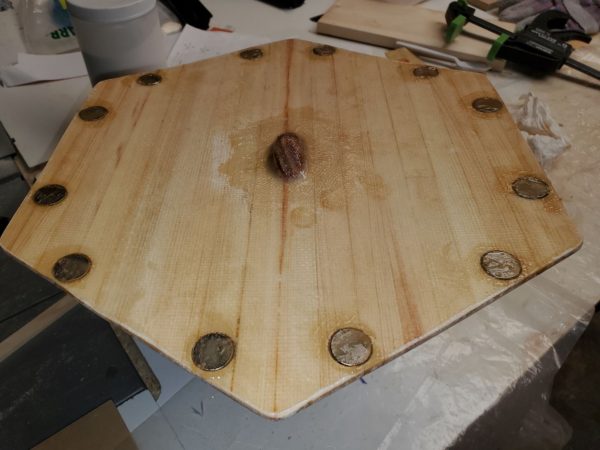
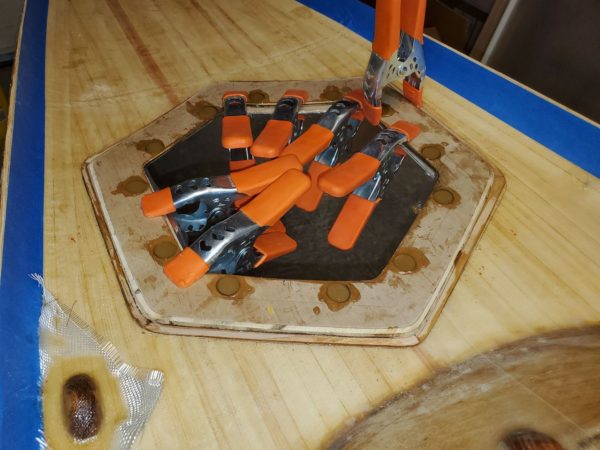
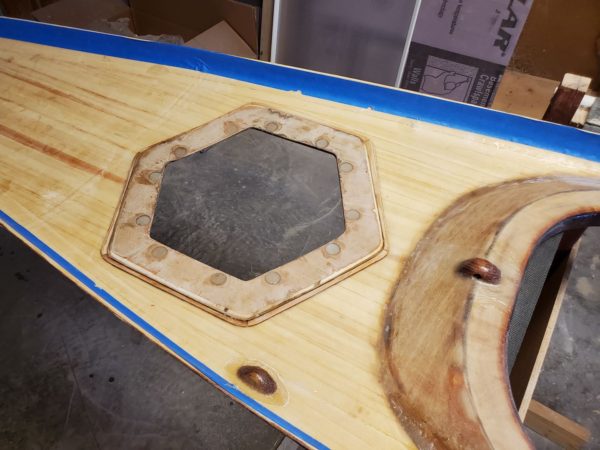
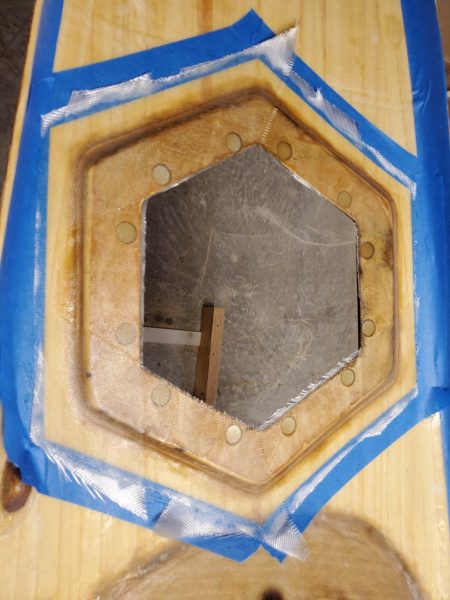
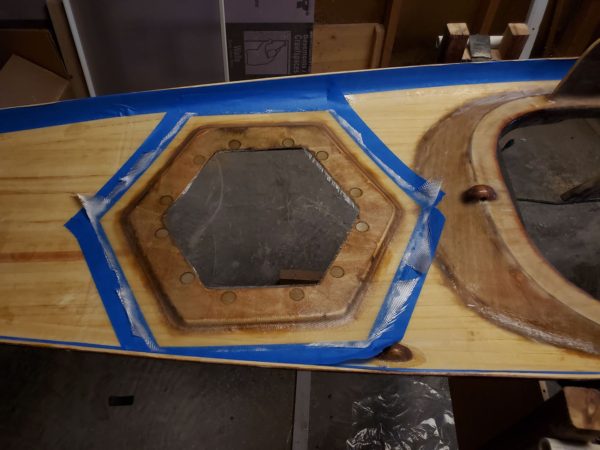
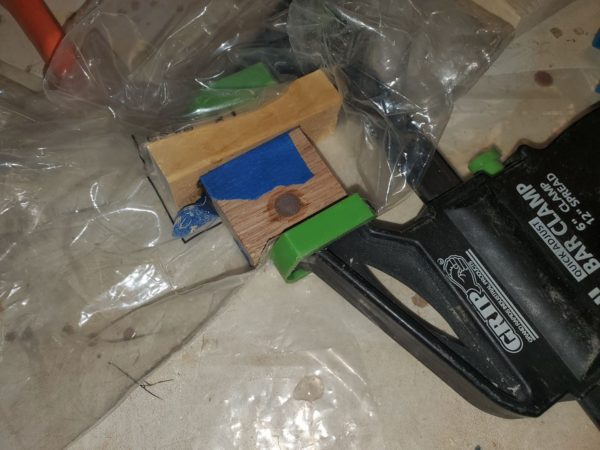
I decided on magnets as a way to retain the hatch. My approach is probably overkill but here it is. Holes were drilled to secure the magnets and they a layer of glass applied to hold them in place.
The next two photos show the magnets being installed in the flange and an additional padeye being glassed in. This line connected to the hatch will be secured to this padeye so the match doesn’t float away when I’m not looking.
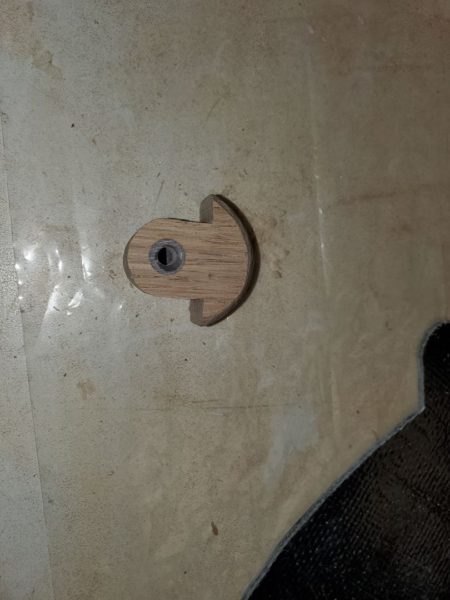
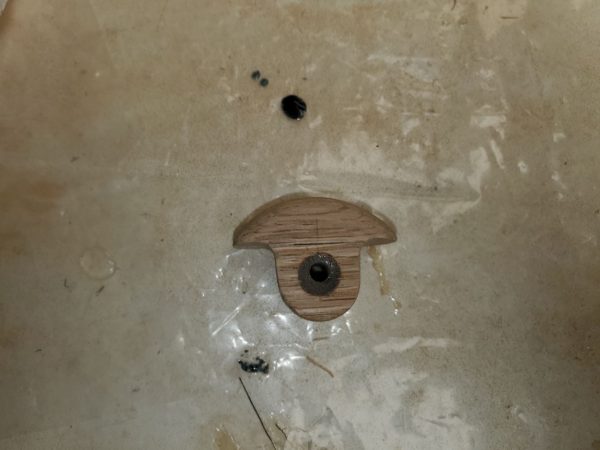
The skeg control that I mentioned also needed fabricated. It started out as a piece of hardwood. There are two holes required. The control rides on a stainless steel tube that is connected to a stainless cable that fixed to the skeg. One hole thru the control is for that tube. The other hole in the top is for a set screw to secure it to the tube. These holes were drilled oversize and then filled with epoxy to prevent water from saturating the wood.
Those holes were then redrilled to the correct size and some shaping done.
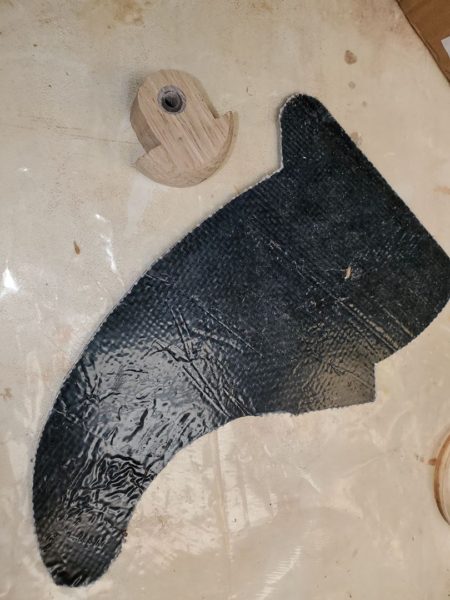
I also cutout the skeg from that sheet of fiberglass that I showed in the last update.
Before staining and finish, this is what the skeg control looks like.


Leave a Reply