Well… I goofed up and made a mess of the kayak.
It seems that when I applied the final layer of fiberglass to the bottom and sides of the kayak, it was either too cold, too moist, or I messed up the epoxy mix – or all of the above.
The epoxy was very slow to cure. I first moved it out into the sun and then later moved it into my heated shop. It cured with a hazy look. Not using my head, I proceeded to sand it in preparation for fill coats and made a bigger mess. The epoxy was just not right – it was a bit gooey and would not sand very well. I eventually got it to where I thought it needed to be but it seems that I had sanded into the glass – or at least that was the appearance. I assumed that when applied the epoxy fill coats, this would all disappear. I was wrong…
It looked just as bad, if not worse, after a fill coat.
Now I had a real mess. I was really disappointed and didn’t take any photos during all this. Probably should have…. sorry.
It finally occurred to me that perhaps I had a bad case of amine blush and I had sanded it deeper into the epoxy and had now applied a fill coat over it.
Oh boy… what to do.
I seriously considered leaving it as-is and just chalking it up to another lesson learned.
But… I couldn’t do that – it looked REALLY bad.
After much deliberation, I decided that getting it all off the boat was the best course. To accomplish that, there is a hard way, a harder way, and a hardest way. Being rather disappointed and recognizing that this boat had become a REAL learning experience, I decided to take the hard way. More lessons learned and to be learned- yay!
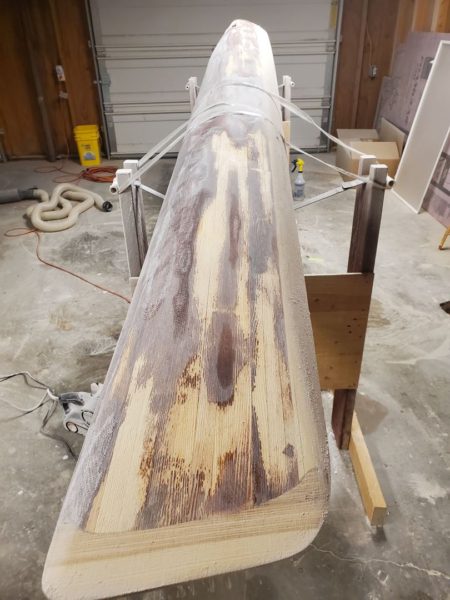
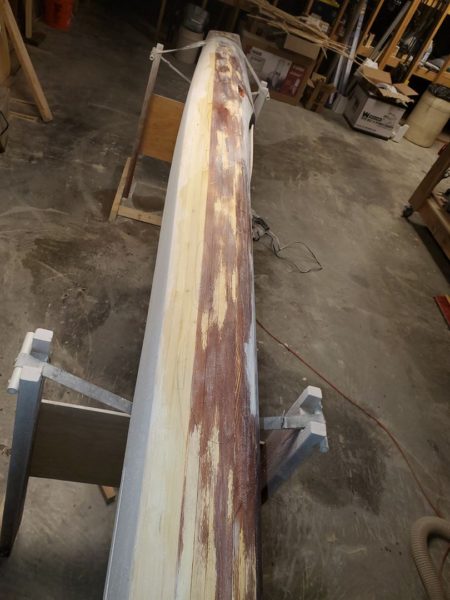
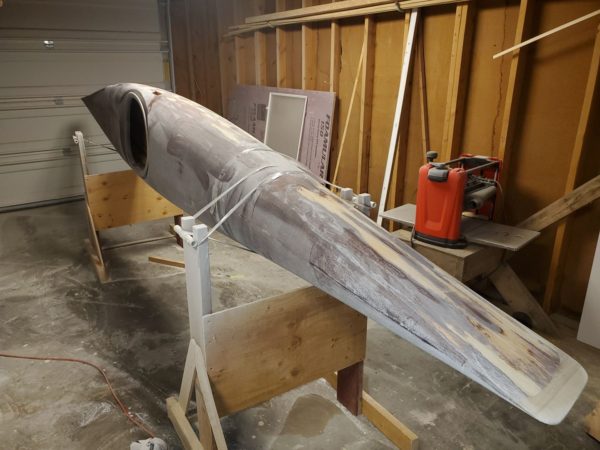
So… I took a belt sander and started carefully grinding away the bad epoxy and fiberglass. This was VERY risky. It is super easy to go much too deep with a belt sander – especially on the curved surface that I had. So, I was slow and deliberate using an 80 grit belt (as opposed to 40 grit which removes material REALLY quickly).
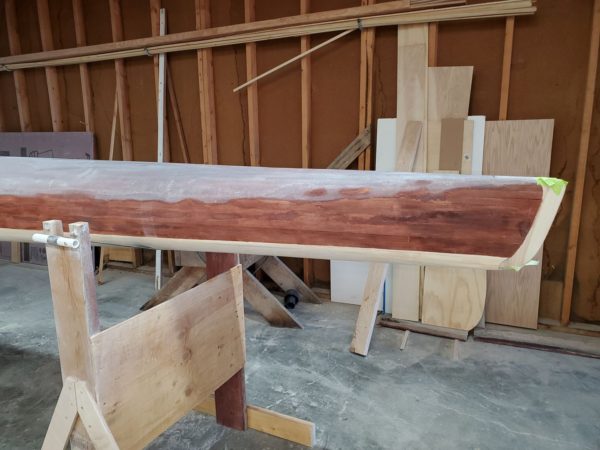
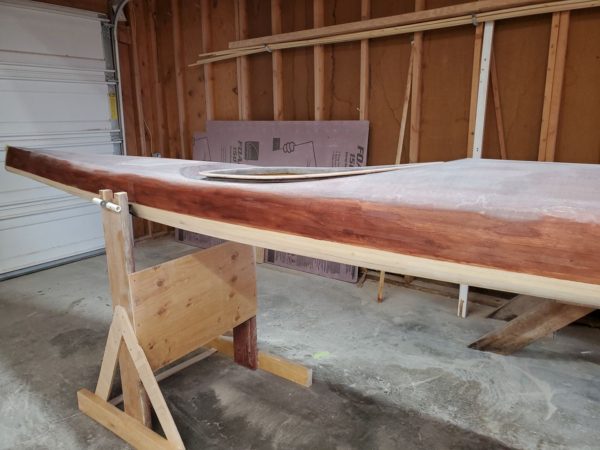
My goal was to remove just the top layer of hazy fiberglass/epoxy and leave as much of the bottom layer as possible. Obviously, that’s pretty close to impossible. The good news is that this is over the stained portion of the wood so it’s pretty easy to see when down to bare wood – because the stain starts to disappear when the belt touches it.
After getting the worst of the mess off, the stain needed to be fixed.
I really wasn’t sure how this was going to turn out – it didn’t look very good at this point.
Several weeks passed during this ‘fix’ phase. I was seriously bummed out and really having a hard time finding motiviation – a business trip to the other side of the planet didn’t help. Eventually it kicked in and I got back to work.
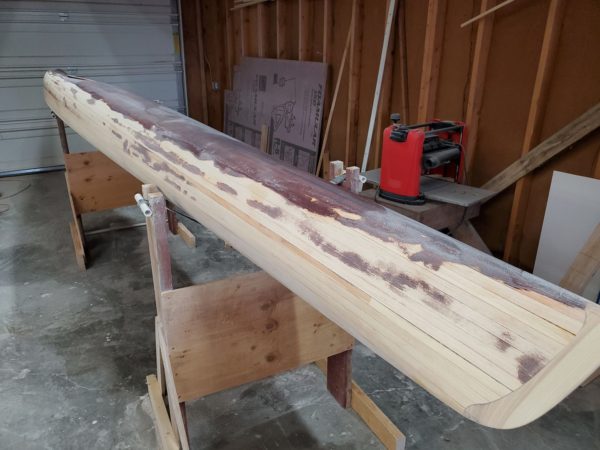
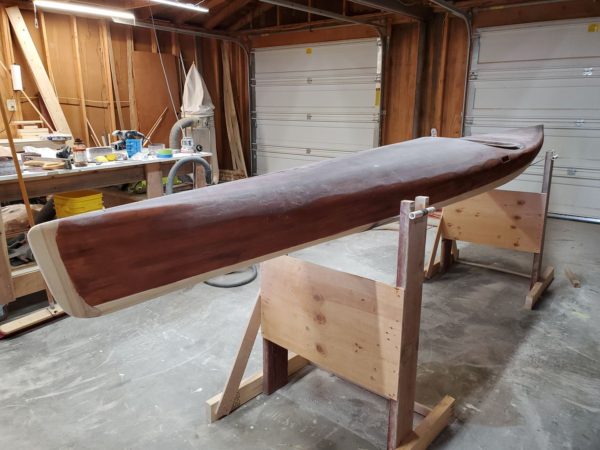
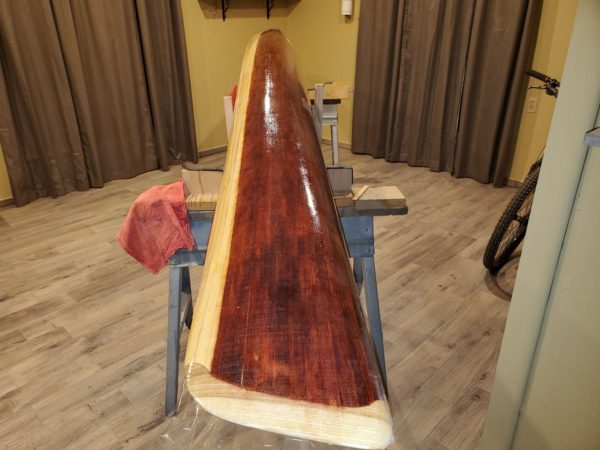
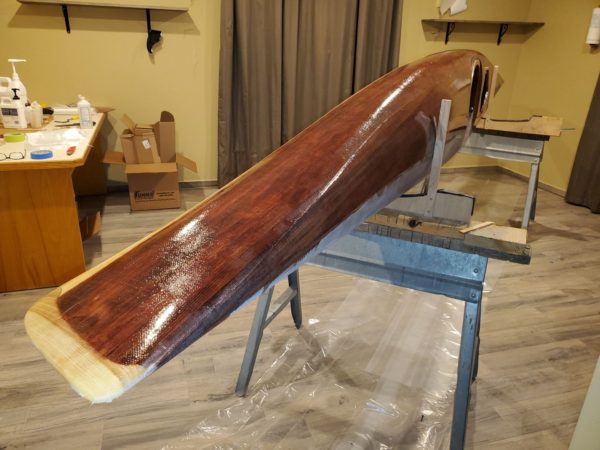
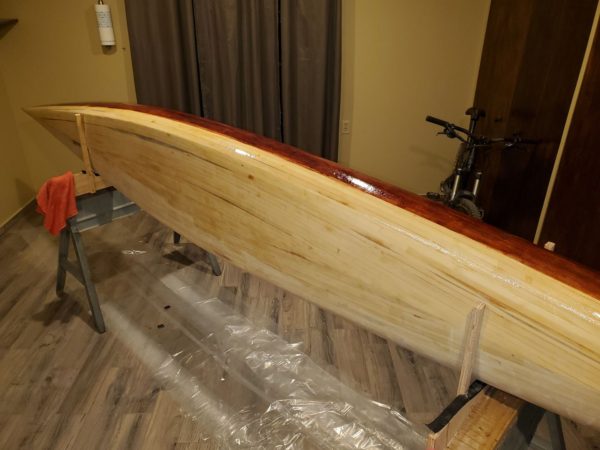
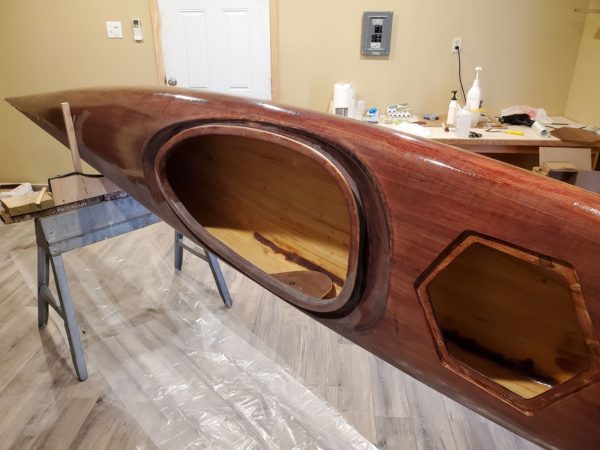
I next needed to re-apply fiberglass to the sides of the kayak and add a couple fill coats.
The kayak was back to looking reasonably good but no without some flaws!!


I share the pain with you JD, I’m just thinking having this happening to the plane
You’re the man Finley. That would seriously bum me out but you managed to turn it pretty again. Way to go. Count me totally impressed.
Bounds