Last time (here), we added a layer of fiberglass to the exterior of the kayak.
Before doing the same to the interior, we have some tasks to complete – specifically the coaming. The coaming is the riser and lip around the cockpit. It provides a good bit of strength around the opening but also creates the lip to which a spray skirt is attached. A spray skirt is the thing worn by the paddler and attached to the boat to keep water out. Since you are sitting very close to the water, waves and spray can easily enter the boat without this so it is needed in all but calm/flat water kayaking.
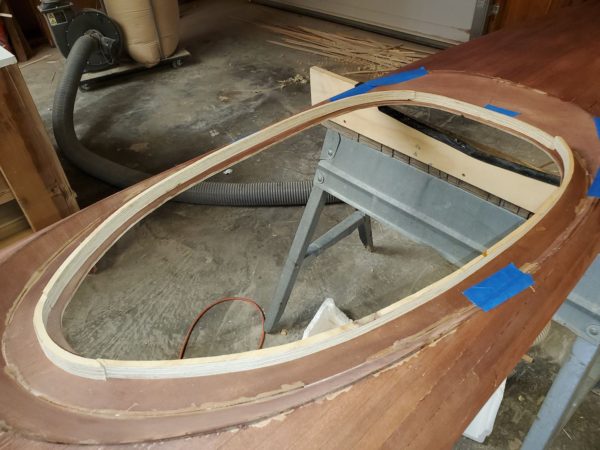
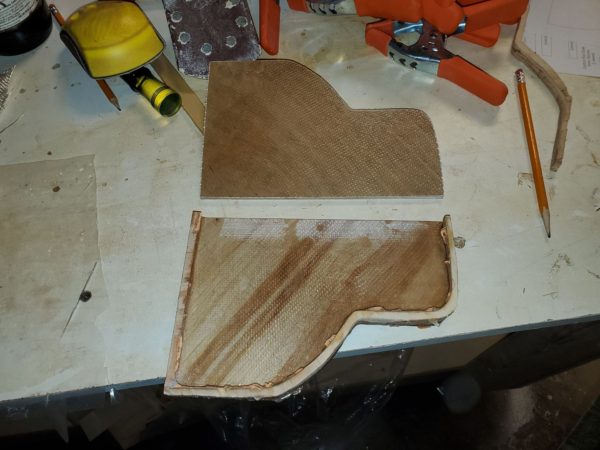
Construction of the coaming requires a riser. I built this from plywood. I split it into four peices to avoid using a big sheet of plywood.
Adding a bit of color here.
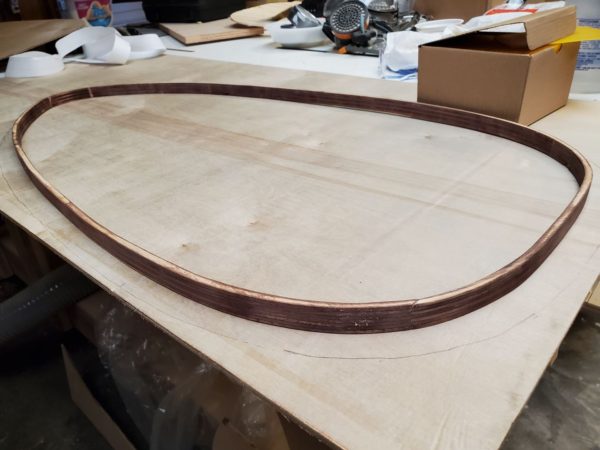
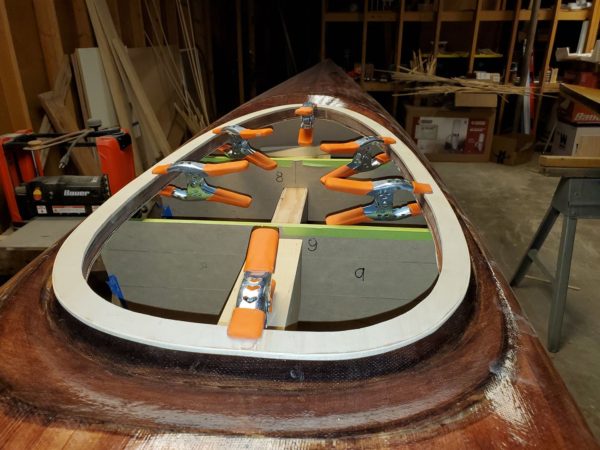
The coaming lip is another piece of plywood attached to the riser. It’s a little hard to see but I got fancy here and lined the edges of plywood with a thin strip of solid wood.
Of course, I was supposed to stain the plywood before attaching the thin wood edge piece.
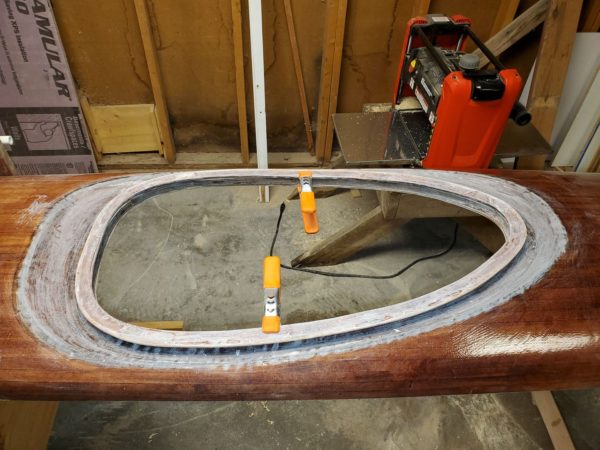
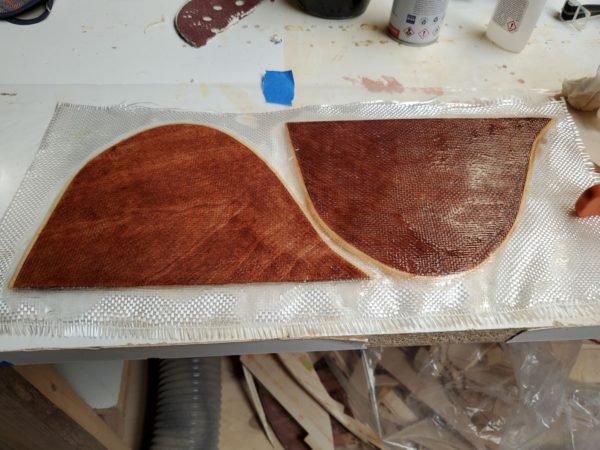
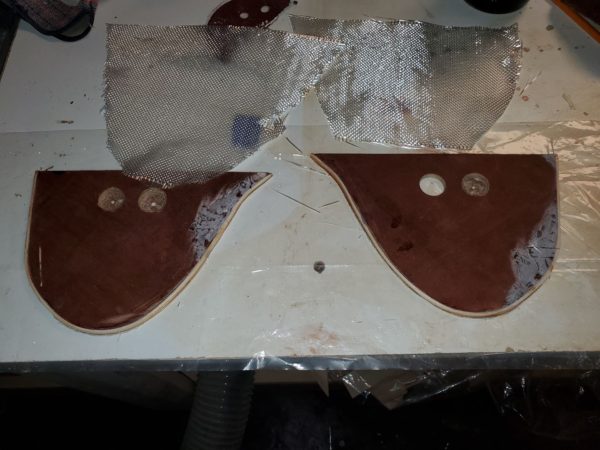
Then… a whole bunch of small steps followed – including the staining. Sanding, fiberglassing, sanding, fiberglassing, filling, sanding, etc… In a nutshell, it looked like the following.
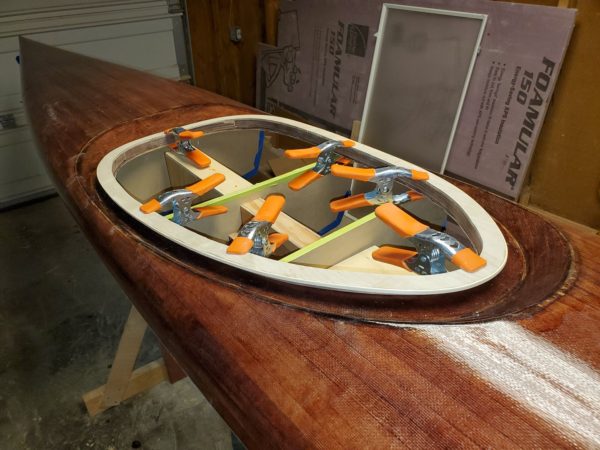
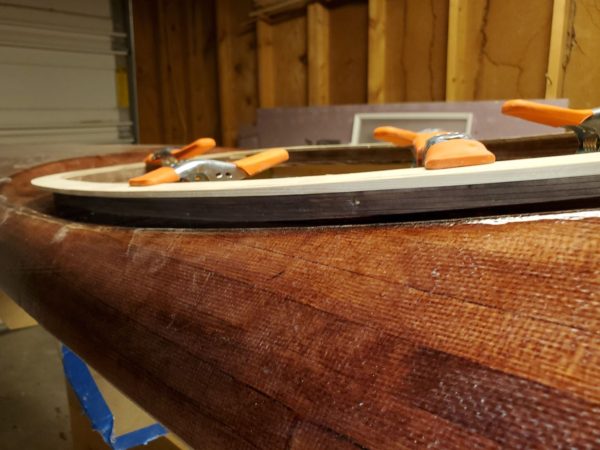
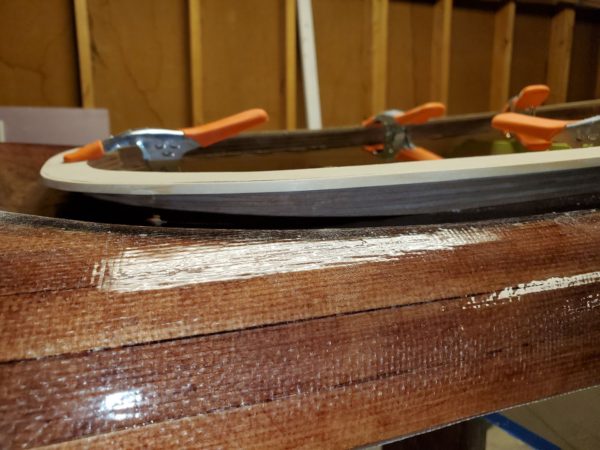
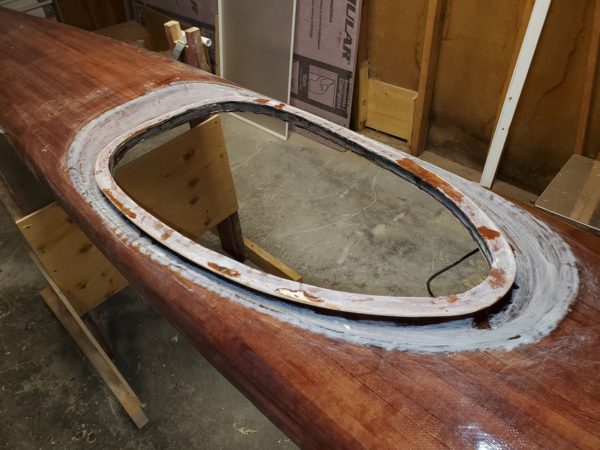
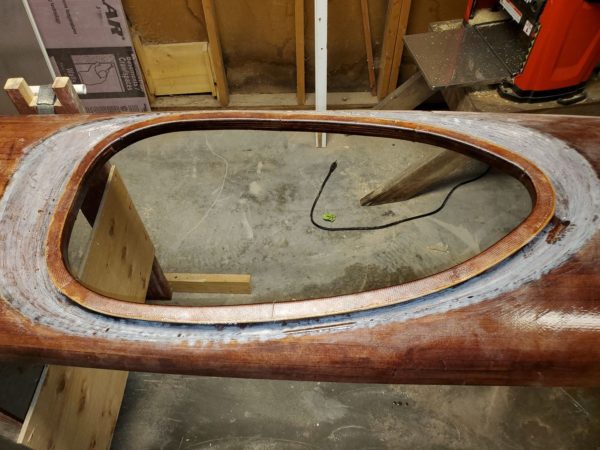
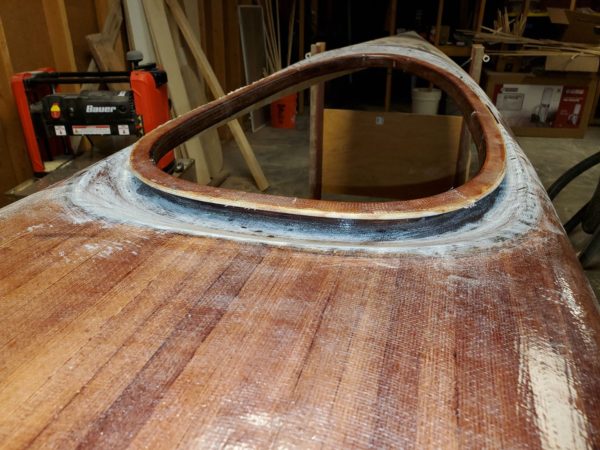
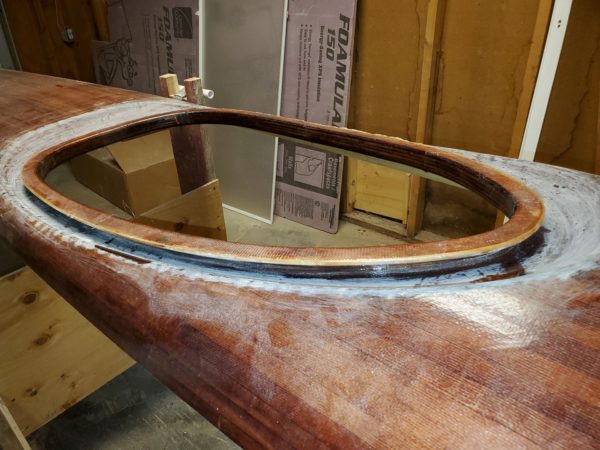
Fitting and preparing to attach it all together with fiberglass.
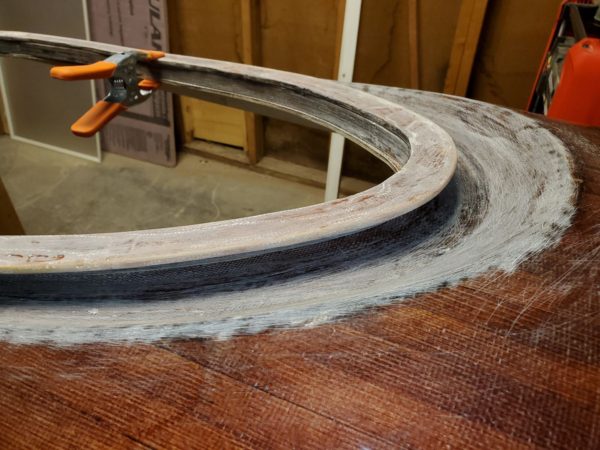
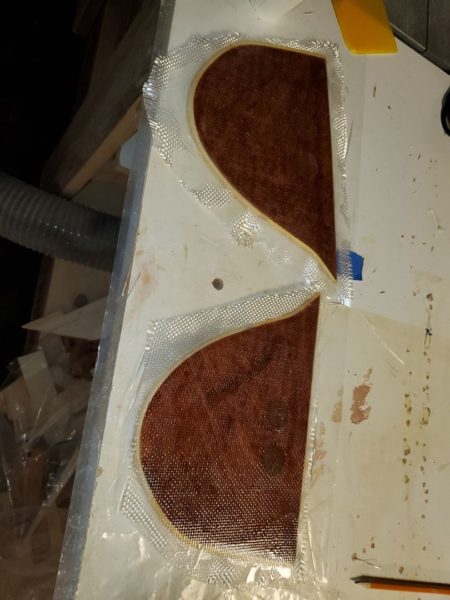
The fiberglassing is complete in the following photos.
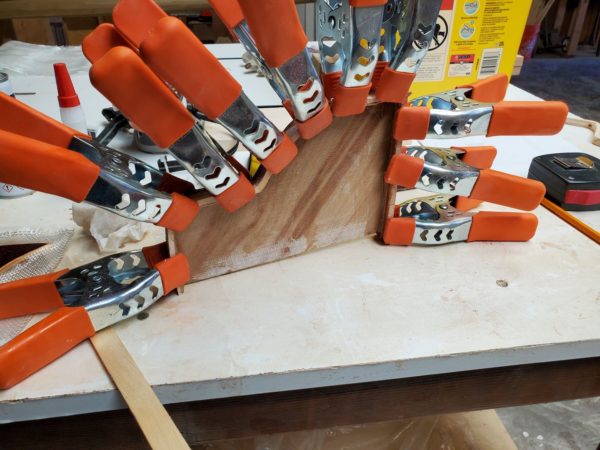
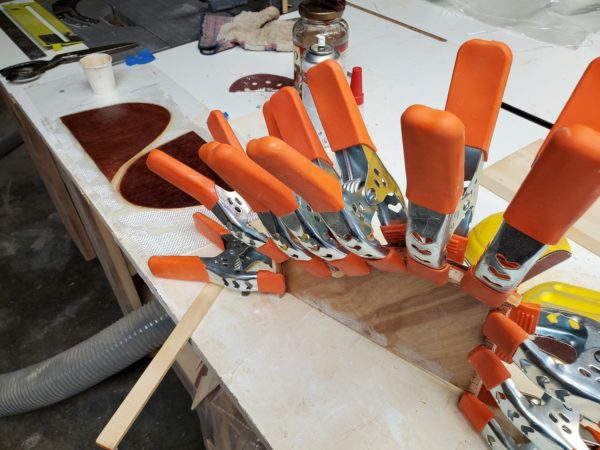
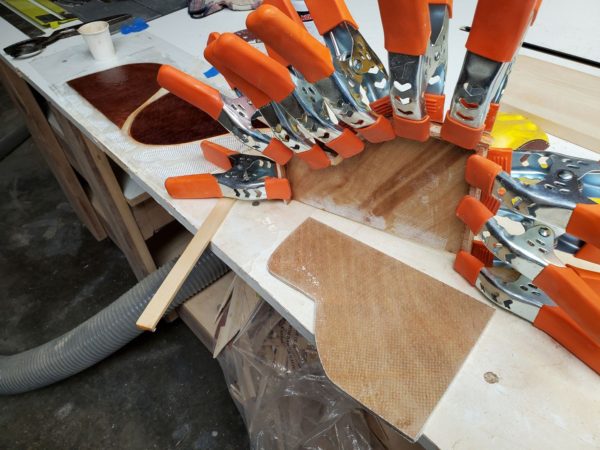
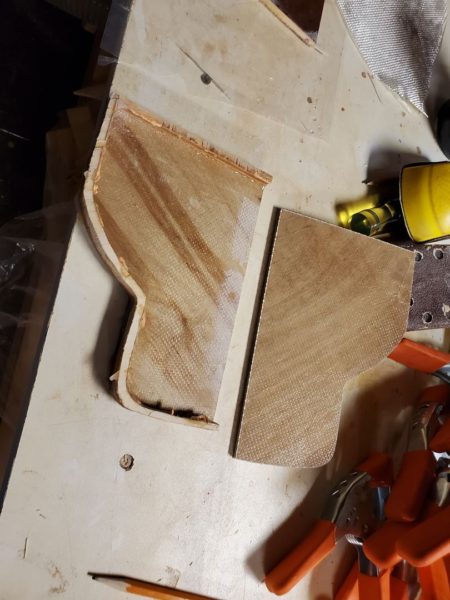
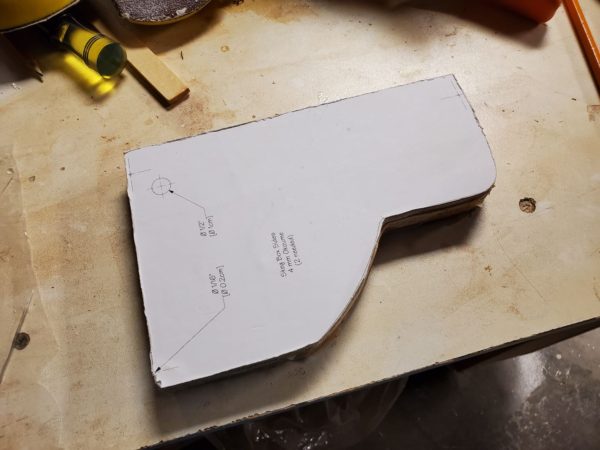
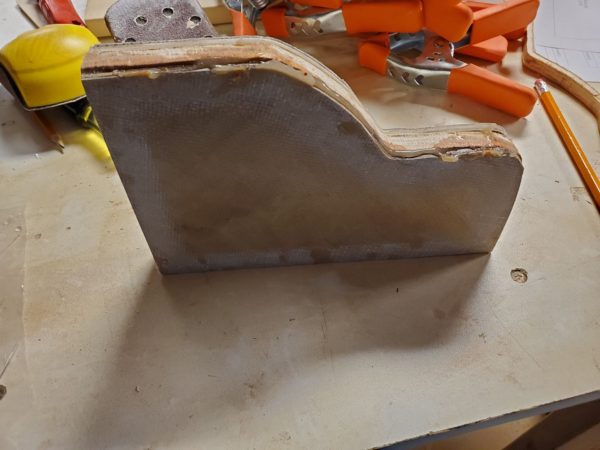
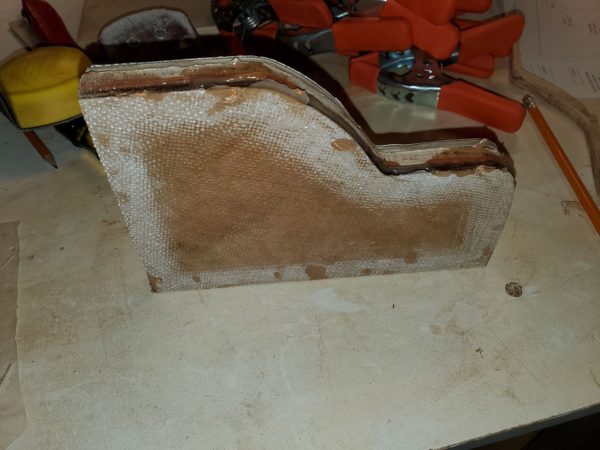
Another little bit is the skeg box. A skeg is kind of like a little rudder than doesn’t move. Really just a fin that stabilizes the ship. In the case of a kayak, it helps when the wind is blowing… or so I’m told. My current kayak has a rudder (which is moveable) so we’ll learn something new when we get to use this skeg. Anyway, the skeg is retractable and move up into a watertight box inside the boat. It was time to build that box.
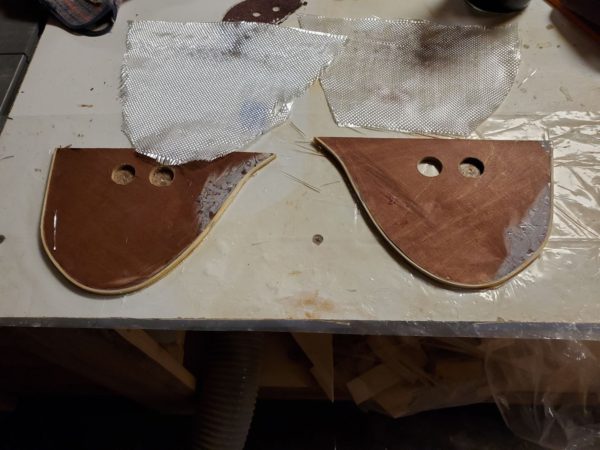
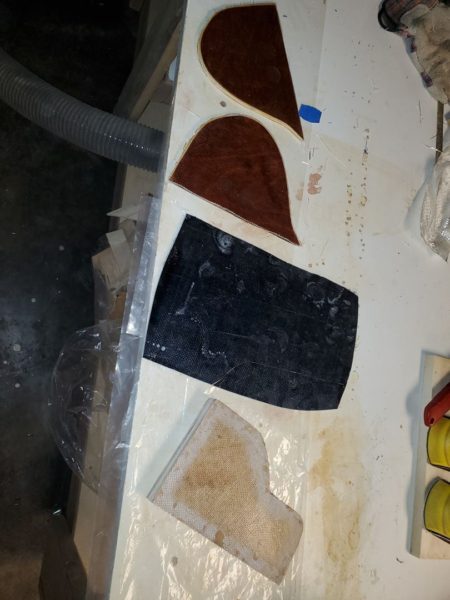
At the same time, I was also fabricating the cheek plates. These are side ‘panels’ that fit into the cockpit and keep your behind centered in the boat.
The black rectangle in the following photo is a thick layup of fiberglass that will eventually become the skeg.
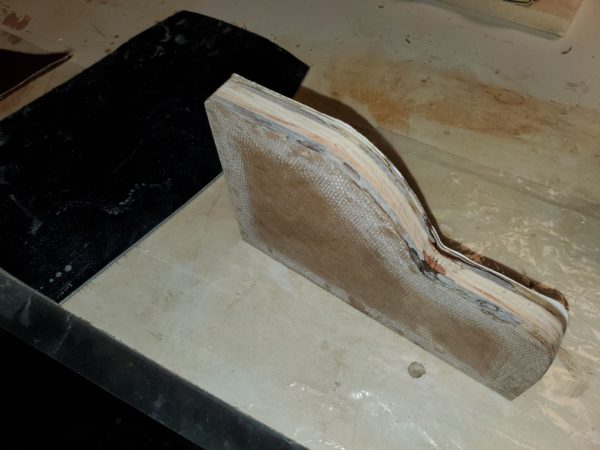
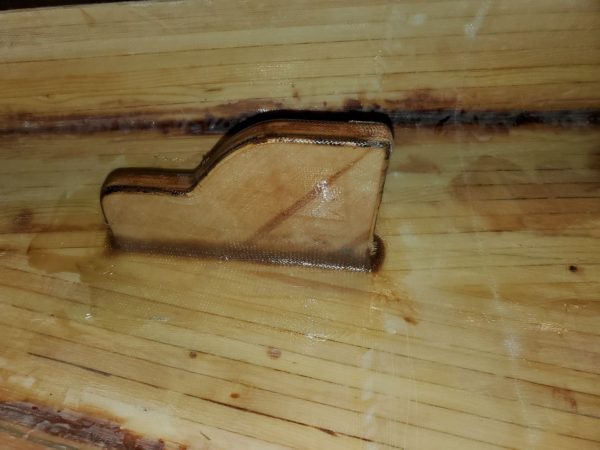
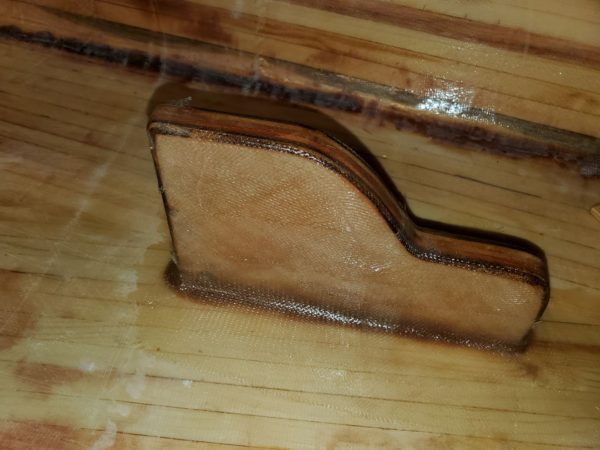
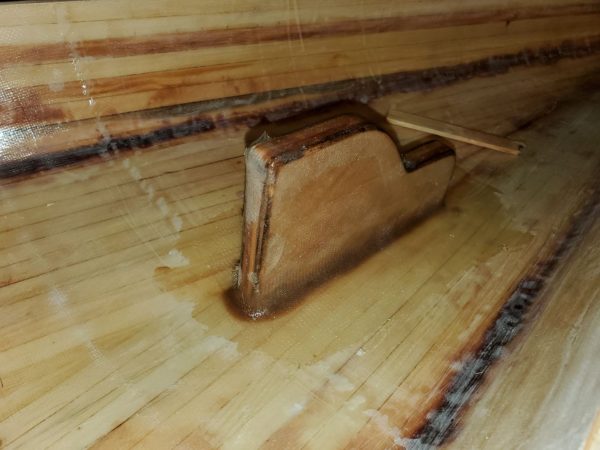
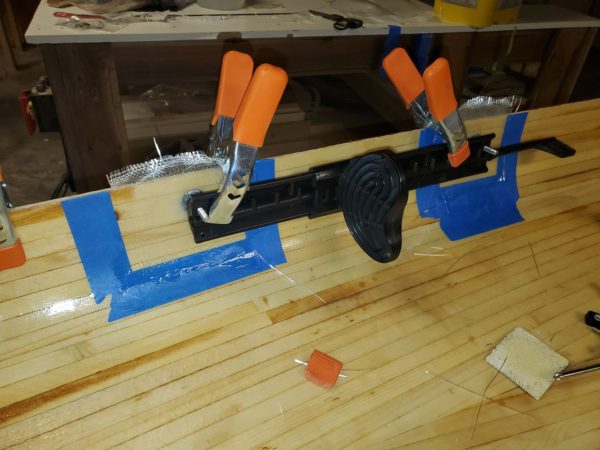
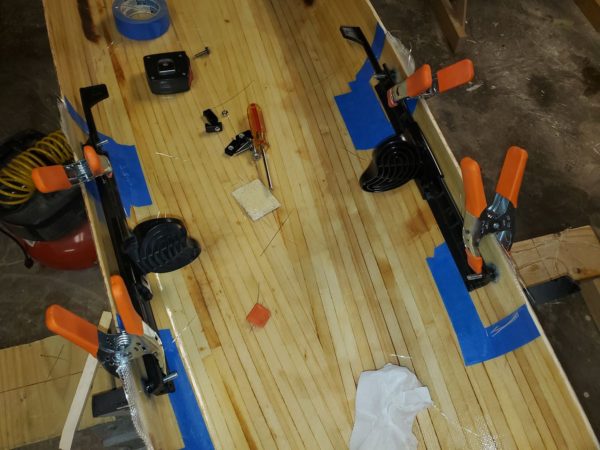
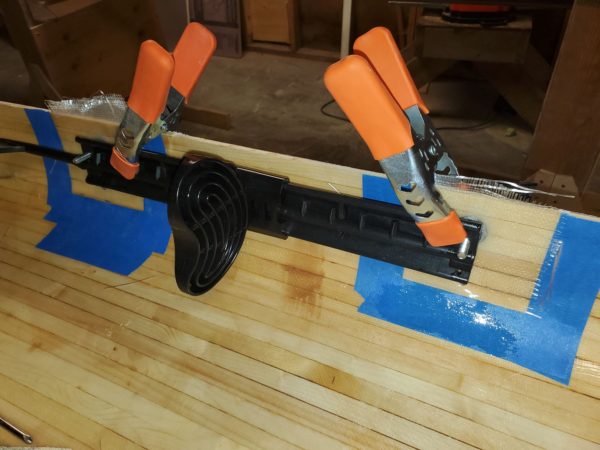
And finally, it was also time to fabricate the means to mount the adjustable foot rests.
These are each mounted with two studs. The studs are fiberglassed to the inside of the boat to avoid having to put a hole in the side for a thru bolt.
Phew!! Lots of progress!!



Leave a Reply