Continuing the cold air saga that I began in this post…
The installation of the rear Air Conditioner/Heat Pump and Fan-Tastic vent was a duplication of the front. Except the second time around was much smoother and there was no learning curve – just repeat what worked.
I purchased a set of these Coleman 8530-3481 thermostats. They are digital, for heat pumps, and offer a 12VDC output to switch on a separate furnace. Perfect! Well… almost, it would have been nice to have a single thermostat for the entire coach with multiple zones but I just wasn’t sure what components were required to achieve this. Time was limited so we achieved ‘almost perfect!’
I then began studying the wiring diagrams. It was obvious that I was missing some hardware so some sleuthing was required. I eventually found a YouTube video that provided the missing information.
I needed a “Control Box”. This is available from Coleman as this little unit.
This control box takes the signals from the thermostat and makes the Air Conditioning/Heat Pump do something (heat or cool). Note that the Mach 8 Air Conditioner/Heat Pump units are marketed as using the ceiling mounted air ‘handler’ and controls. They do not make it obvious that you can use a wall mounted thermostat with these units or that the way to do this is via this control box.
The “control box” came without instructions but installation is pretty straightforward. Wires from thermostat connect to it as does 120VAC power. That said, it did have a neat little “thing” that looked like a temperature sensor. I decided to hold off on that.
With the control box installed, the air conditioner fired right up.
However; the compressor would not turn on so the air was room temperature.
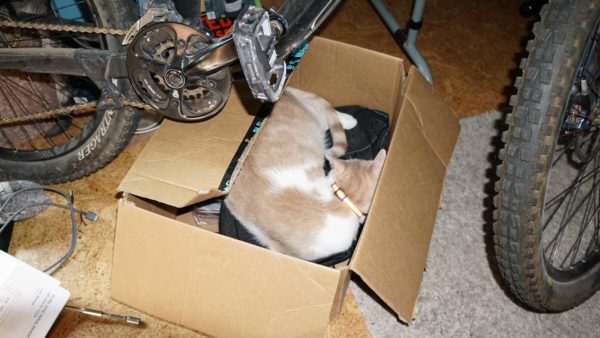
For my sister who gets annoyed when I don’t include a cat photo… Apparently this box had more appeal than the bed and/or couch.
I experimented with the heating function and that worked just great.
This brought me back to that temperature sensor. I guessed that it went onto the two “Freeze” inputs on the control box. As soon as it was connected – the compressor kicked in and cold air started blowing!
Cold Air = SUCCESS!!
My guess is that, without the temperature sensor, the control box assumes the air conditioner is froze up and does not turn on the compressor. Makes sense to me, at least…
I let it run a while and then made a run to the home improvement store for parts (for another task).
I returned to a nice cool motorhome!!
As I walked to the back, under the air conditioner, I got a drip of water on my head.
OH NO!!!
These air conditioners have a condensate pump that pumps the condensation thru a hose to wherever you want it to go. I forgot to hook it up! So, there was a nice pool of water slowly dripping on my floor. 🙁
That was quickly cleaned up and a temporary hose connected to solve the problem.
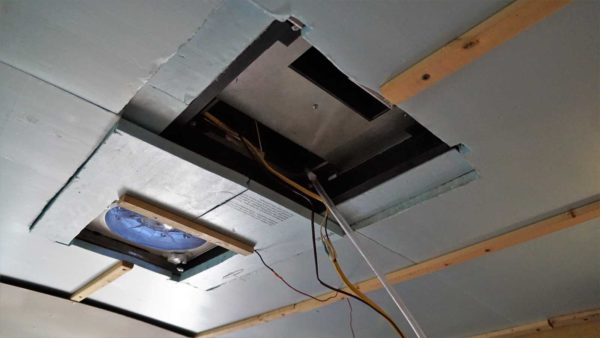
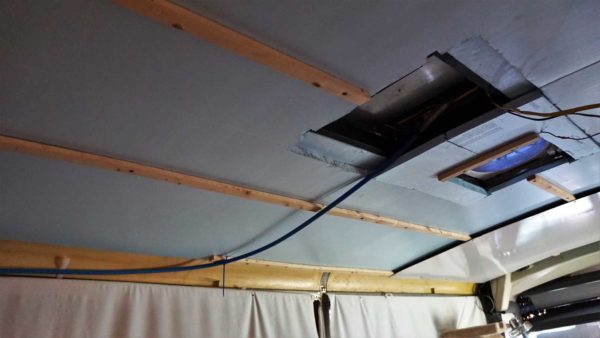
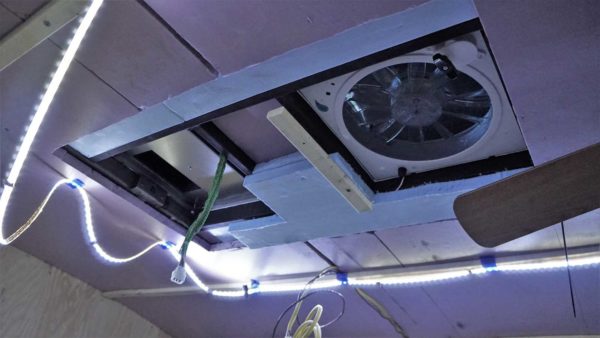
Yes, there is still lots to do. Getting the wiring and drain hose permanently mounting up inside the ceiling is at the top of the list. Right behind that is finishing the roof insulation, ceiling panels, trim, and duct work.
I have to be very careful not to work too fast… I’ll end up with nothing to do!!

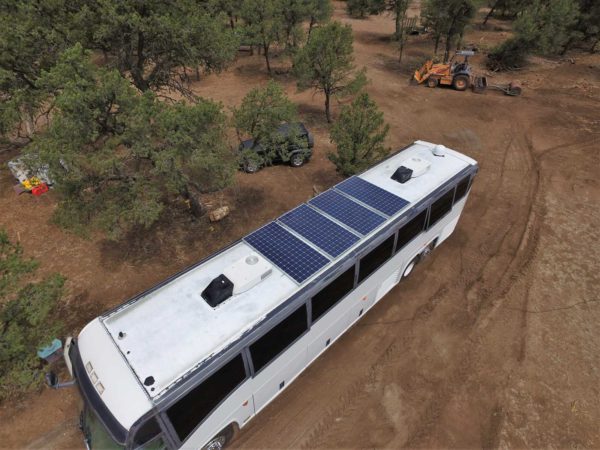
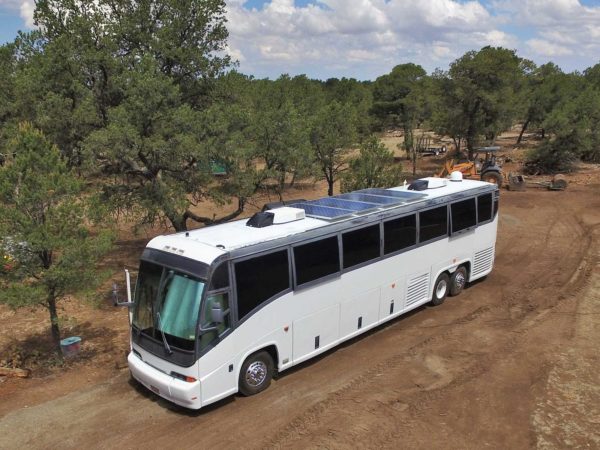

I would like to see if you can run one unit only using solar when the sun is beating on the solar panels. How about when driving? Wouldn’t the solar and the alternator be charging the battery at the same time or just one source of charging at a time?
Ohhh Pete!! Great minds think alike!! 🙂
That experiment is in the works. Additionally, I think I can run both A/C units from the engine alternator (270 amps @ 24 volts) using an inverter. That is going to take a bit of work to test (wiring changes) but is in the plan. I just need more minions!!