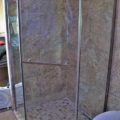
The shower in my master bath was all tile and it looked ok.
Sadly, the person that installed it apparently didn’t know what they were doing.
Having been thru the lesson of tearing a house apart to the studs because not everything was ‘perfect’ – I tried REALLY, REALLY hard to leave this shower alone.
Alas… I failed.
However; I think I did a fair job moderating my ‘gotta fix it’ disorder.
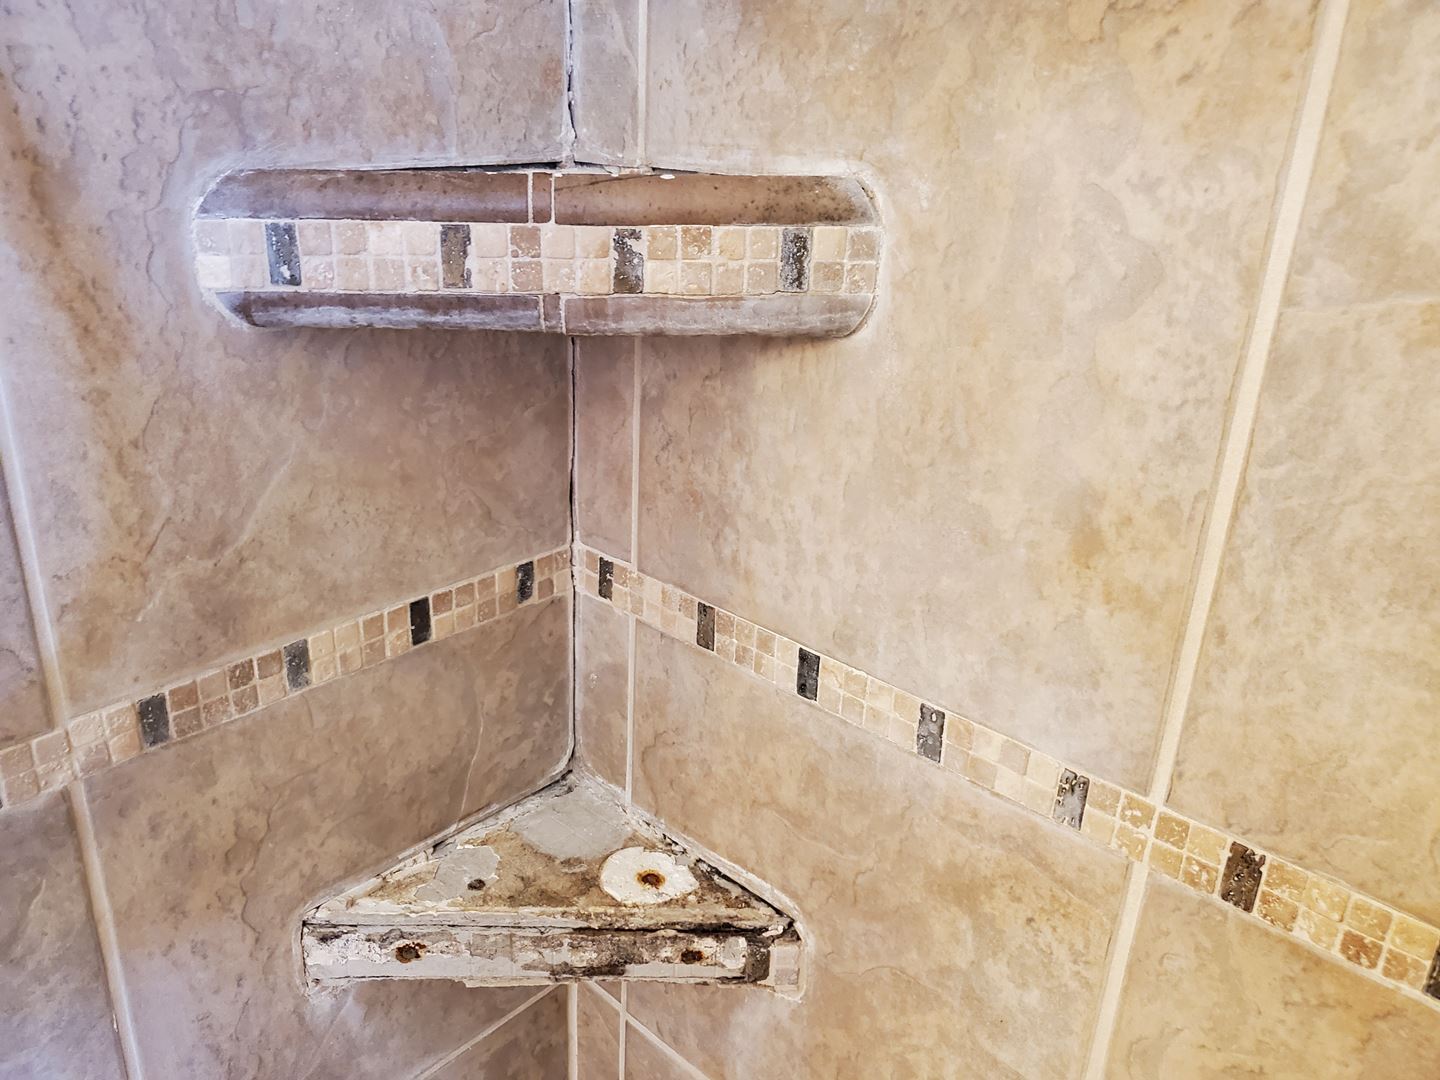
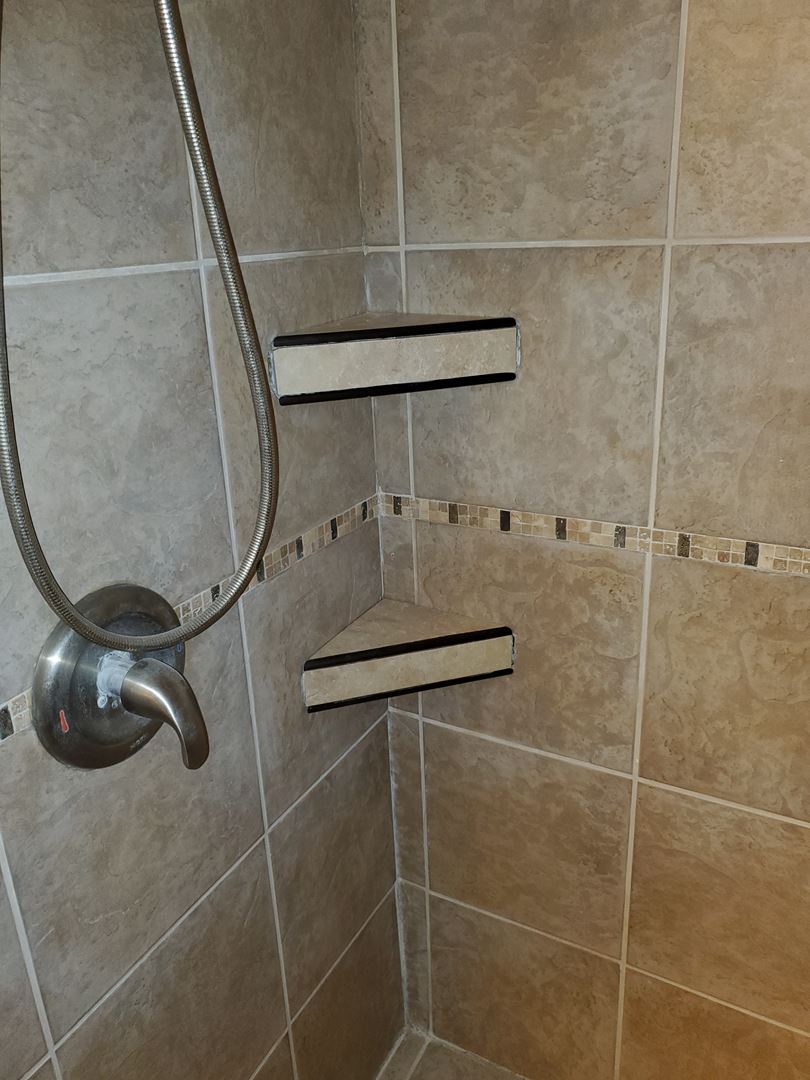
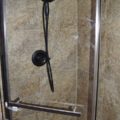
There were four problems. The first was that many of the grout lines were cracked. The second was that the little shelves were angled the wrong way and acted as a bowl for water instead of letting it drain off. Third, the drain was very poorly installed, ugly, and didn’t match anything. The fourth, and most annoying, was that the floor did not have the correct ‘angles’ so it didn’t drain the water properly. It pooled (in the bottom-right corner in most of these photos).
I figured the grout would be easy. What’s difficult about scraping some grout and re-grouting??
Well… it turns out that either mortar or VERY hard grout was used. So, scraping this grout was a PILE of work. I eventually found a diamond blade for my multi-tool that worked pretty good to remove it.
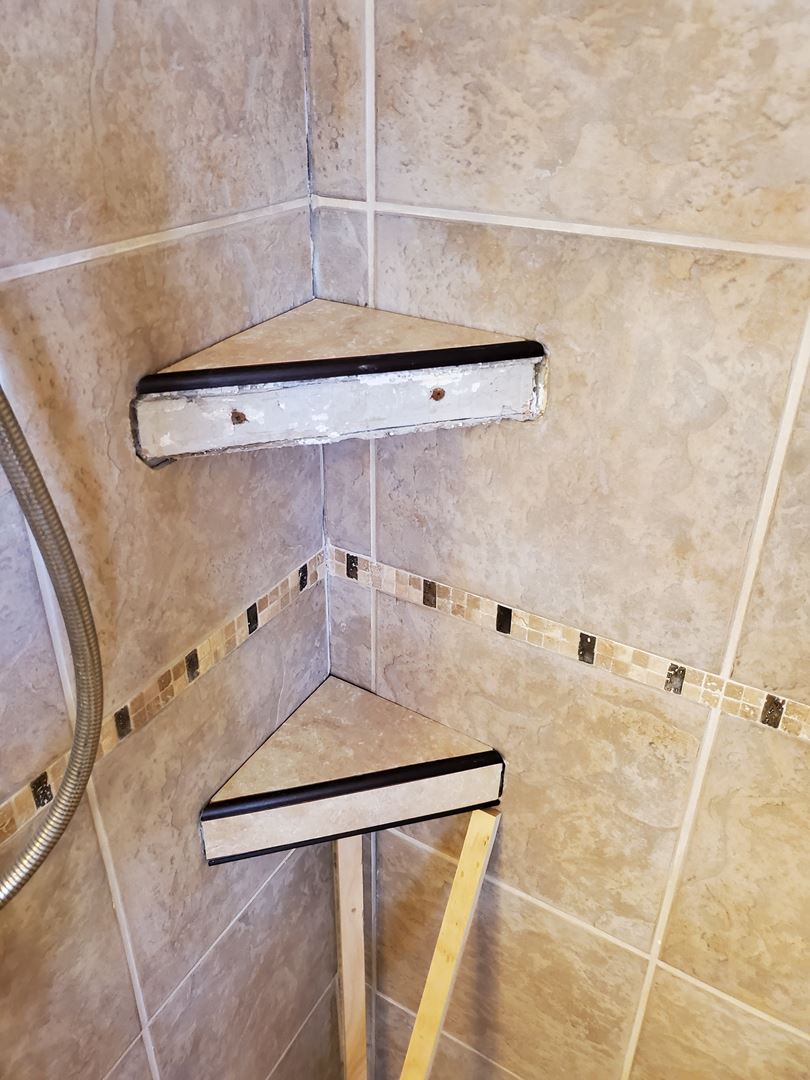
While fixing the shelves I found that water had been leaking and there was mold. So, those got ripped out entirely to be re-fabricated.
The drain required a good bit of work and required extracting the old drain from the concrete base and fitting a new drain. Thankfully, I didn’t actually have to replace the concrete base.
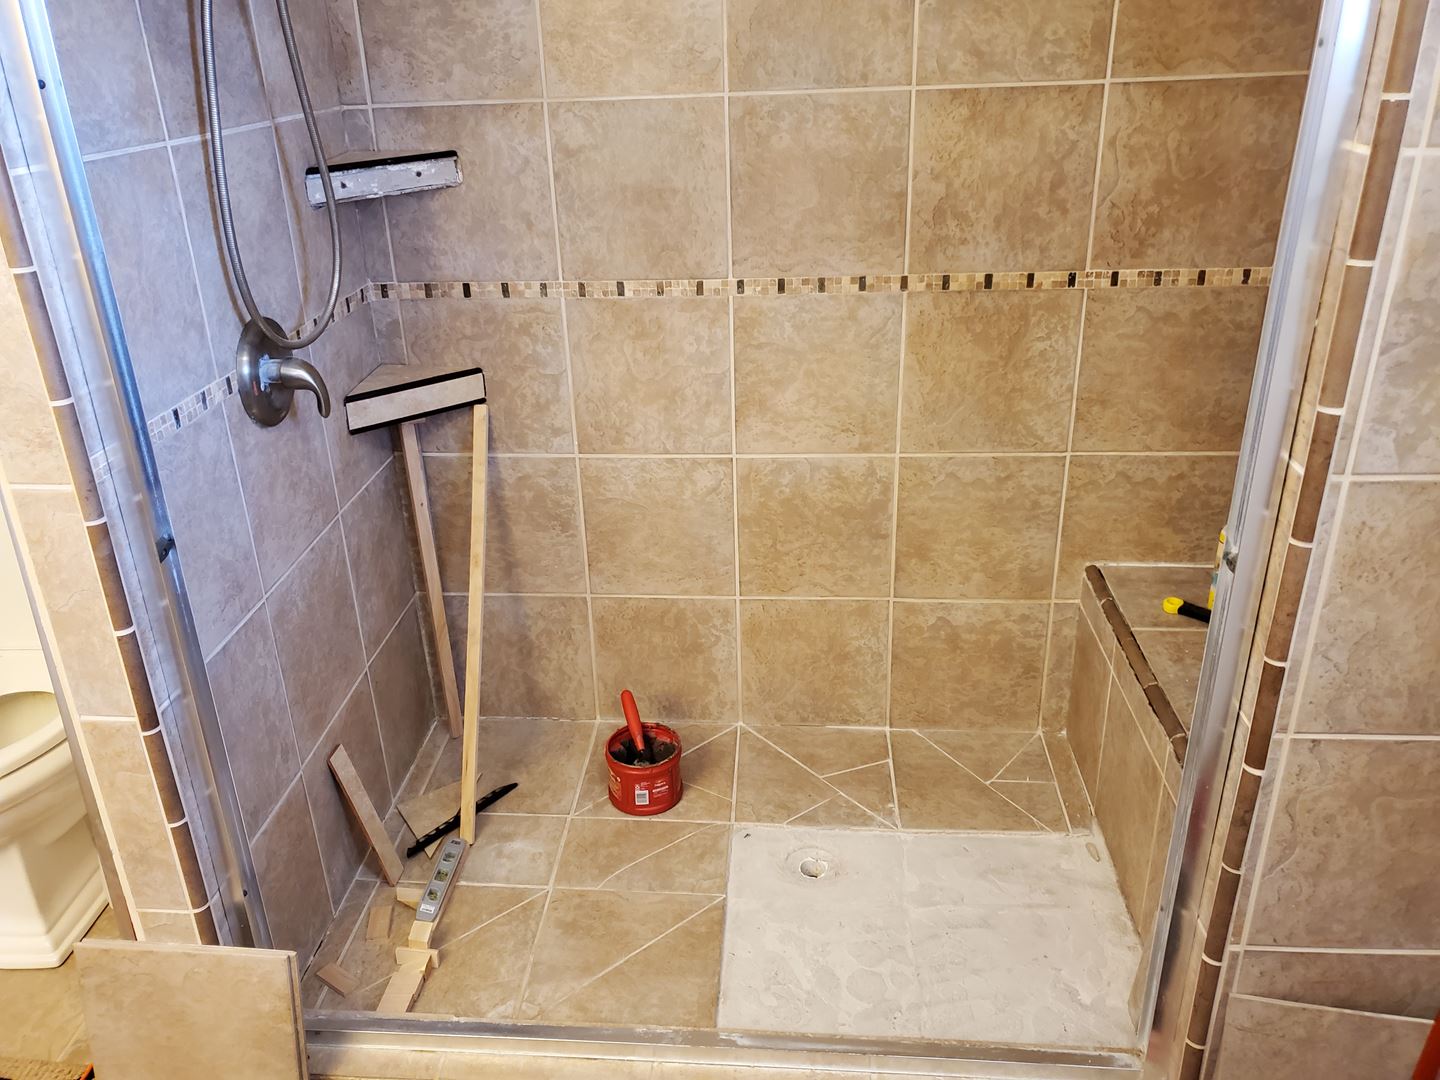
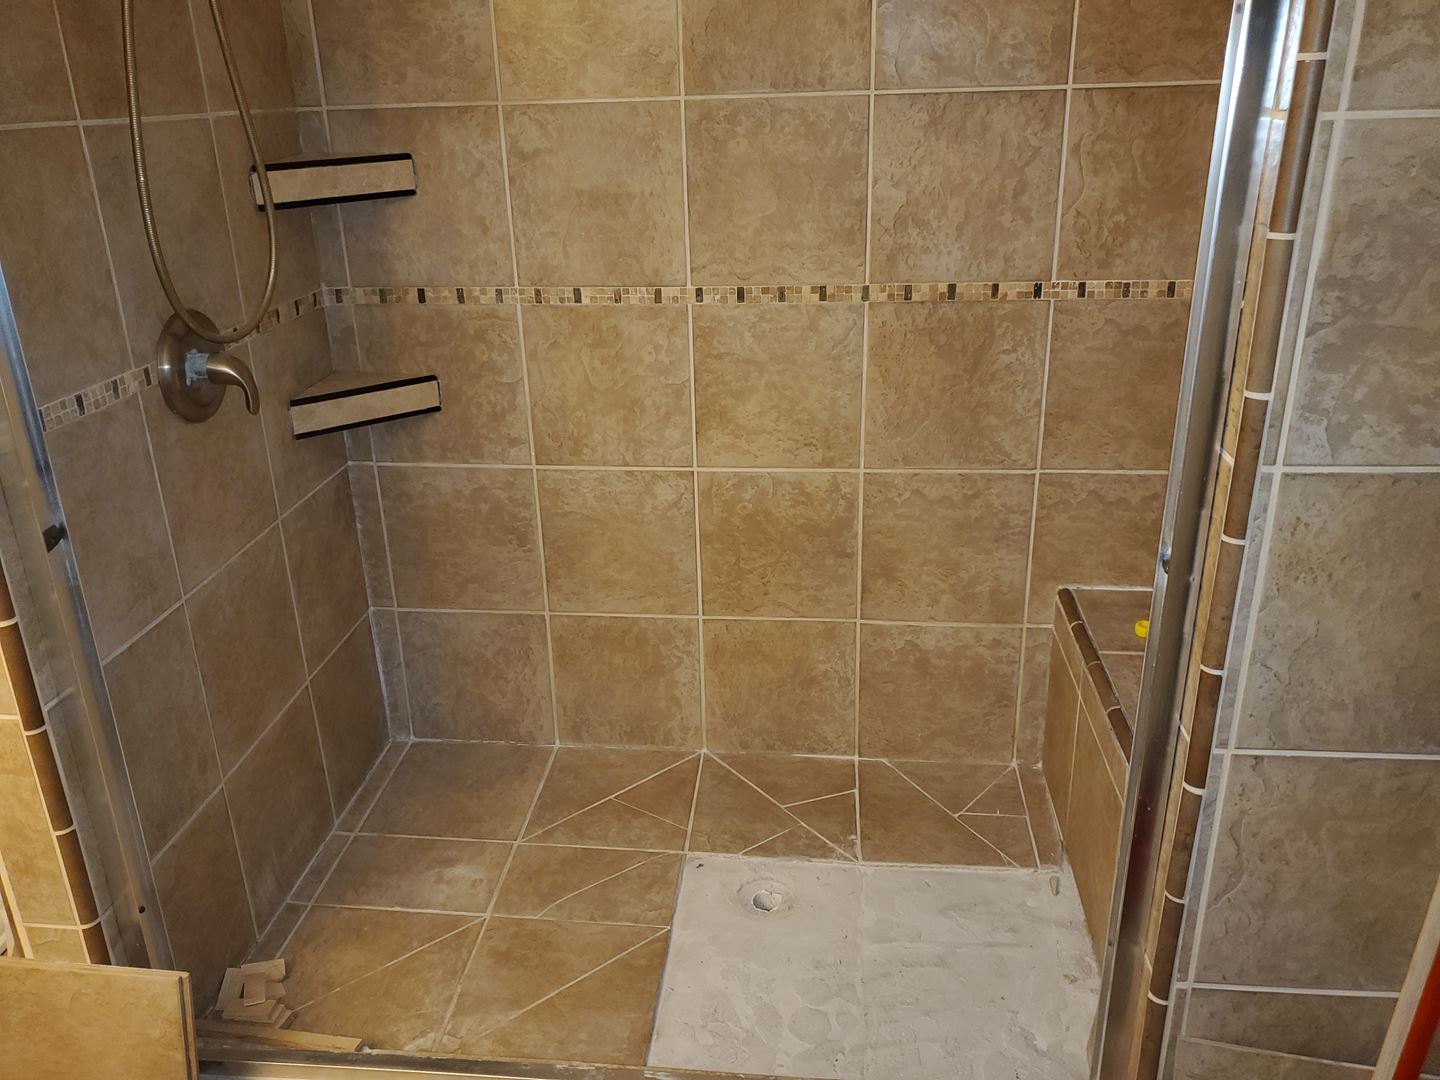
I initally thought that, if I was really careful, I could replace just a few floor tiles to fix the drain problem. I was able to get those removed ok but there was just no way to re-install new tiles at the correct position to properly drain without making it look really bad. So, in classic me, I ripped out the entire floor.
Of course, that opened up a world of possibilities!! I could put anything down on the floor now!
I still believe that some of these projects would be easier if you just start with a bulldozer. However… I’m still resisting that urge.
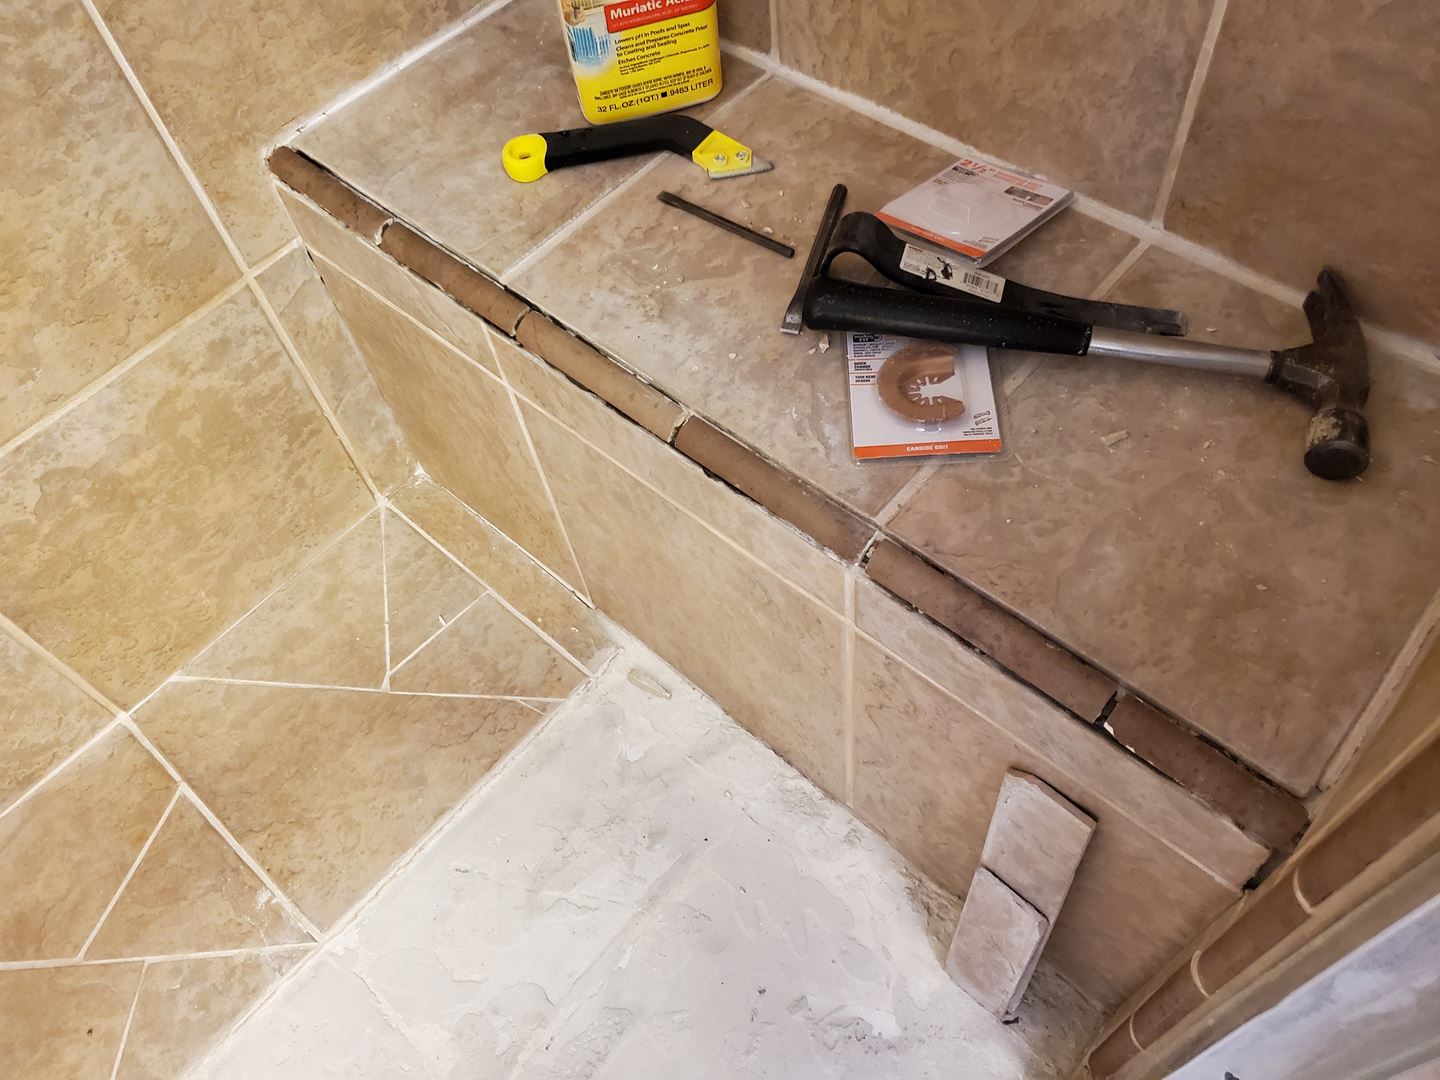
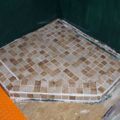
In the following photo, the dark color edge trim had large cracks in the grout. When I started removing that grout, the trim peices fell off. So, this is that entire outside corner being repaired and the edge pieces being re-installed.
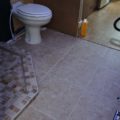
The floor when I was still thinking I could fix the existing tile.
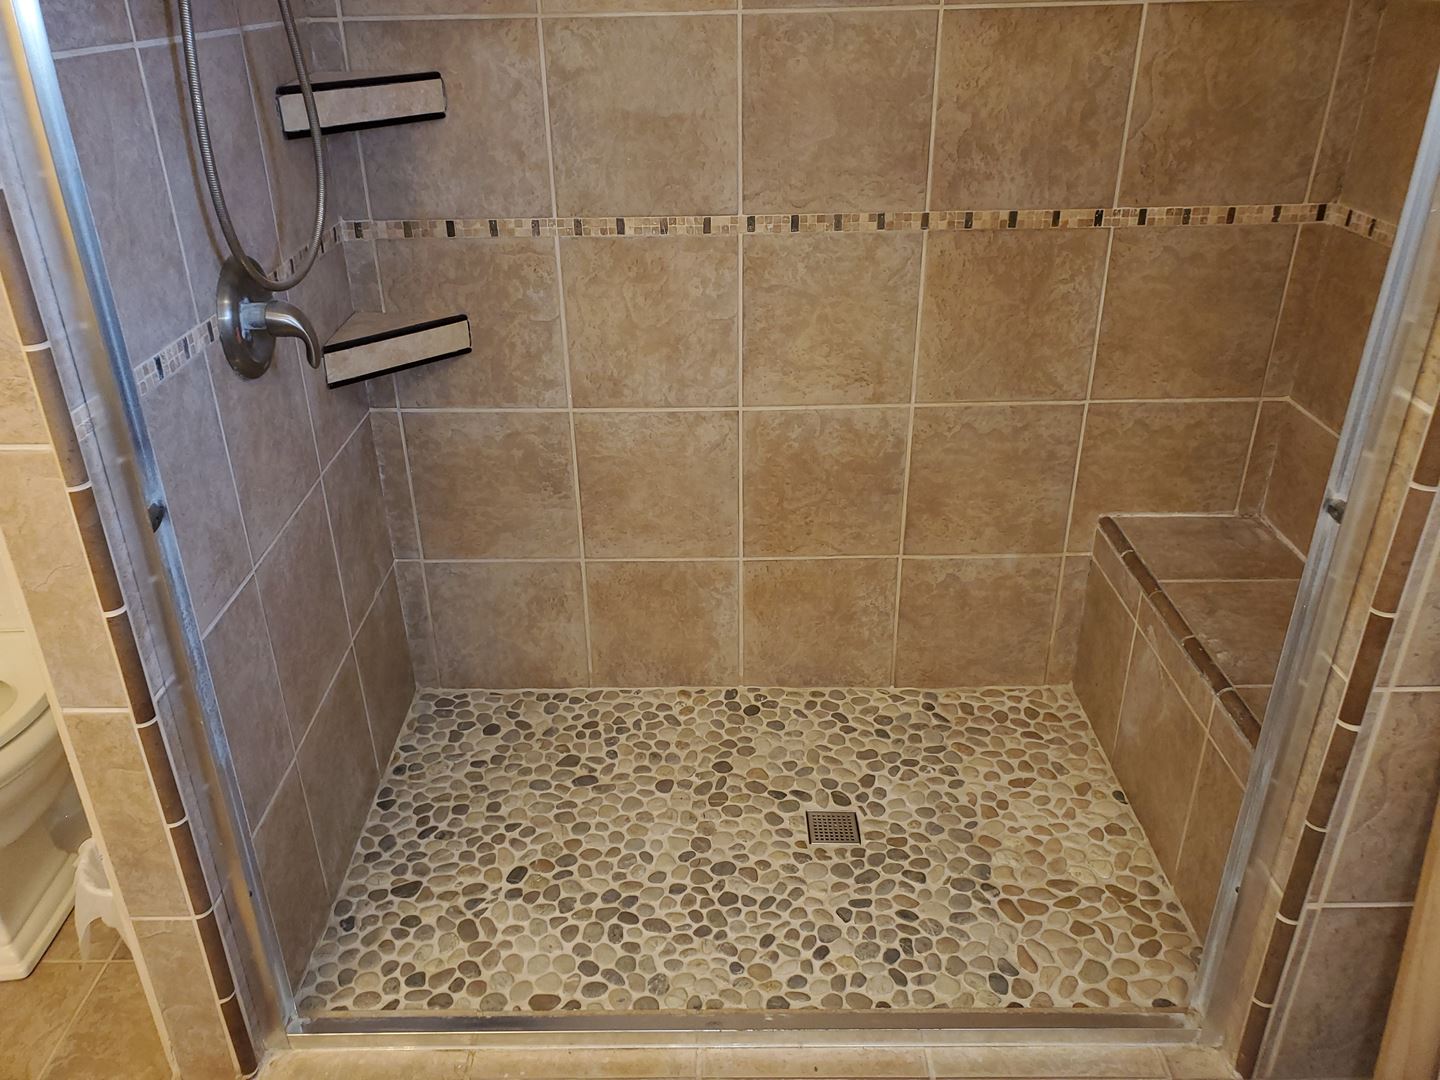
After looking around at floor options, I started liking the stone or pebble option. I found the Glazed Java Tan Pebble Tile panels and ordered a box of them.
A couple bags of topping cement was used to get the proper shape and drain for the shower floor.
I think went to work installing the pebble. What I learned is that they are entirely different than tile. Basically, they provide a large number of possibilities for making a huge mess!!
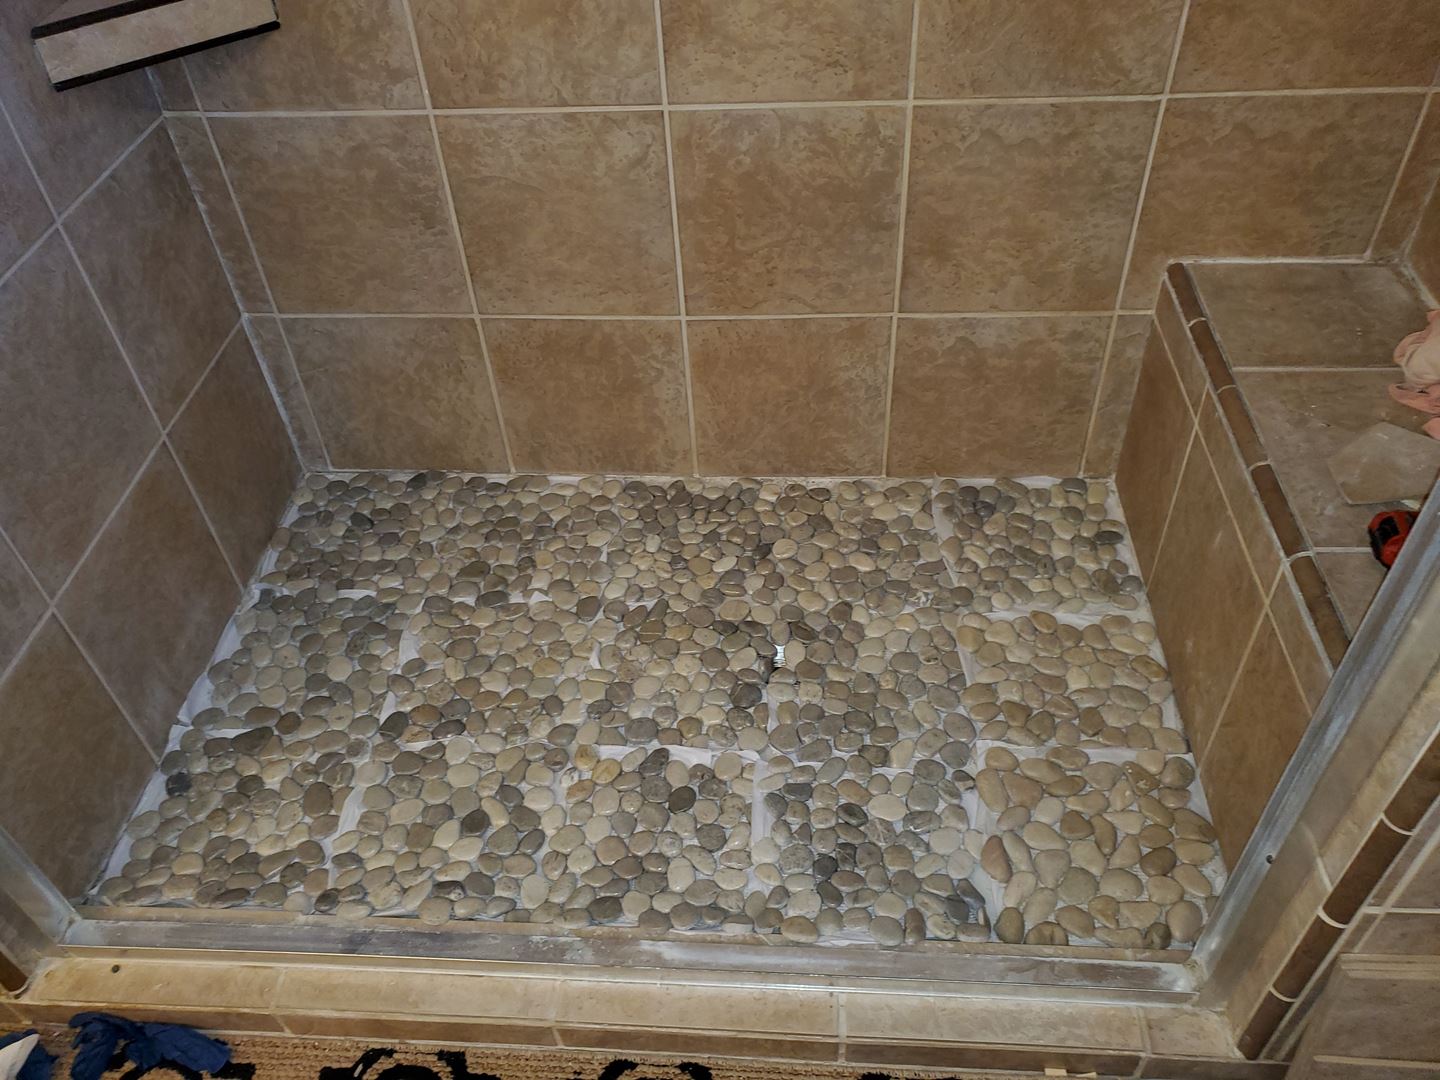
The new drain with pebbles installed. The dark color under the pebbles is the thinset that made such a big mess. With tile, one is able to press it down slightly to get the desired position and angle. With the pebbles, you have to press down on all of the simultaneously. Ya, a piece of wood makes that easy but I wasn’t prepared for that!!
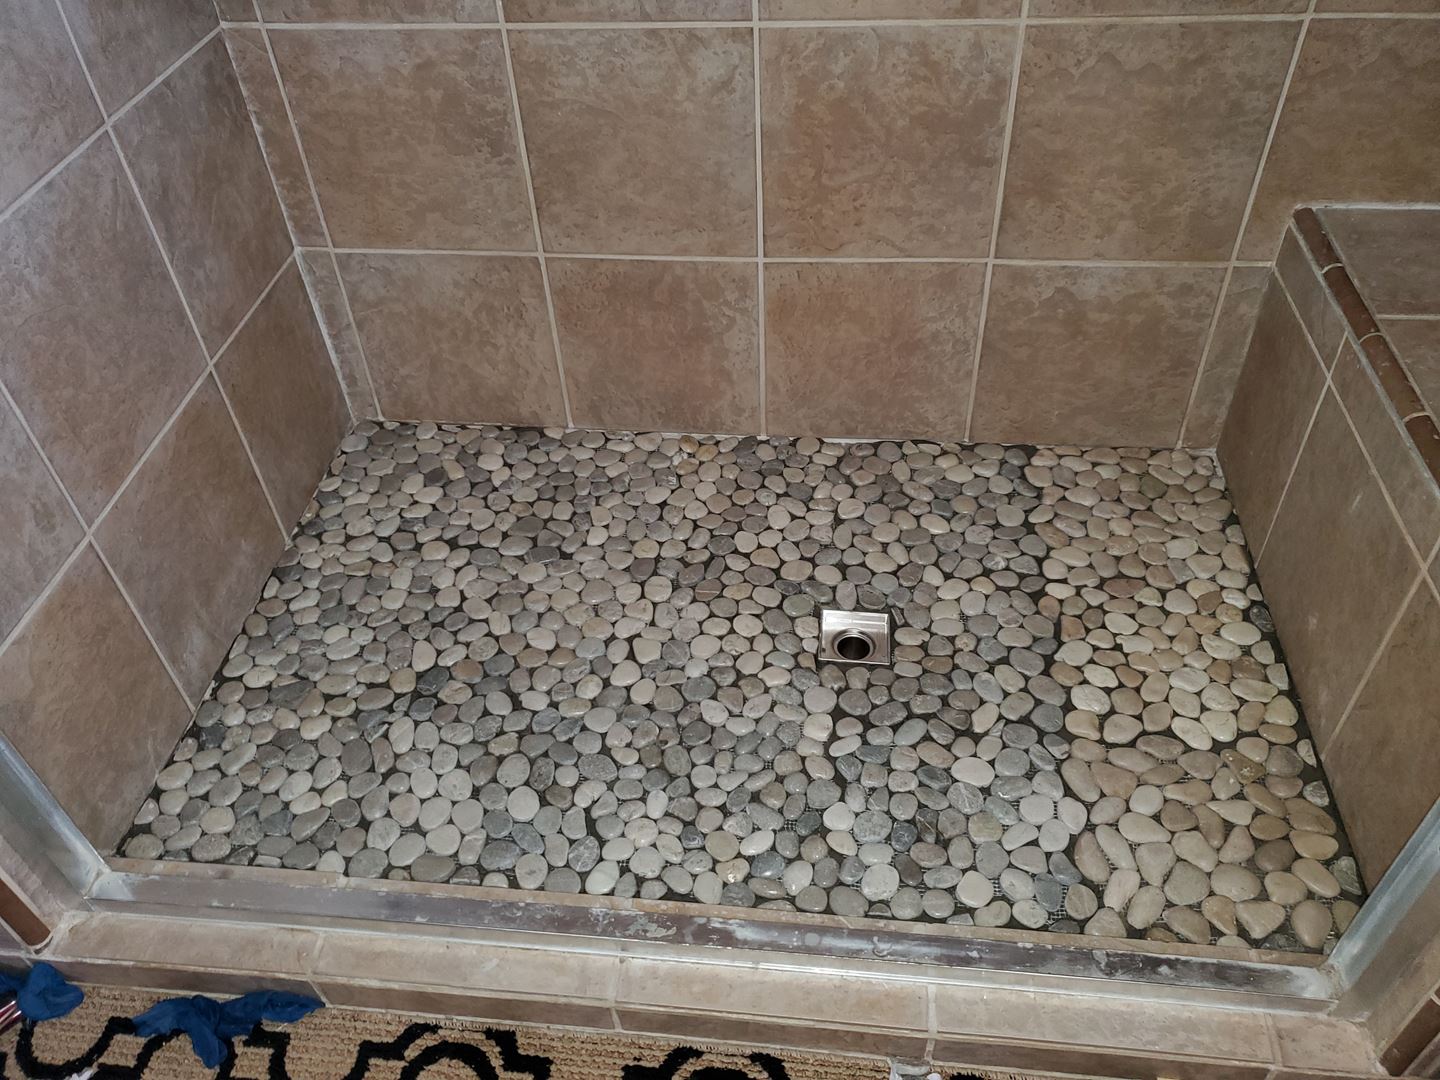
Eventually, the thinset was cleaned up and cured. It was time to grout. That too was a bit different than with tile. I found it easiest to wipe it on with gloved hand. Then wipe, wipe, wipe…. to remove the residue from the pebbles.
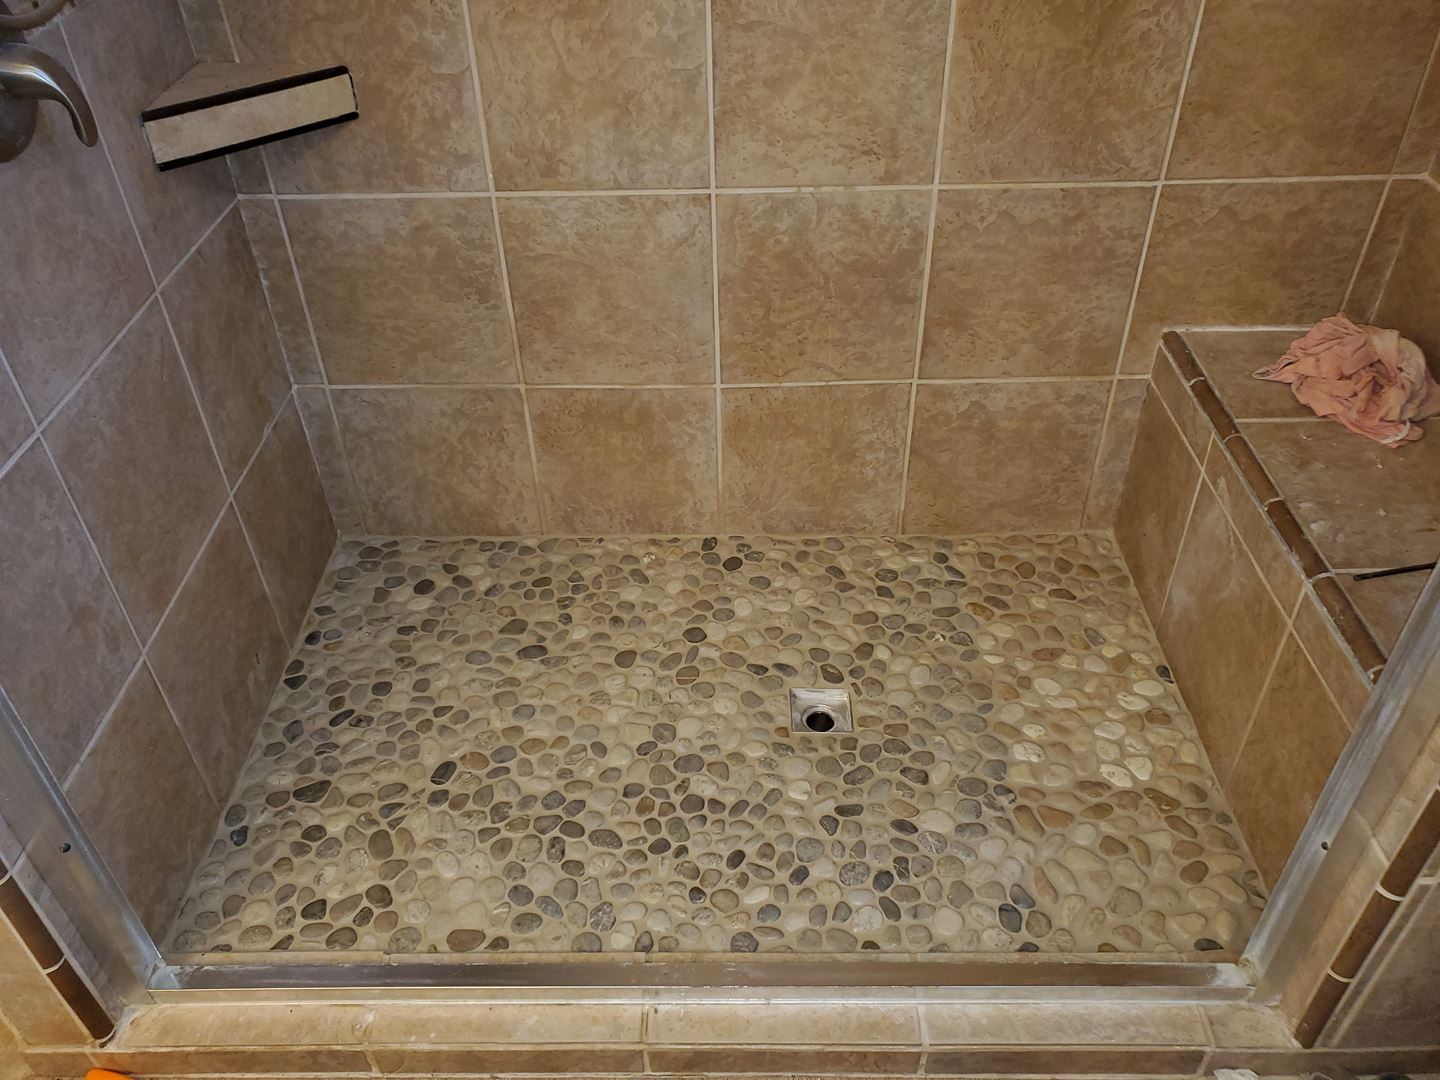
I’m pretty happy with the results. The water drains as it should, it looks ok, and the pebbles actually feel kinda neat on your feet. Not perfect but much better than it was.
I like it too! The color of the pebbles changed as you completed the process ~ that could be tricky! But I sure like the end results.
Great job! I have the same floor in my master shower. Mine also pools water in some places, but not nearly bad enough for me to want to rip it out and start over 🙂 I love that you have a bench on one side – as I get older I begin to appreciate those little things more and more.
This looks great!! The pebbles are very cool! You always have a new project! We have been thinking of you!