When we last saw our hero, he was fairing and sanding the kayak interior.
However; the kayak exterior is the first to be fiberglassed. So, focus was changed and off we went fairing and sanding the exterior…
After a great deal of scraping, planing, fairing and sanding – it looked pretty good. Photos of that process are just too exciting for mere mortals so I’m not posting them. The scariest bit of that is how mezzmerizing the planing process is. Watching all those curly strips of wood coming off the plane is hypnotizing… I feared I would just keep going until there was no more wood left! Thankfully, I resisted the urge.
Before applying fiberglass to the exterior skin, the wood needed some color. Typical oil or urethane based stain could not be used because of the fiberglass. Instead, an alcohol based stain was needed. There are a number of those available but I like to experiement so I ordered some powered wood dye and made my own stain. This is a fun little project of adding little bits of dust (stain colors) to rubbing alcohol, letting it disolve, and applying a bit of that colored liquid to a piece of wood to see what it looks like. Then repeat….
Eventually I ended up with a color that I liked.
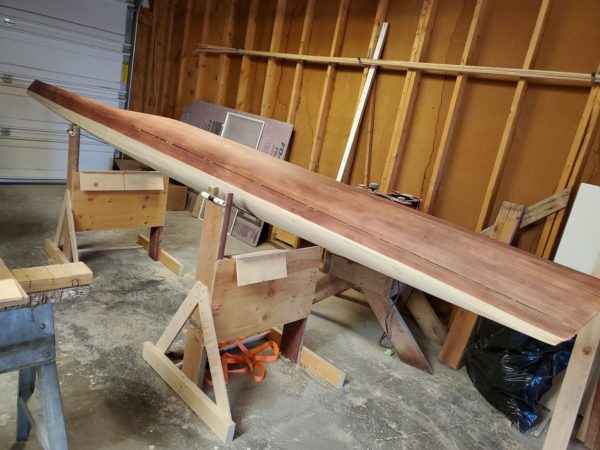
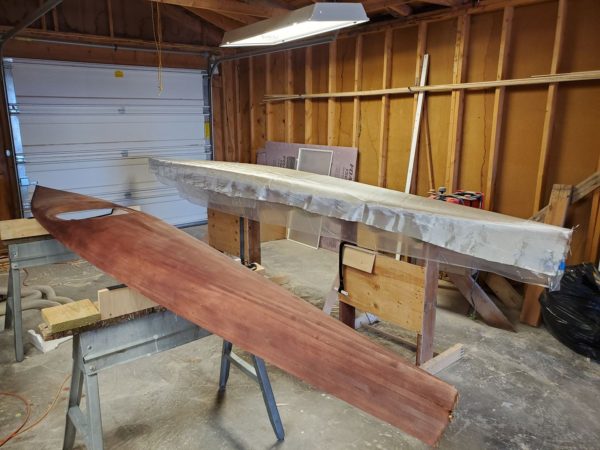
I decided to stain the deck down to the waterline and leave the bottom with the natural wood look.
I certainly learned a thing or three during this process. Firstly, alcohol based stain does not like to be touched up! I had read about the importance of a complete wipe down using alchohol and quickly learned why. That wipe down helps to move the solids around in a uniform way and prevents what I’ll show you below.
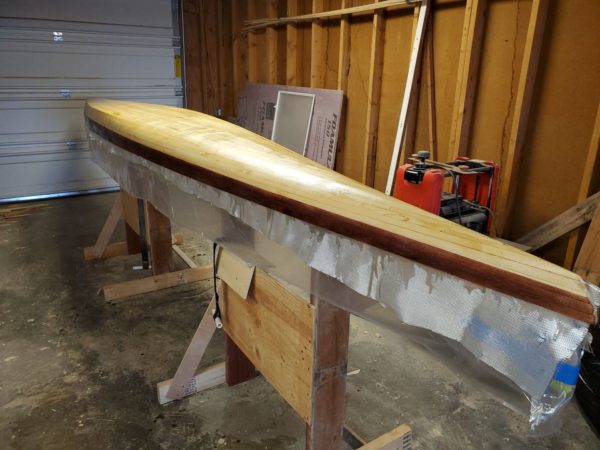
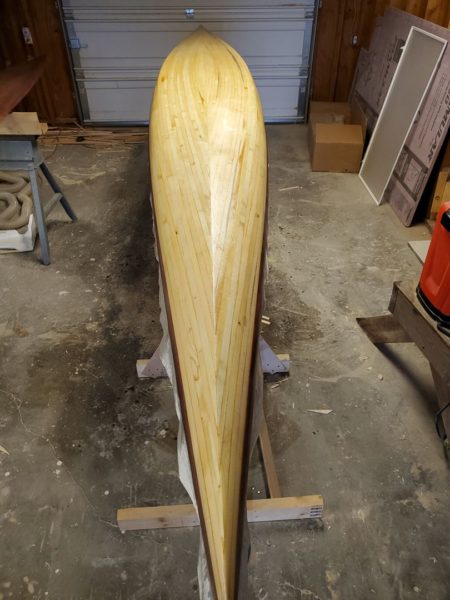
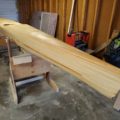
Finally time to apply some fiberglass and epoxy. I figured the bottom would be a good place to start – hopefully people won’t be looking too closely at that!!
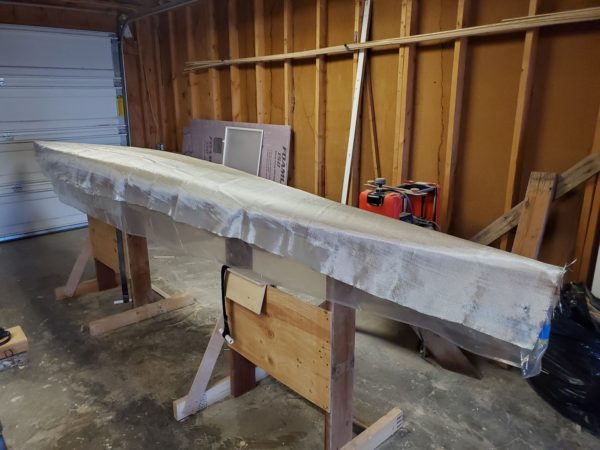
Here is the fiberglassed layed out and ready for epoxy. This is one long piece of fiberglass to avoid overlapping seams. I ordered folded glass because it is cheaper… and I’m a cheapskate. No doubt that rolled would have been better as mine did have a few ‘goofs’ – where a strand of glass is pulled and it isn’t perfectly consistent.
And here it is immediately after applying the epoxy. I used Total Boat Marine Grade Epoxy which seemed to work just fine but here again, the epoxy does add a bit of a yellow/amber tone. There is some structural epoxy available that is supposed to come out clear – I’ll save that for a future work of art.
I learned here that the wood soaks up a good bit of epoxy during the cure. What I thought was a good layup – with the appropriate amount of epoxy – ended up being a little dry. Normally, the fiberglass is completely transparent but when dry, it is slightly visible. Plenty strong and all that, just not entirely translucent. Bummer.
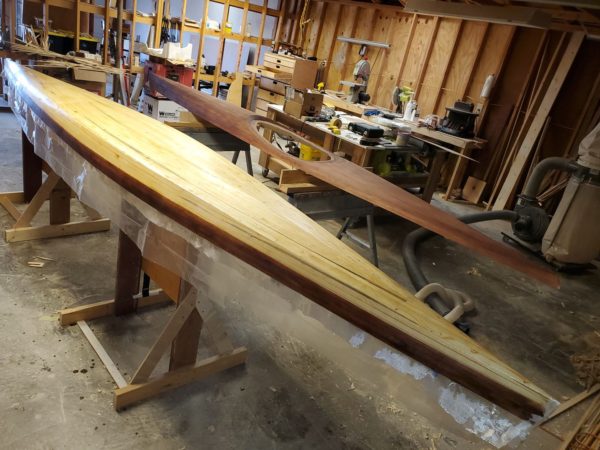
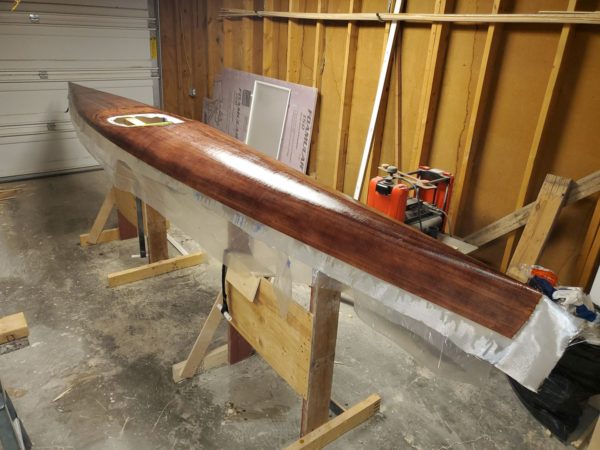
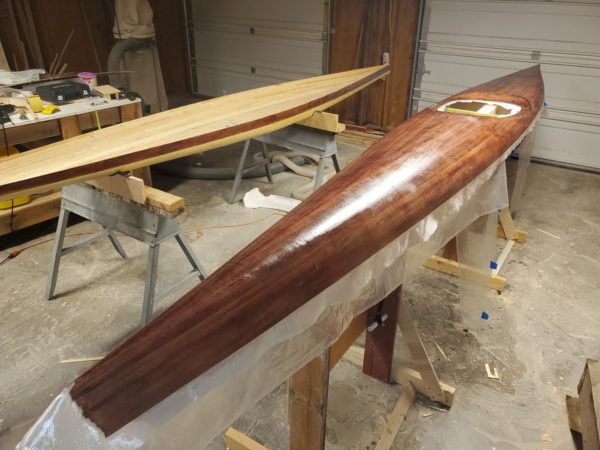
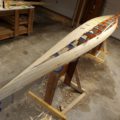
A couple days later, it was time to fiberglass the deck.
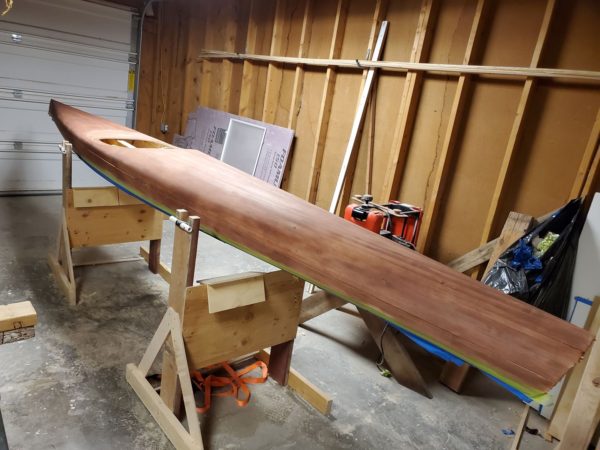
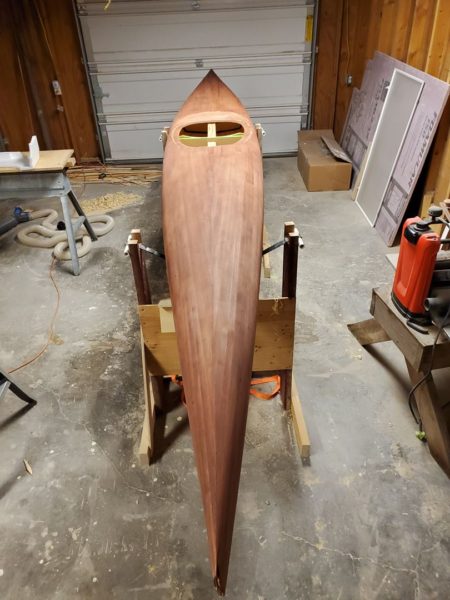
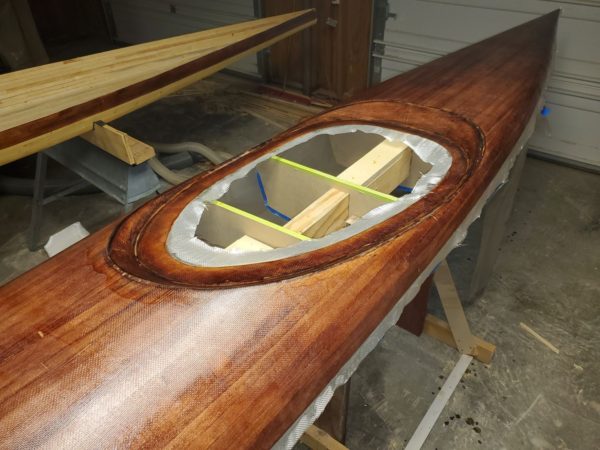
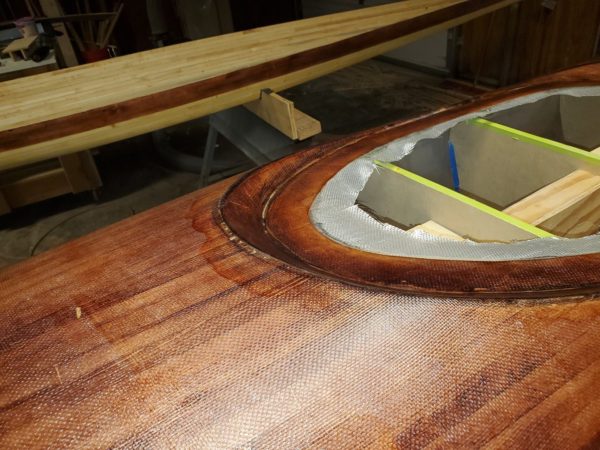
If you look closely, just in front of the cockpit, you can see one of my goofs with the stain. Here I attempted to touch up a small spot and ended up making a mess. I didn’t notice it until after fiberglassing so it is there to stay.
You can also see that the expoxy caused the stain to darken just a bit. I still like the look but it is slightly different than what I was shooting for.


What a project! I’ve learned a lot just by following your posts. A kayak is a big jump from a coffee table! …both of which are beautifully done!