More progress on my pine strip microBootlegger Sport kayak construction project.
After stripping the hull was complete (here), it was time to flip it over and start on the deck.
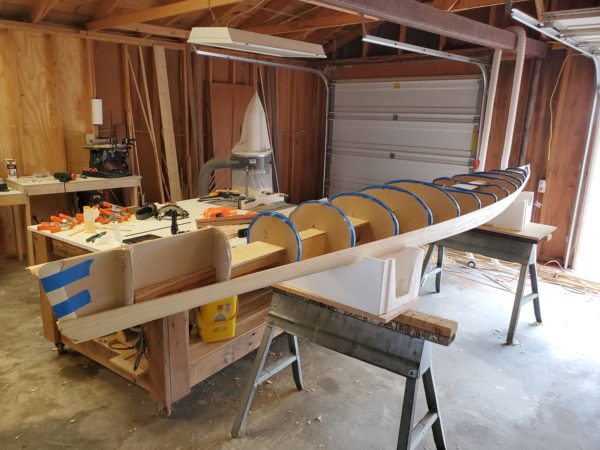
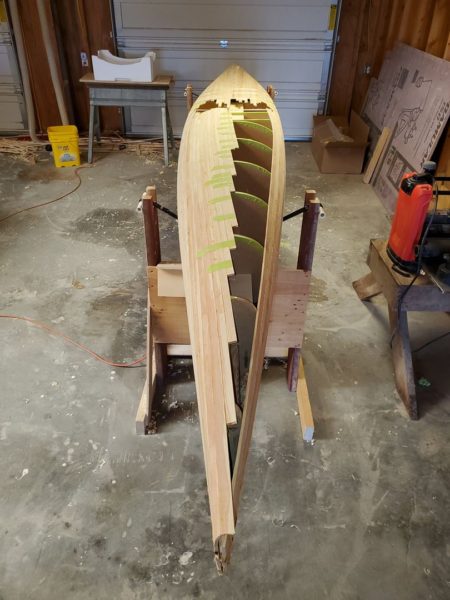
After flipping it over, the first look comes with a bit of shock. All that work that had been done disappeared and it looked like I was starting all over again!!
Of course, that wasn’t the case but seeing the strongback and forms again sure took me back a few weeks.
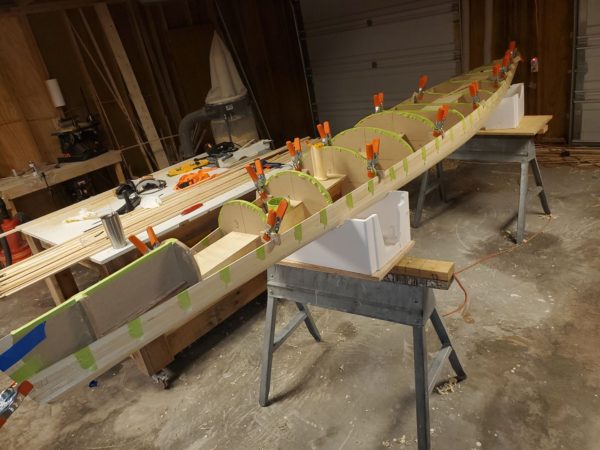
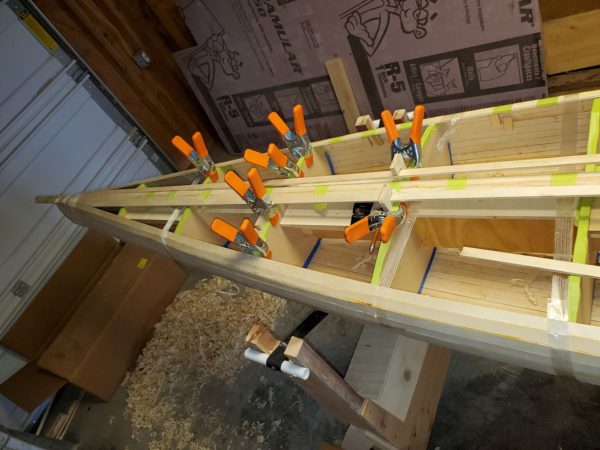
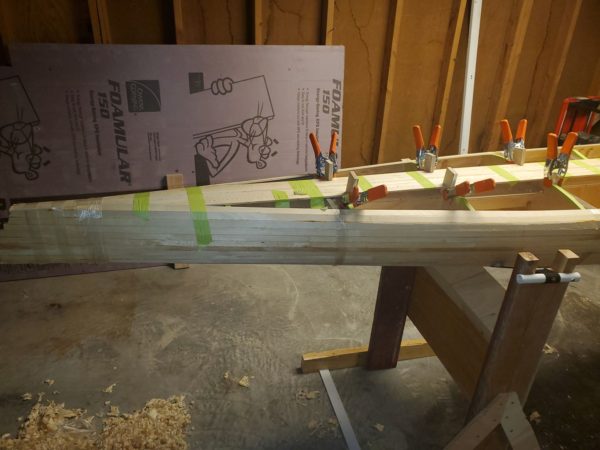
One might think that we just pickup where we left off, keep fitting and glueing more strips on. However; we need to do something a bit different so we can get those forms out of there at a later time. To accomplish that, the next strip is not glued to the previous strip. This becomes the parting line and allows the top (deck) and bottom (hull) to split apart.
After that parting line strip… THEN we go back to the routine – fit, glue, clamp, fit, glue, clamp.
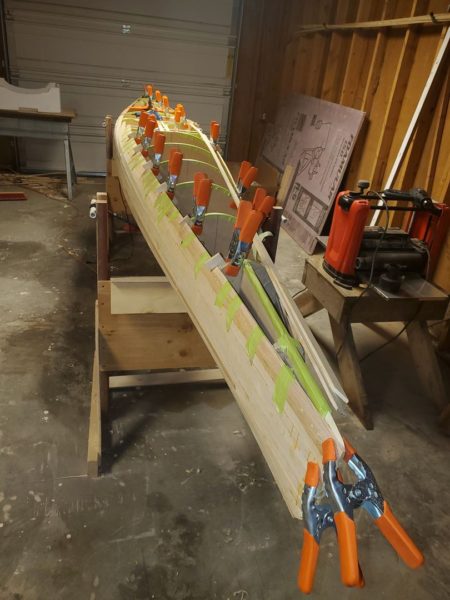
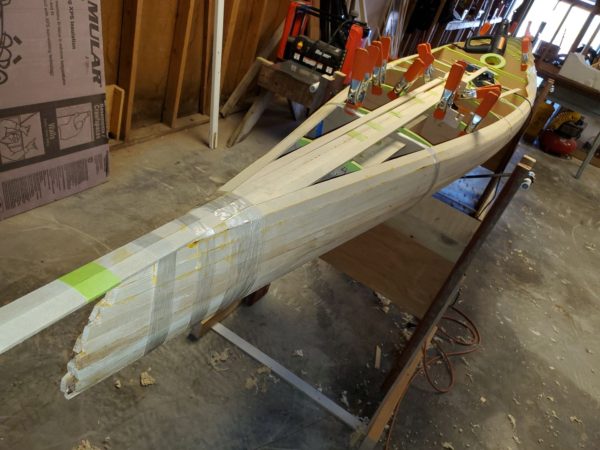
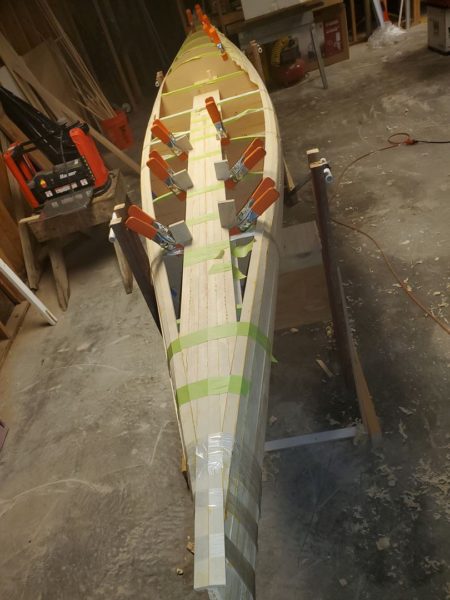
Eventually that becomes pretty interesting where the strips meet on the centerline and require some finess to fit properly.
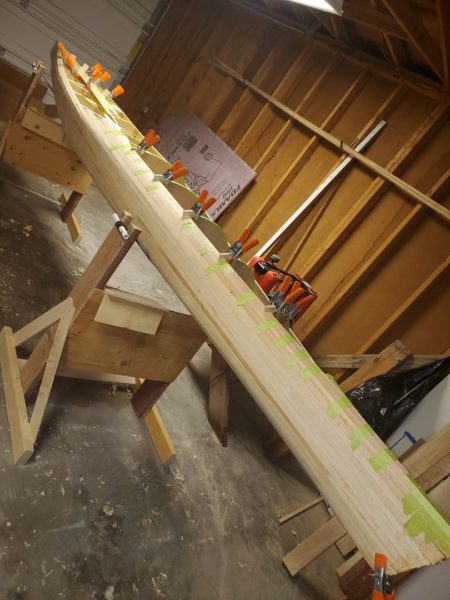
The aft deck is pretty interesting to strip. It is relatively flat and goes together pretty quickly using a slightly different technique. Instead of coming up to the centerline, I went from the centerline down.
Lots of tape is used for clamping pressure. I also used hot glue to hold the strips to the forms but it is a pretty complex shape and some pressure from the tape on the outside was very helpful.
Dave asked some good questions after the last post.
Q1: What kind of glue?
I’m using standard TiteBond II wood glue. It is never exposed to water because of the fiberglass skin on the inside and outside so a special water resistant glue is not needed.
Q2: How do I scarf the joints in the strips?
I setup a little jig on my belt sander to hold the strip at an angle that produces a scarf about an inch long. So, sand the end of both strips, clamp them onto my bench, apply a bit of CA glue, and a minute or two later the strip is ready to go.
Q3: Is there a keel?
No, not exactly – at least not in the same sense as big boats. They do have a keel line that varies by design – some are sharp, some are more rounded. They also have chines (which I think all boats may have) which are the outer bottom edges of the hull. These, apparently, have a lot to do with how the boat tracks and turns – especially when leaned. I’m a newb to the design elements so could be entirely wrong about all that. I used to just climb in and go – now that I’m building, what I’m building has peaked my interest.
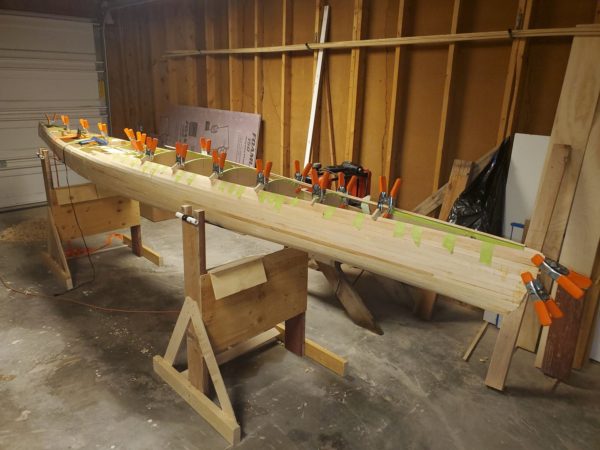
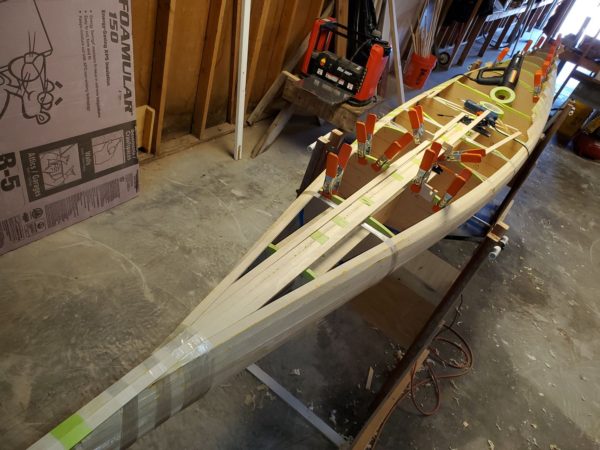
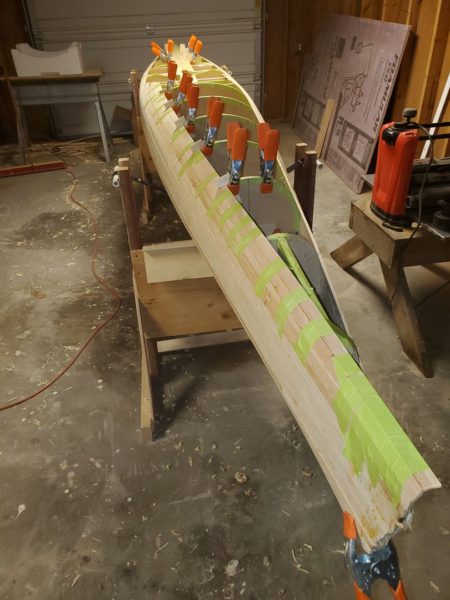
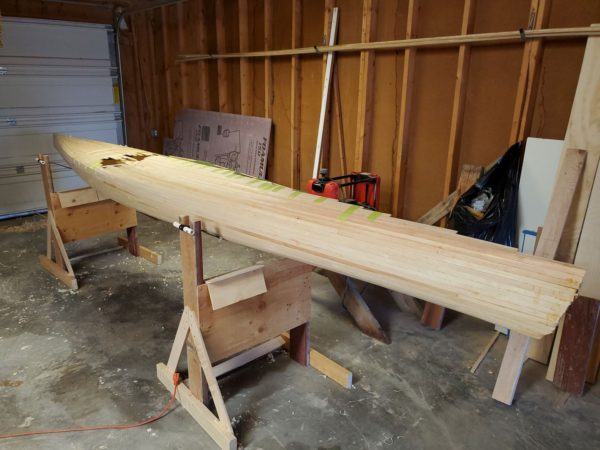
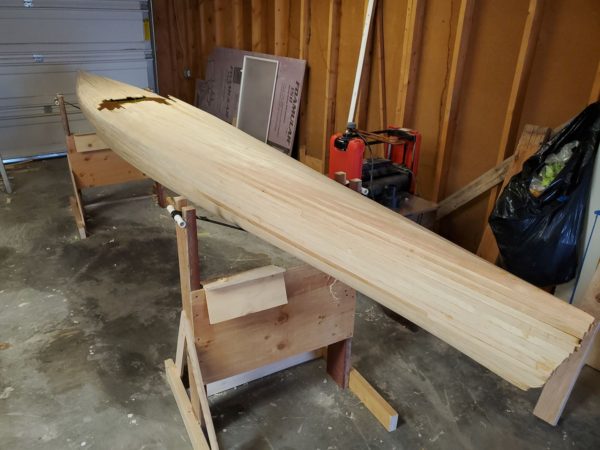
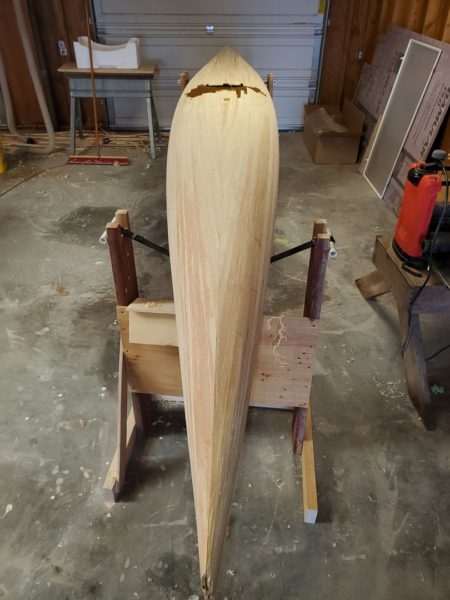
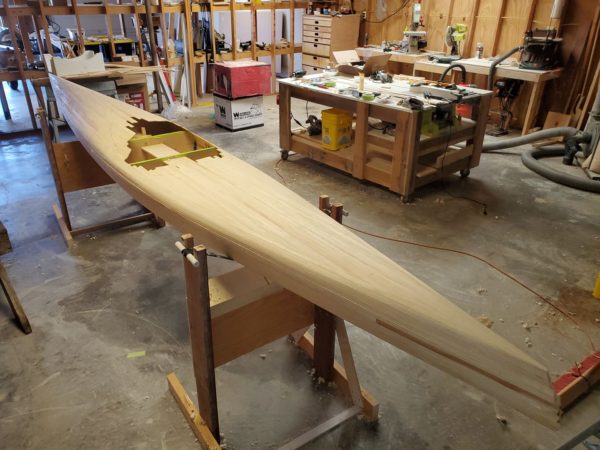
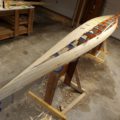
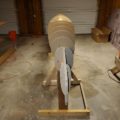
Somewhere along the way, I forgot to take photos. So, we see a pretty big leap in progress. We go from half of the front deck stripped to the entire kayak fully stripped.
It looks almost done but don’t worry, a LOT of work remains!!
Next I’ll work on the cockpit and do a lot of sanding. Fun! Fun!!


Leave a Reply