Those of you following my silliness know that I like to go fast as well as land on short back country airstrips.
Those two things don’t often mesh very well.
I suspect there is no ‘perfect’ airplane for such requirements. However; my little Vans RV-4 sure does a great job with it.
The most significant limitation has been my propeller. It is a pretty nice Catto prop but is more of a cruise prop. That means that it is kinda like flying around in high gear. Takeoff is longer than I’d like and climb at higher density altitudes is less than I’d like.
A nice solution would be a constant speed propeller. Those are adjustable in-flight but are quite expensive, heavy, and require the appropriate engine configuration as they use pressurized engine oil for operation. That is not an option for me.
I’ve been searching for the “perfect” solution for a while.
There isn’t one. Especially when you add in my requirement that it cost less than $100. 🙂
I finally concluded that what I wanted was a propeller that I could set for cruise when I wanted to get up and go places and, reasonably easily, change to a climb setting when I wanted to operate in the back country. It might be possible to find a fixed-pitch prop that met both requirements sufficiently well but I’ve been down that road before. Ordering an expensive prop to “see how it works” and then send it back for adjustments (and repeat numerous times) to only end up with a prop that doesn’t work as hoped and then repeat. That can be played for years and many thousands of dollars. Not interested…
I had a ground adjustable propeller on a previous airplane and setting/changing the pitch on the blades was a major – all day – undertaking. It took so long as it was difficult to get all the blades (three, in that case) set the same way using a protractor while fighting to keep the blade from moving when the bolts were tightened. That would not work.
A couple years ago, Sensenich introduced a ground adjustable propeller that includes alignment pins to easily set the blades at the same pitch setting. On paper, this looked great. The reports from people using it were also very favorable. However; I was still suspect – probably due to my previous experiences. It took me a year to convince myself. That delay may have also had something to do with the fact that the prop costs more than $100.
Finally, Santa brought me that very prop!!
What a good boy I have been!!
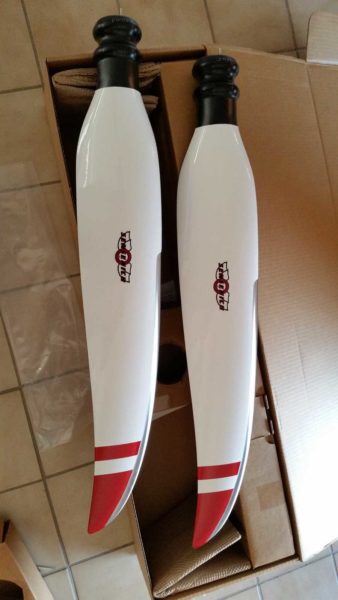
It is a 72″ Sensenich GA prop in white with red accents. A very pretty prop!!
Of course, nothing is simple. The existing 4″ prop spacer had the wrong size prop bolt lugs and bolt pattern. My Lycoming O-320 has 7/16″ crankshaft bolts but the old prop had 3/8″ bolts. The new Sensenich prop required 7/16″ prop bolts. Thankfully, Santa knew this somehow. I don’t know how and I don’t ask questions like that anymore!! A beautiful new 4″ Saber Manufacturing extension was also sitting under the Christmas tree with the propeller!!
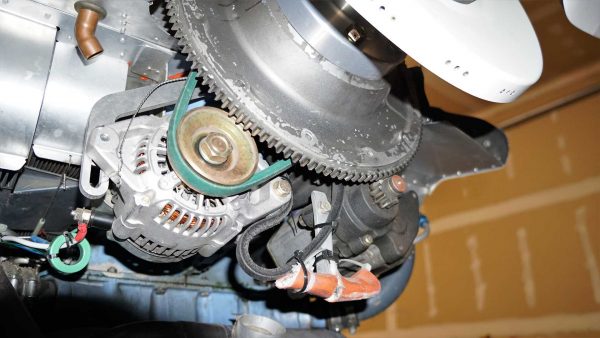
Installation was pretty quick and easy. While I had the prop hub and ring gear off, I installed a new alternator belt and also affixed a spare belt to the engine case. Changing an alternator belt on an aircraft engine is a fairly complicated affair (requires removing the propeller, hub, and ring gear) so having a spare in place ensures that the primary belt will never need replaced. 🙂
The only complexity of the installation is that the propeller cannot be assembled on the bench and then bolted to the airplane. Instead, the ‘inside’ portion of the propeller blade assembly must be installed on the hub first. That is ok but then one must hold each of the blades (two) in place while installing the ‘outside’ portion of the assembly and then installing the bolts. This requires a minimum of three hands – four is even better. I tried to accomplish this using head, elbows, teeth, and everything else that was nearby but was terribly afraid of dropping a propeller blade. More hands had to be grown… or found. I chose the latter and enlisted the aid of a friend.
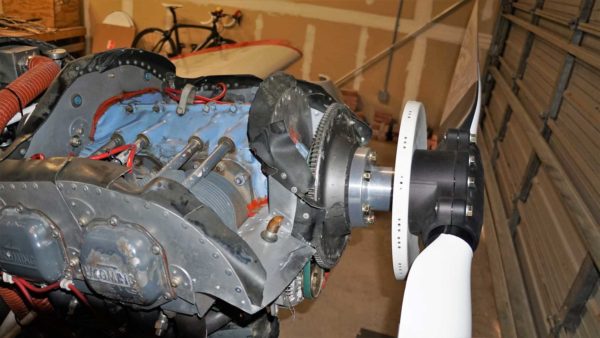
We quickly had the assembly… assembled. 🙂
Setting the pitch on the blades of this propeller is RIDICULOUSLY easy!! You simply loosen the eight bolts, insert the desired pitch pin, rotate the blade til it stops, and tighten the bolts. Crazy!! Removing the spinner (couple dozen screws) takes longer than changing the pitch. I am very impressed with the design.
After some ground running time and torquing the bolts, it was time for a test flight.
This propeller is SMOOTH!
That smoothness was immediately obvious and actually took some getting used to since it was such a different feeling.
The previous propellor had been dynamically balanced to .03 IPS (inches per second) which is nearly perfect so I am having a very difficult time understanding why this prop feels so much smoother without being balanced.
I now have about 5 hours on the propeller and am still very happy with it. The finest pitch setting results in a very nice climb (1,000 feet per minute at 7,000′ density altitude, 60kts, & 1,400 lbs). However; my cruise speed is down about ten knots. I previously cruised at about the same speed and RPM as my flying buddy and his O-360 powered RV-4. I now have to run 200 rpm more than him to achieve the same speed.
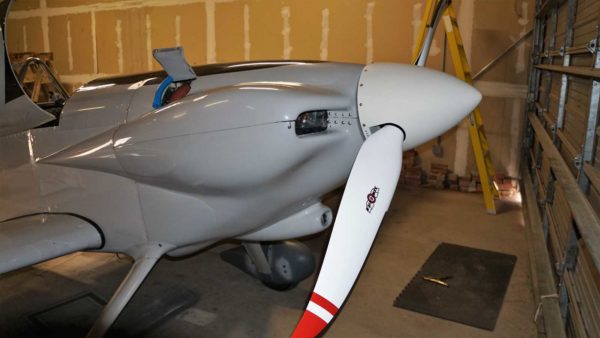
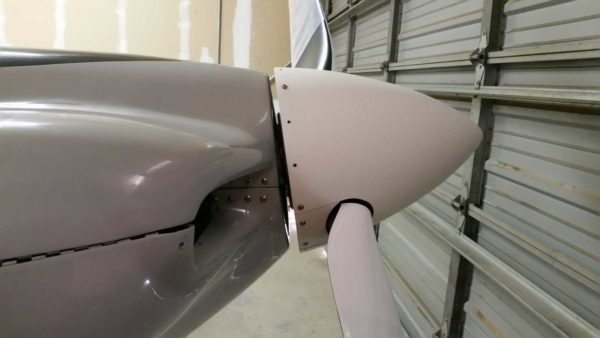
All that said, I have to admit… the propeller uses a 13″ spinner with a slightly dished back plate. Sadly, I previously had a 12″ spinner so the fit is not right. You can see that below. Certainly not ideal or show winning but it works ok.
It’s also worth noting that formation flying is like flying a different airplane! Since I am down a wee bit on power and somewhat over-pitched on prop as compared to my partner (180 hp), I was always struggling when we were maneuvering. With this prop and pitch setting, my airplane is much more responsive to power changes. Very neat!
Next, I’ll increase the pitch to the 3rd setting and see how she does.
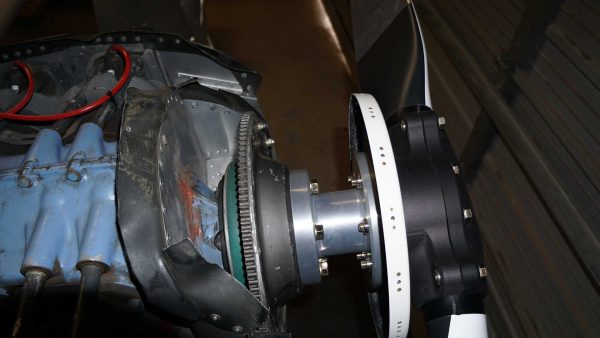
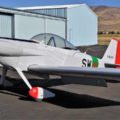
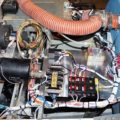
Update 06/24/2020: I’m still loving this propeller!! I’m adding the following two images in an attempt to show the spare alternator belt. It is black in color and aft of the green belt that is in operation. It is difficult to see but I hope these help!

Thanks for the great info. Congrats on all going well with the install.
Great post! Would love to see a picture of the “spare” alternator belt attached to your engine as well.
Happy flying!
Thank you Dave! I just added two photos that just barely show the spare alternator belt. It is zip tied to as many things as possible to prevent it from rubbing on anything.