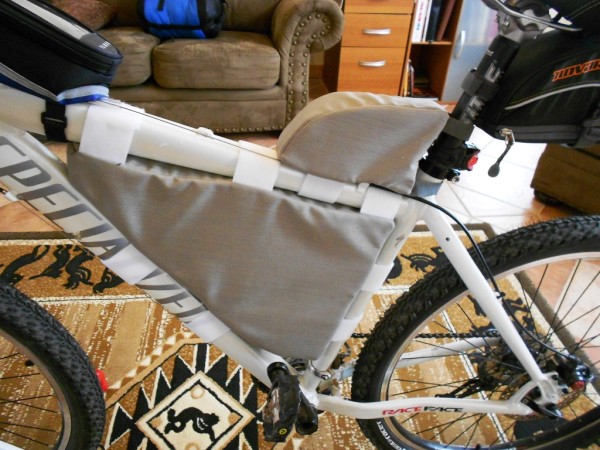
I made another bag for my bicycle. I am calling it a Top Tube Frame Bag since I can’t find a reference to a more appropriate title. I’m really enjoying all the sewing that I’ve been doing!
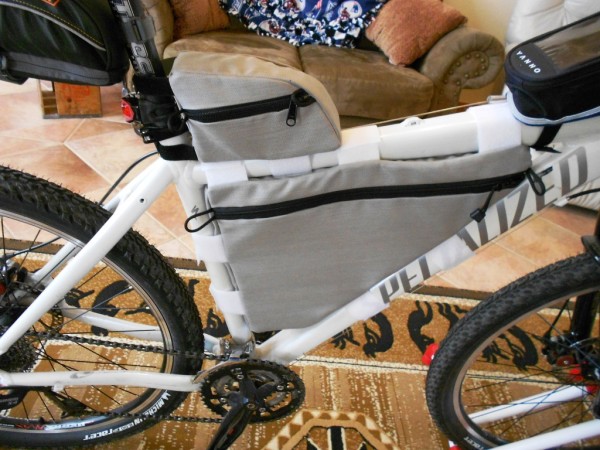
It mounts to the top of the top tube and the front of the seat post. I’ve seen them mostly on Tour Divide and randonneuring mountain bikes. This area is mostly wasted space so using a bit of it struck me as a fine idea. My goal is to create storage/stowage capacity on the bike for bikepacking camping trips.
The bag needs a bit of structure because it must stand up as opposed to hang. It is also fairly small so doesn’t hold a huge amount of stuff (this also makes the sewing a bit more challenging). However; every little bit of storage space helps.
I made the bag from the same materials that I used on my frame bag, 1000D Cordura Nylon fabric, T-70 Dabond Polyester thread, and a #5 YKK zipper. Instead of the water resistant zipper, I used a regular #5 zipper – much easier to work with!
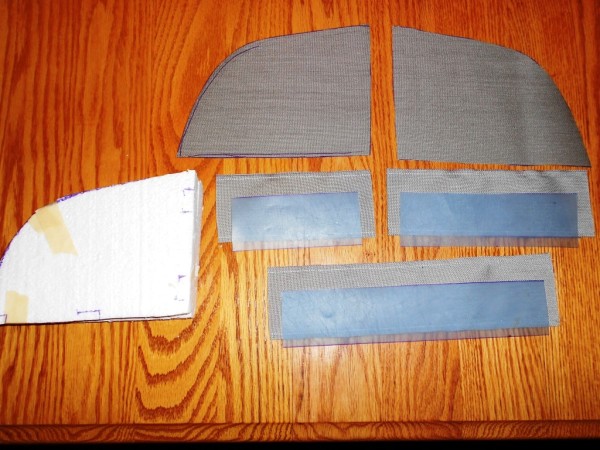
I’d suggest making a full size template before you start cutting or sewing. Sit on and pedal your bike around with the template in place to ensure that you aren’t rubbing against it. Also stand over the your bike to make sure you can do this with the bag in place. I made mine from a couple of sheets of Styrofoam taped together. After doing all of this, my measurements came it at seven inches of total length, four inches tall, and two inches wide.
Decide where your Velcro attachment strips will fit and mark your template. This can be important as the available locations may be limited due to the frame bag Velcro and various things attached to the seat post (seat bag??). Ripping stitches, moving Velcro, and sewing them back into place get’s old fast.
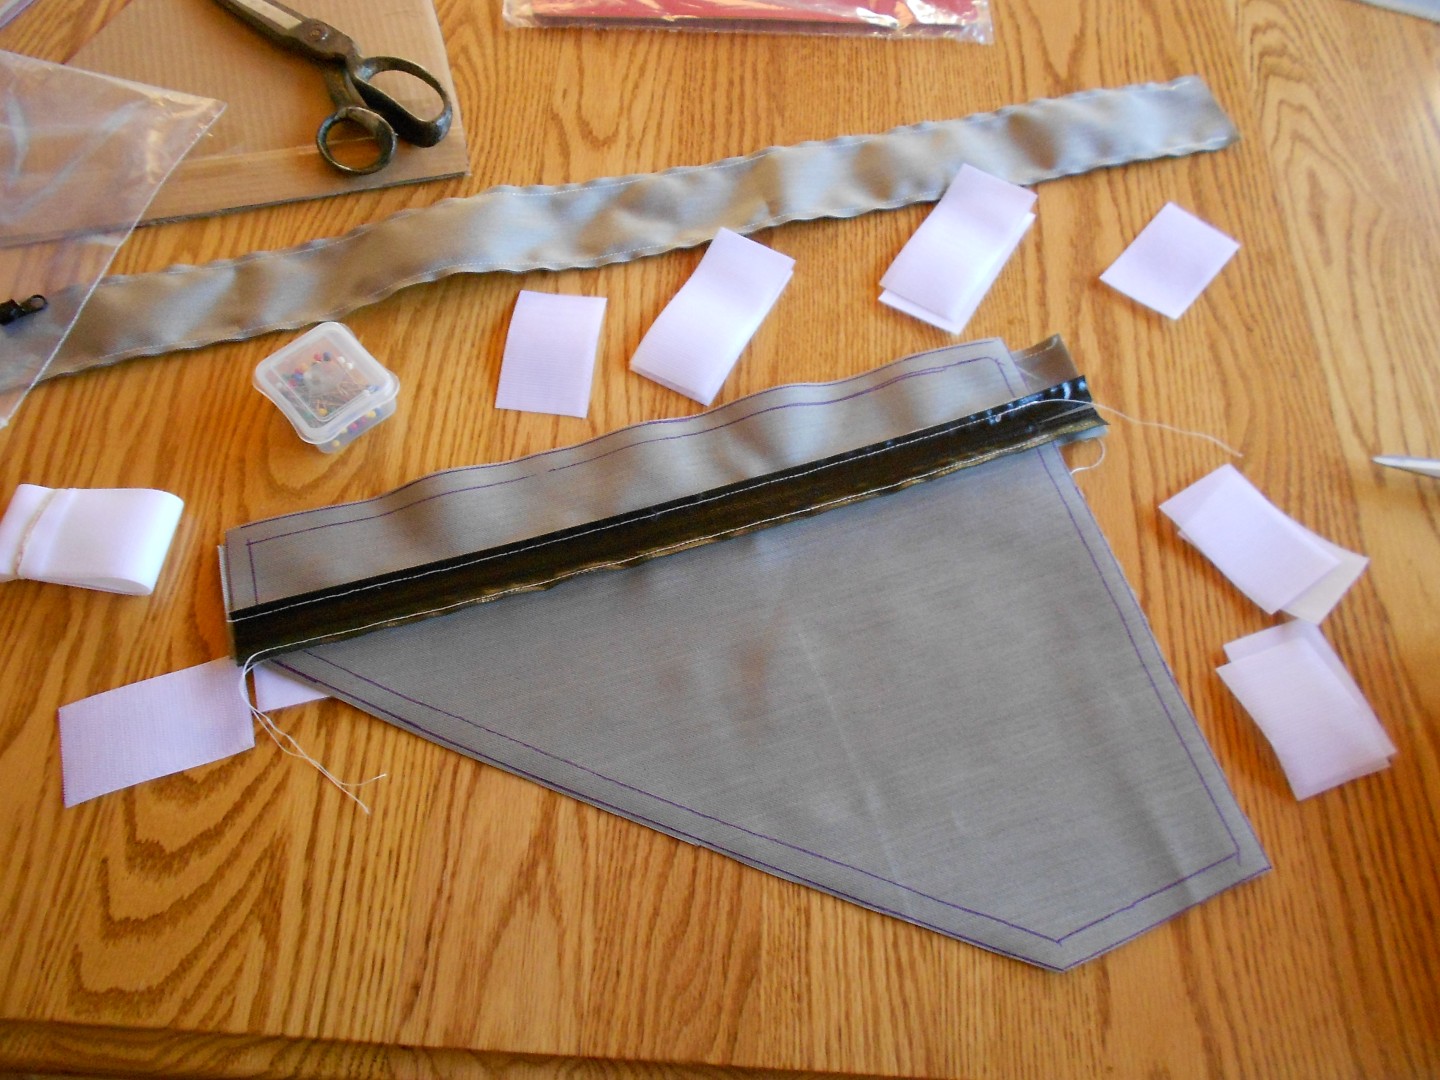
Then cutout the side panels (leaving enough space for the seams). Select the side you want your zipper on and then cut that side panel and sew the zipper into place. Trim the side panels to match.
I elected to use a strip of thin plastic (cutting board) all the way around this bag to provide the structure to stand up. The top, bottom, and back panels were made from strips of two and half inch material sew back to back and the plastic strip inserted between them.
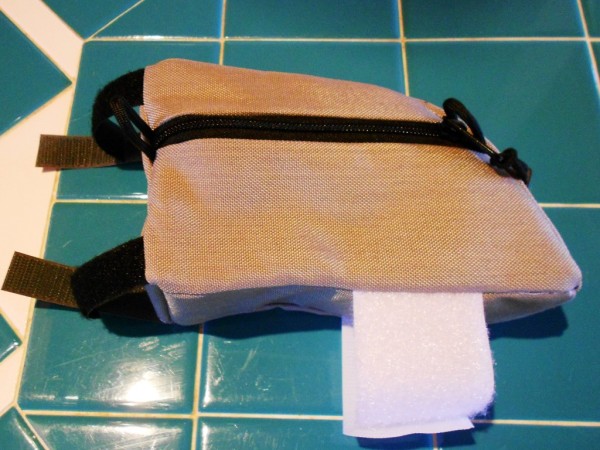
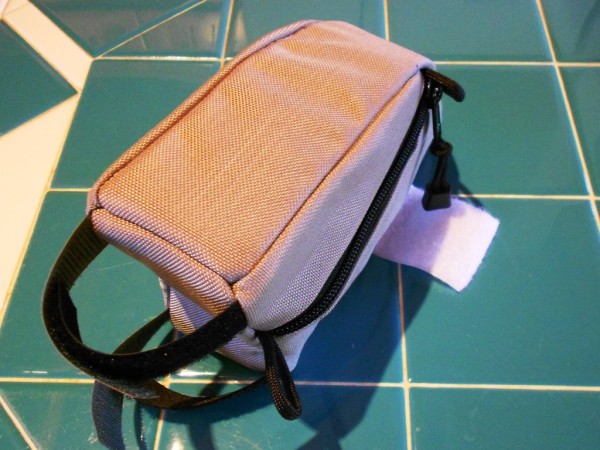
Sew the top, bottom, and back panels to one side panel WITH THE VELCRO strips. Then sew on the other side panel WITH THE VELCRO strips. I’d suggest doing the panel with the zipper first. It takes more finesse on the sewing machine and that is easier with the first panel. Remember that you are sewing everything together inside out.
You may have to hand sew a few of the corners as the sewing machine doesn’t like to get into those tight spaces.
Then flip it inside-right and enjoy your success!!


Leave a Reply