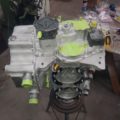
Yeah… I know… that engine is missing its cylinders! That is very observant of you!
The last post showed the ‘short block’ overhauled Lycoming O-360 engine – the base of the engine without cylinders. No, I did not forget about them.
I had hoped to install new Superior Millenium cylinders. However; they are proving to be a unicorn in this new normal in which we find ourselves. After searching and hoping for a couple of months, I decided to reuse the cylinders that came with the engine.
As you may recall, the engine is basically ‘new’ but had been sitting for a long time. The cylinders had a bit of corrosion in them so determining the extent of that and then cleaning them up was the challenge. I went to work.
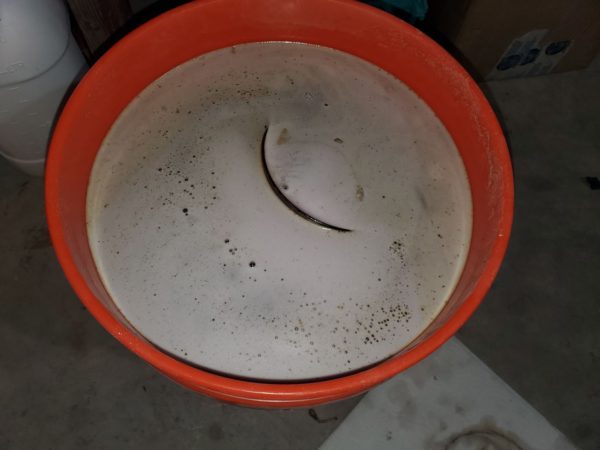
This is what a cylinder looks like sitting in a bucket of solvent. I know… pretty interesting stuff! 😲
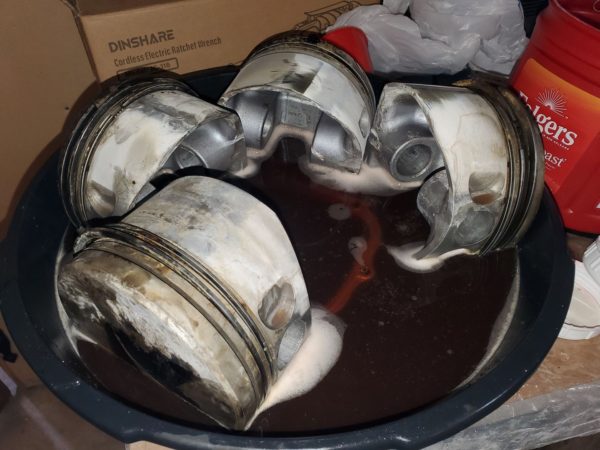
I attempted to do the same with the pistons but obviously my container was too small. They eventually went into the bucket as well. That scene was similar to the above – a bucket liquid. 😉
The solvent did a good job removing that hardened, shellac like stuff that had built up over time. The parts were also run thru the bead blaster to remove whatever loose paint remained.
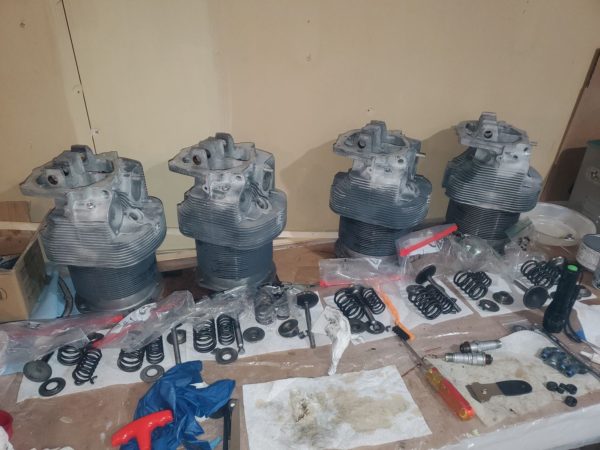
After everything was diassembled and reasonably clean, a thorough checkout was performed. This included a bunch of measuring! The measurements are to ensure that none of the parts have exceeded their wear limits. Lycoming posts these limits so a go/no-go check is fairly easy.
All measurements were very good and at the ‘new’ end of the acceptable range. That means things like the valves really were new or nearly new – 47 years ago. 😉
The corrosion on the cylinder walls was next. I used a rigid hone to clean up the cylinder walls and was quite pleased with the results. A few very small ‘specs’ remained in the bores so they were not perfect but not too bad either.
After I was satisfied that all the parts were in good shape, it was time to put some shine back on the shiny parts.
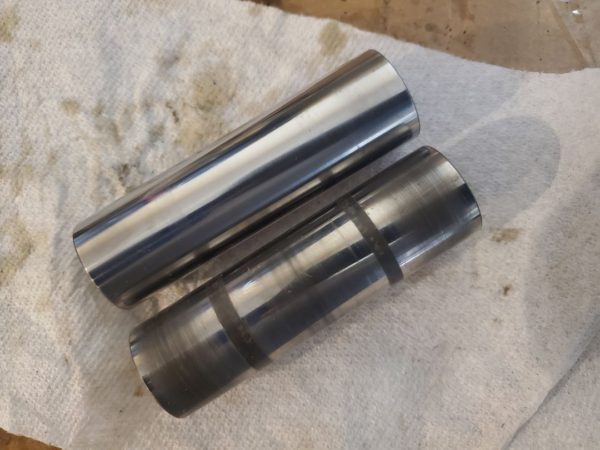
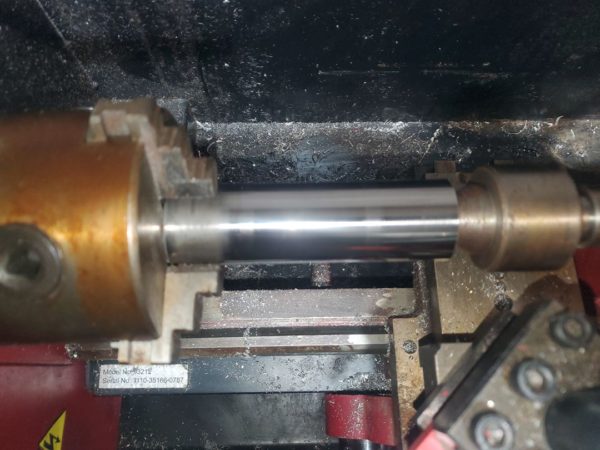
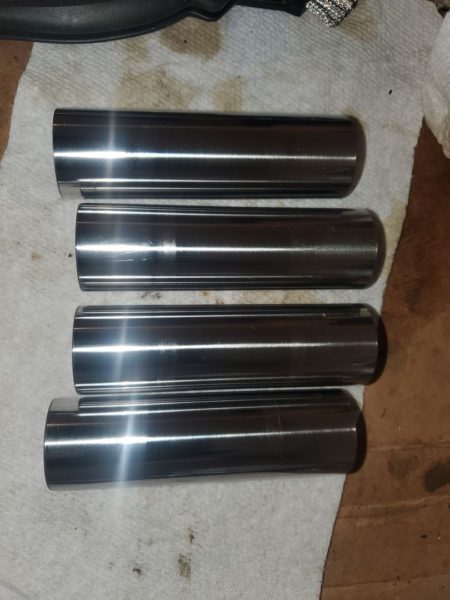
The following photo is of the piston pin on my lathe. However; I’m only using the lathe to spin it. The polish comes from a bit of 600 grit wet/dry sandpaper and removes very little material so the fit in the piston remains with the correct tolerances.
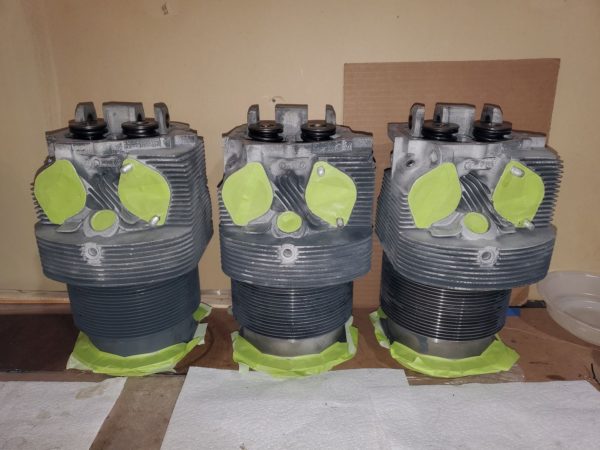
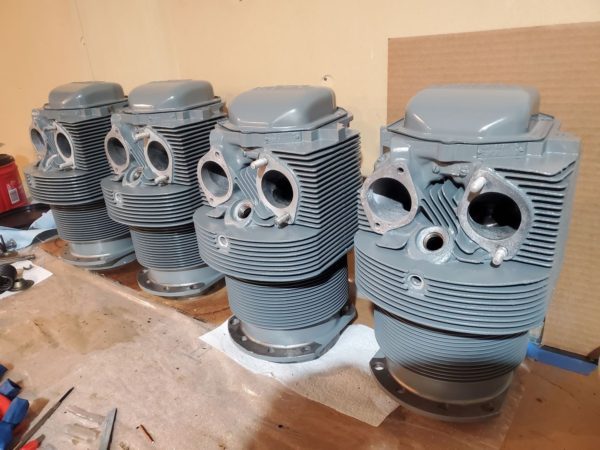
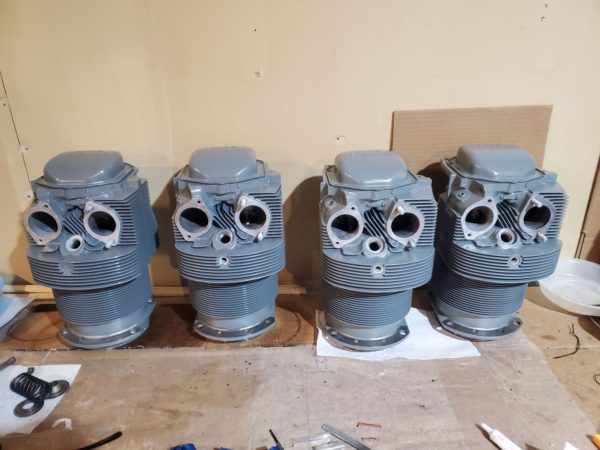
As with the engine, the cylinders were masked to keep paint off mating services and out of the internals. At one point, I had the strong sensation that I was being watched…
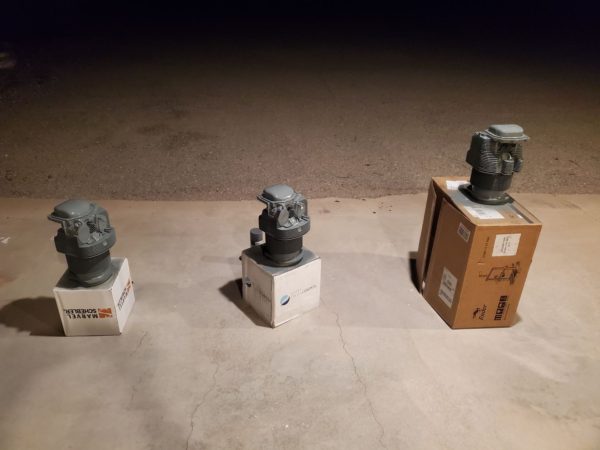
Then 500 degree high heat paint was applied. Yup, I like to work before the sun rises…
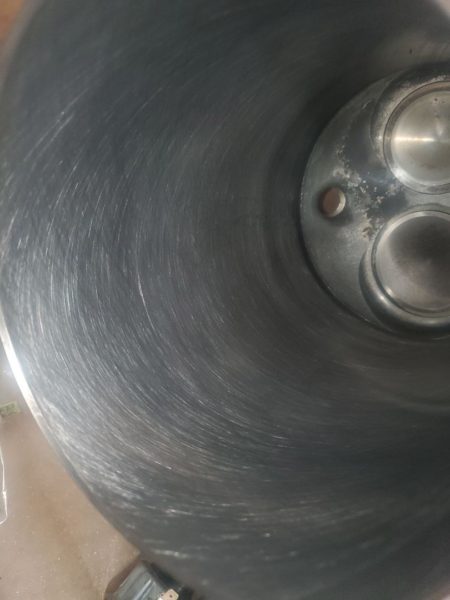
As a final step, I ran a flex hone (like this one from Amazon) inside each bore to add more crosshatching to improve the break in process and ensure that the piston rings seat correctly. It’s pretty tough to get a good photo of that so you’ll have to trust me.
Well… ok, here’s a photo of that anyway. Some folks are surprised by the ‘scratching’ – called crosshatching. We actually want the cylinder wall to have these ‘scratches’ to retain oil and allow the piston rings to ‘wear into’ the cylinder.


Looks good. Most people don’t understand aircraft engine are simple yet reliable.
That is pretty interesting about the flex hone. I have the rigid but never used the flex. That stuff looks amazing! I bet you can’t wait to use it.
I sure am! Very excited about that first engine start!! Did I remember to install all the pistons? Connect all the connecting rods?? 🤔