As you may recall, we last completed fiberglassing the inner part line of the kayak. Now time to work on the outside.
Ideally, this line would be intirely invisible after the kayak is complete. Something told me that I probably wasn’t going to achieve that. Still… we try.
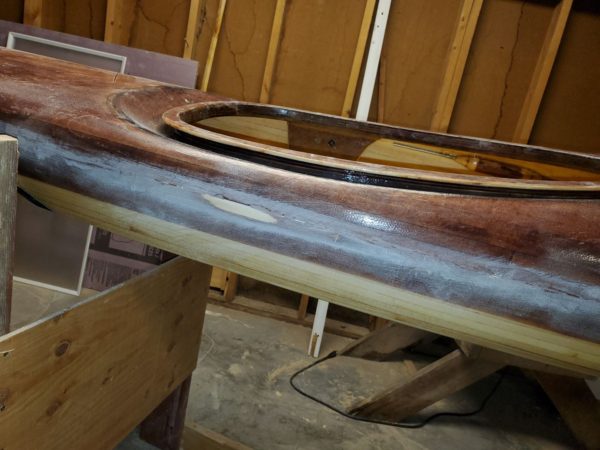
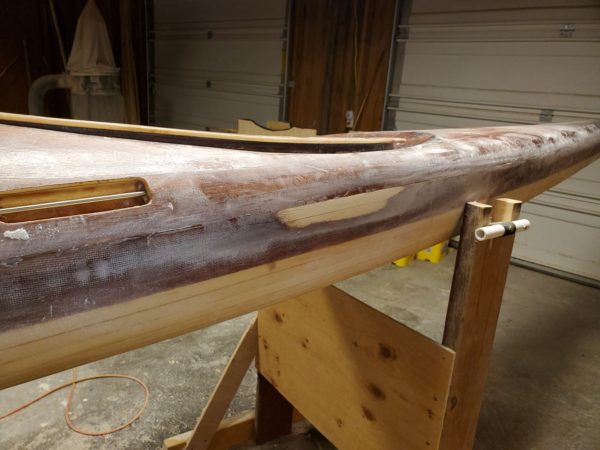
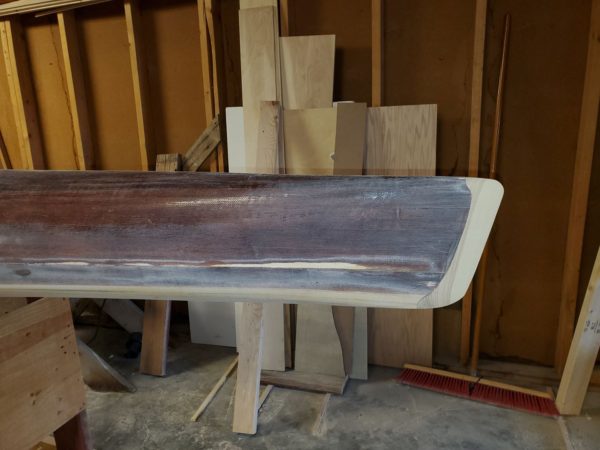
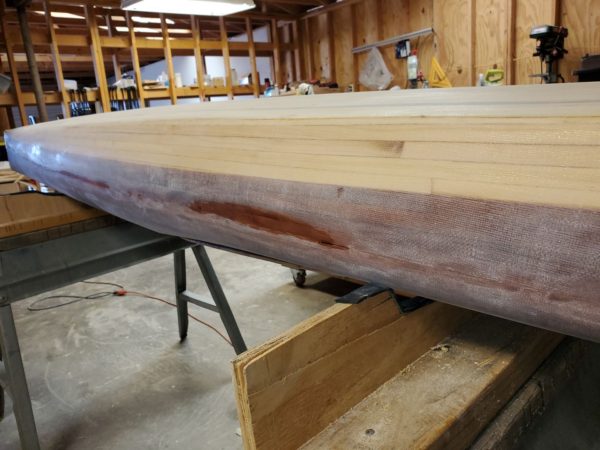
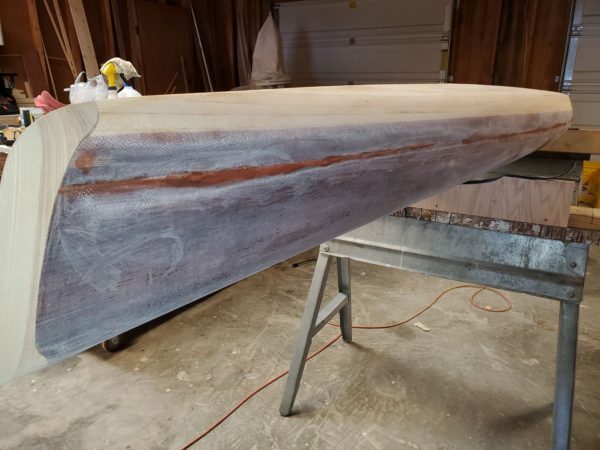
This all starts with a bunch of sanding with the long board. The idea is take the high spots down and create perfect alignment. Sadly, I had to sand into the stain on the high spots to accomplish that.
The stain can be touched up. Will that fix be visible?? Time will tell.
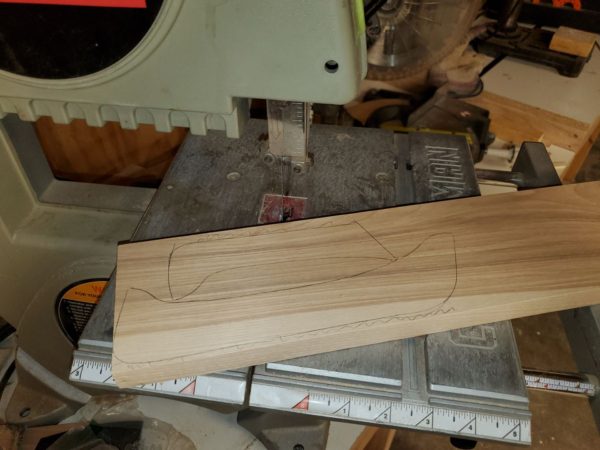
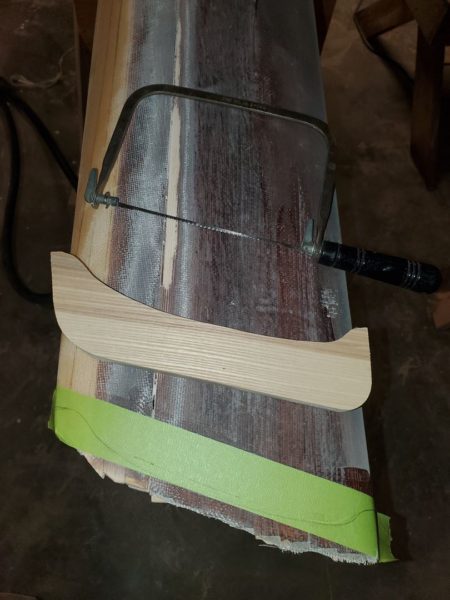
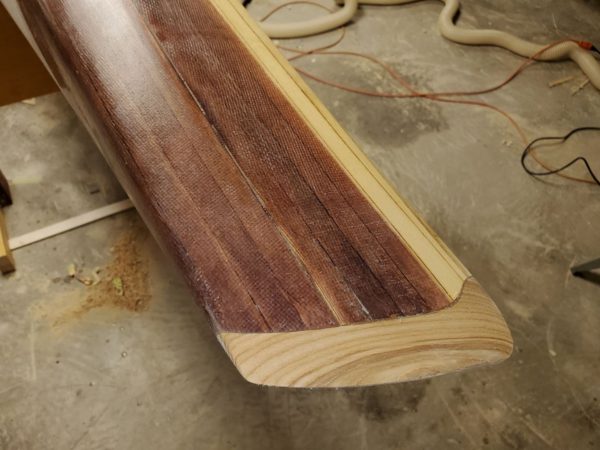
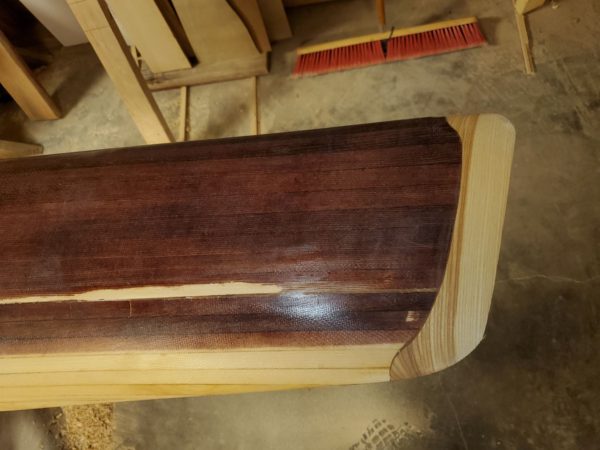
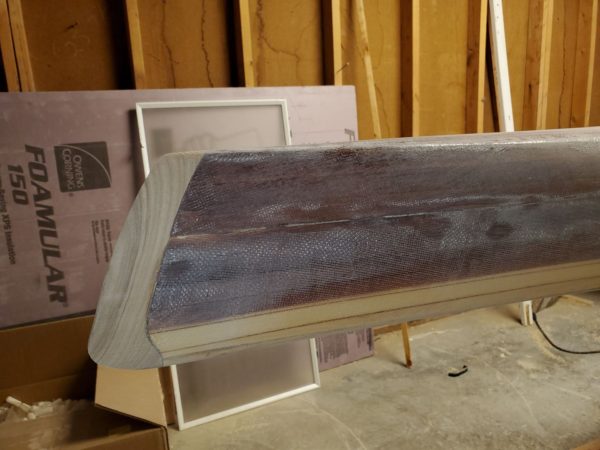
The very tip of the kayak is called the stem. Having two ends (bow and stern), I needed two of them and decided to make them from Ash.
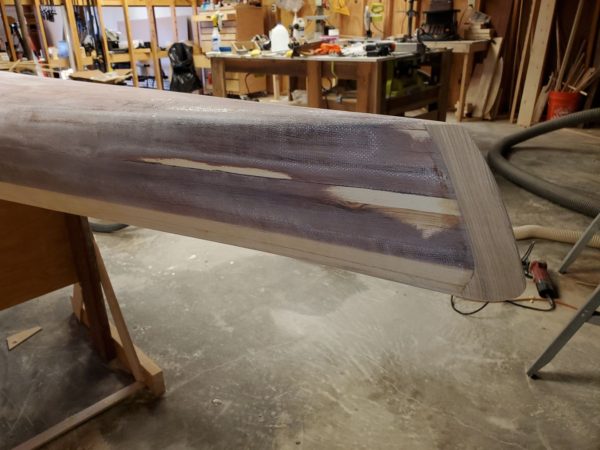
The the bow and stern has to be trimmed to fit the stems. That requires some careful cutting and sanding. The sanding is made a bit easier by attaching a strip of sandpaper to the stem and using it as a sanding guide. That seemed to have worked out fairly well.
The stems are then epoxied into position…
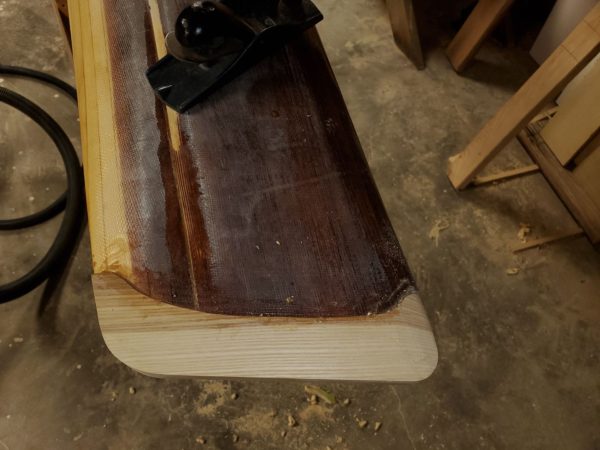
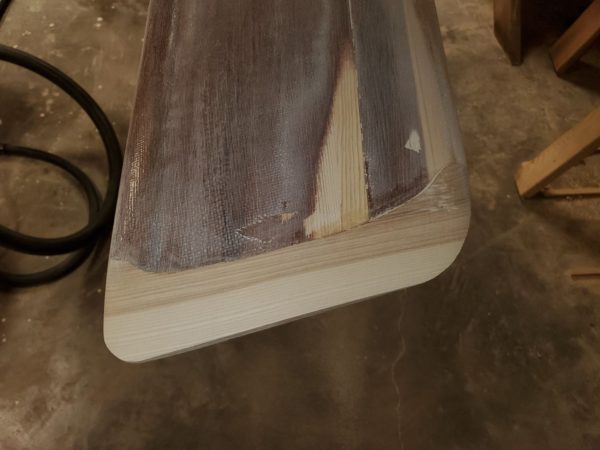
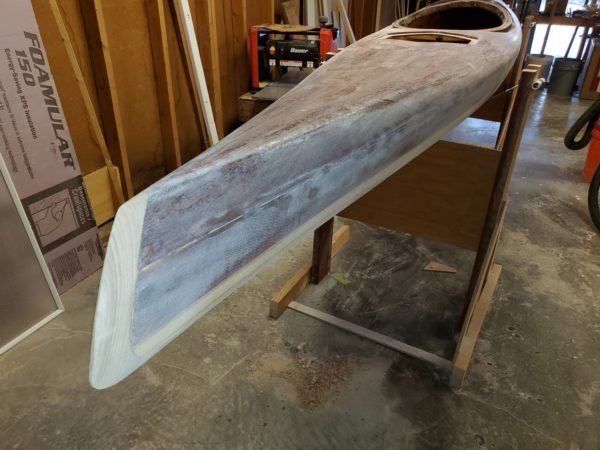
… and then the shaping starts. I used a variety of tools trying to make this easier. In the end, a plane and sandpaper on a long board seemed to work the best.
Time to fix the stain.
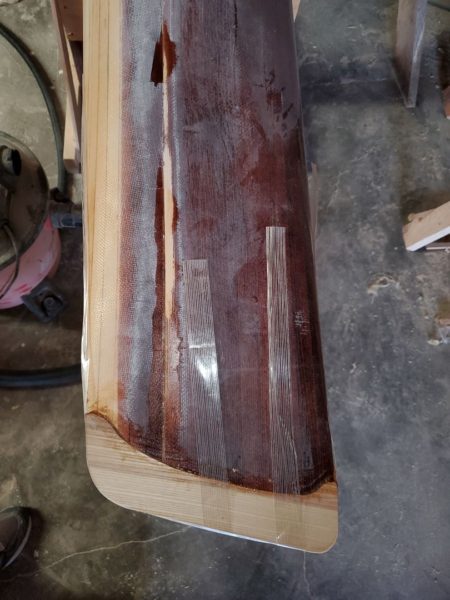
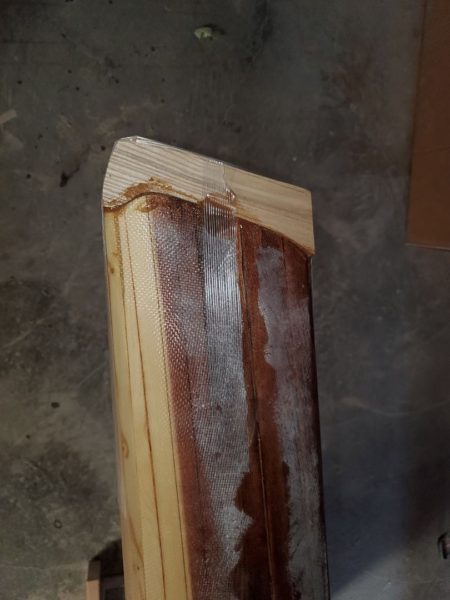
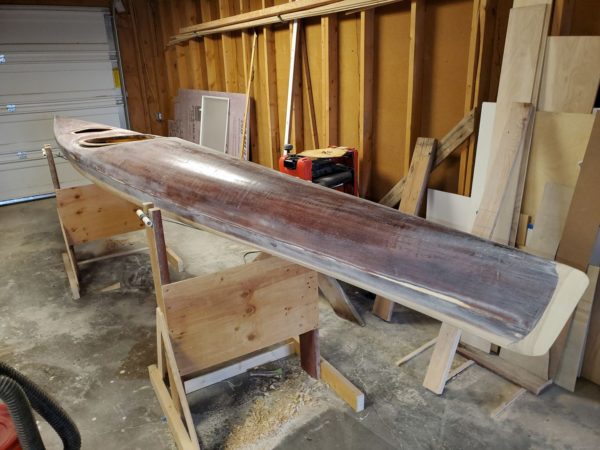
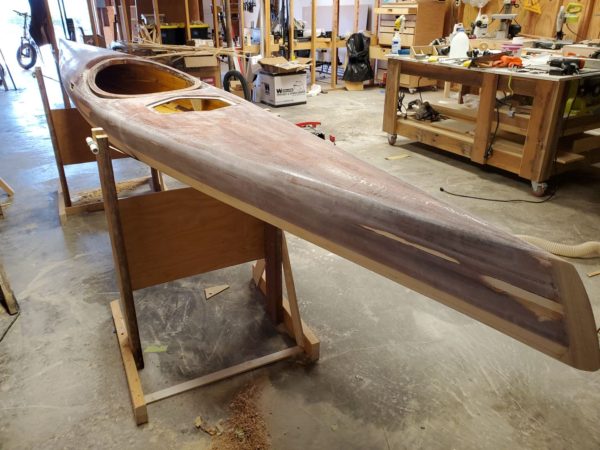
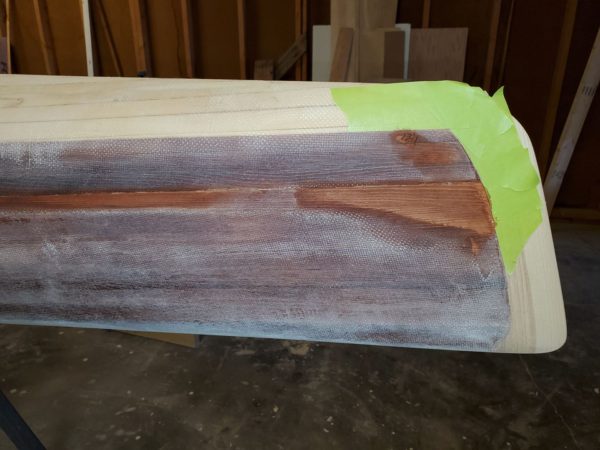
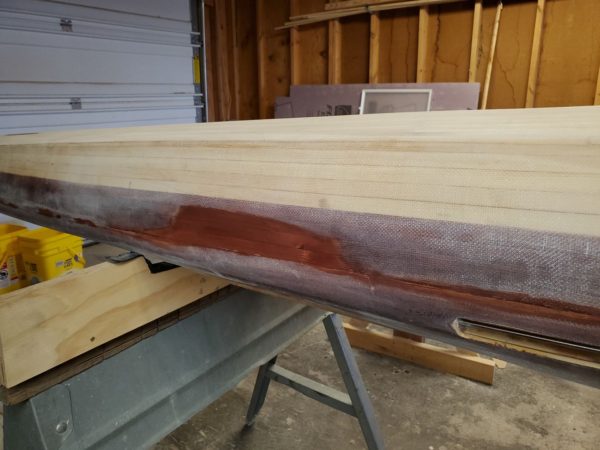
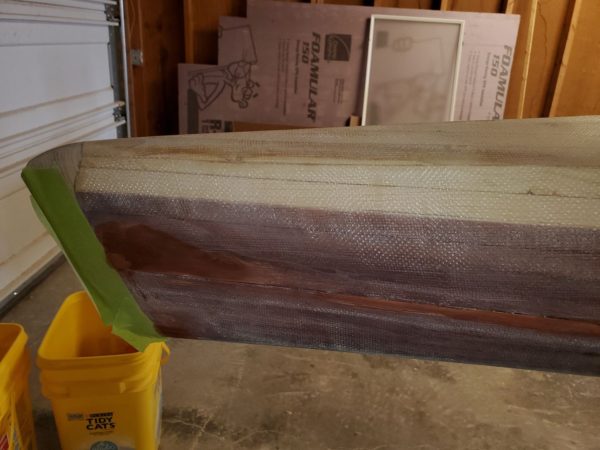
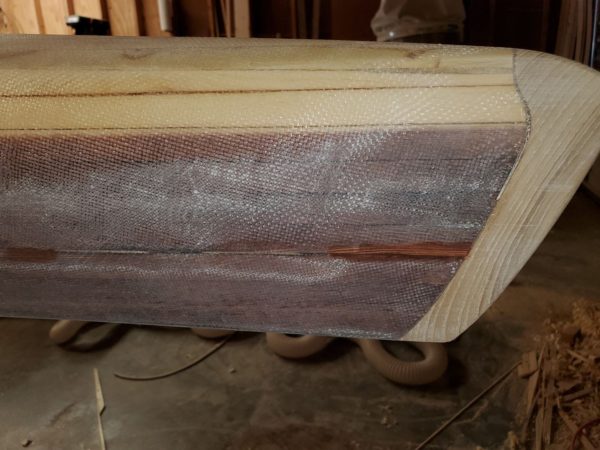
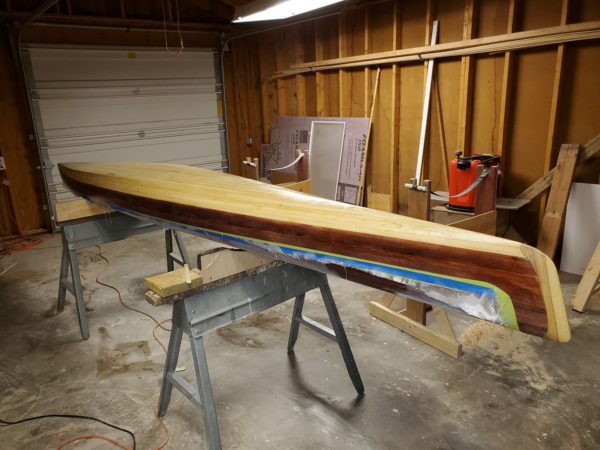
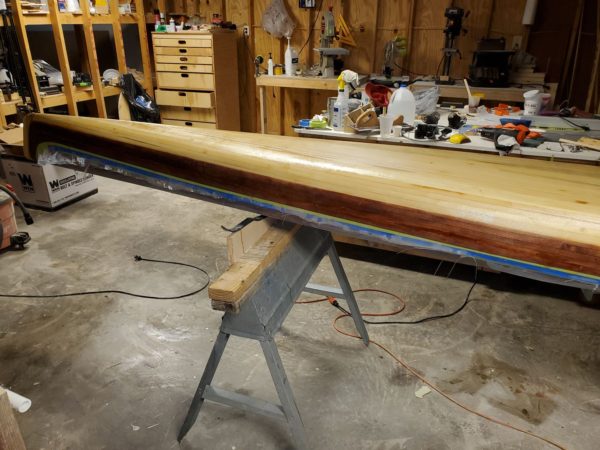
Finally, time to fiberglass the outside part line. This layer of fiberglass is actually an additional ply across the entire bottom of the boat and wraps up the sides and over the part line.
That all went reasonably well but a storm is brewing!! 🙁
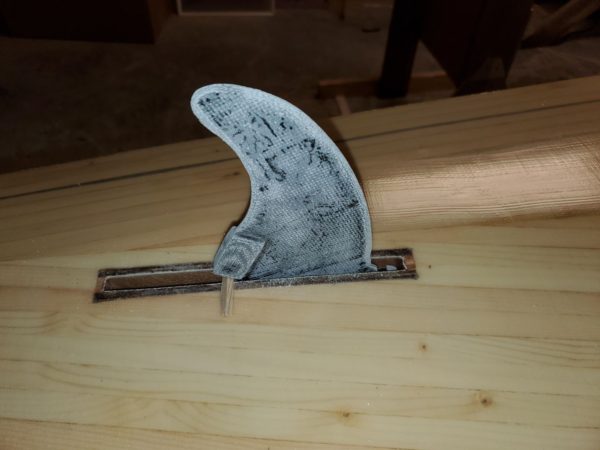
With the final fiberglass on the bottom, I could try fitting the skeg. While not yet complete – it’s looking like it might work!


WOW